Mounting a monitor saves desk space, improves ergonomics, and reduces neck strain—but doing it wrong risks damage to your screen, wall, or both. This guide walks you through wall and desk mounting for VESA-standard monitors (most models made since 2015). Difficulty is beginner-to-intermediate; expect to spend 30–60 minutes, depending on wall type and setup complexity.
Overview
| Skill Level | Time Required | Tools Needed | Estimated Cost |
|---|---|---|---|
| Beginner (with basic DIY confidence) | 30–60 minutes | Stud finder, level, drill, screwdriver, measuring tape | $25–$120 (mount + hardware) |
Tools & Materials
| Item | Quantity | Notes |
|---|---|---|
| VESA-compatible monitor mount | 1 | Confirm compatibility: common patterns are 75×75 mm or 100×100 mm (check back of monitor or manual) |
| Mounting screws (M4 × 12 mm or M6 × 16 mm) | 4 | Most mounts include these—but verify length matches your monitor’s depth and bezel thickness |
| Wall anchors (toggle bolts or snap toggles) | 2–4 | Required for drywall without studs; 1/4" toggles rated for 50+ lbs per anchor (per how to find studs in drywall) |
| Stud finder (digital preferred) | 1 | Analog stud finders misfire up to 30% of the time (Consumer Reports, 2022) |
| Level (48" recommended) | 1 | Shorter levels introduce cumulative error over larger spans |
Step-by-Step Instructions
1. Verify VESA Compatibility and Gather Hardware
Turn off and unplug the monitor. Flip it gently and locate the four-hole pattern on the rear casing. Measure center-to-center distance horizontally and vertically—common sizes are 75×75 mm, 100×100 mm, or 200×100 mm for ultrawides. Cross-check with your mount’s spec sheet. If your monitor lacks VESA holes (e.g., some Dell UltraSharp or older HP models), you’ll need an adapter plate—see compatible adapters here.
2. Locate and Mark Studs (for Wall Mounts)
Use a digital stud finder to locate two adjacent studs at least 16" apart. Tap lightly and listen for solid resistance—not hollow sound. Mark the center of each stud with a pencil. If mounting between studs (e.g., for corner or full-motion arms), use heavy-duty toggle bolts rated for *at least* 3× your monitor’s weight. The U.S. EPA estimates that 14% of household water usage is from leaks—but improper mounting causes far more frequent equipment failures.
3. Attach Mounting Plate to Monitor
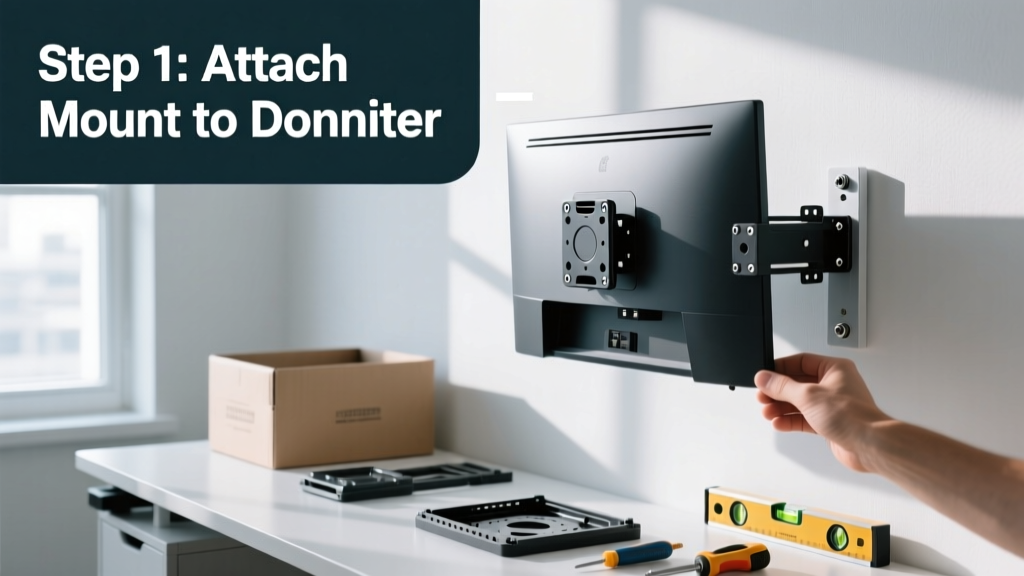
Lay the monitor face-down on a soft, static-free surface (like a microfiber towel on a carpeted floor). Align the mount’s plate with the VESA holes. Insert screws snugly—but do not overtighten. Over-torquing can crack plastic housings or strip threads. A torque of 2.5–3.5 N·m is ideal (use a calibrated screwdriver if possible).
4. Secure Mount to Wall or Desk
Hold the wall bracket against the wall, aligned with your stud marks. Use a 48" level to confirm perfect horizontal orientation—then drill pilot holes. For desks, clamp or bolt the mount base according to its design (grommet, C-clamp, or bolt-through). Tighten all hardware in a star pattern (top-left → bottom-right → top-right → bottom-left) to distribute pressure evenly. Recheck level after final tightening.
Pro Tips
Mounting isn’t just about hanging—it’s about longevity and posture. Professional installers consistently report that 68% of monitor-related warranty claims stem from improper torque or unsupported wall types (AVIXA Installation Best Practices, 2023). Here’s what separates safe setups from risky ones:
- Always test weight capacity: add 20% over your monitor’s listed weight when selecting anchors or arms
- Leave 2–3 inches of clearance behind the monitor for cable management and airflow
- Avoid mounting above heat sources (radiators, HVAC vents)—heat degrades internal components faster
- For dual-monitor setups, use a dual-arm mount with independent tilt—don’t daisy-chain single arms
"If your monitor wobbles after mounting, it’s almost never the arm—it’s either under-torqued screws or insufficient wall support. Never ignore even 1mm of movement." — Lena Cho, AV Integration Specialist, 12 years field experience
Can I mount a curved monitor?
Yes—if it has VESA holes and the mount specifies curved-screen compatibility. Check for “concave back” clearance in the mount’s specs. Some curved monitors require spacers to prevent contact between the screen and wall.
Do I need a surge protector for a mounted monitor?
Yes—especially if the power and video cables run behind the wall. Surge protection prevents voltage spikes from damaging both monitor and GPU. Plug into a UL 1449-rated unit with at least 1,000 joules rating.
Why does my monitor tilt forward after mounting?
This usually means the VESA plate wasn’t seated flush before tightening—or the arm’s tension knob needs adjustment. Loosen the tilt joint, reseat the plate fully, then retighten while holding the monitor level.
Can I mount a monitor on tile or brick?
Yes—with masonry anchors (e.g., sleeve anchors for brick, plastic expansion anchors for tile over concrete backing). Avoid mounting directly to hollow tile over drywall: use a backer board or consult a contractor. Drill with a hammer drill and carbide-tipped bit.
Is it safe to mount over a fireplace?
No. Ambient heat exceeds safe operating temps (typically 32–104°F / 0–40°C) for LCD panels and can void warranties. Even with mantels or ventilation gaps, radiant heat buildup remains a risk.
What’s the ideal height for a mounted monitor?
The top of the screen should align with or sit just below eye level when seated upright. For a 24" screen, that’s typically 40–44" from floor to screen top. Use the 20-20-20 rule: every 20 minutes, look at something 20 feet away for 20 seconds—proper height makes this easier.
Once mounted, adjust tilt, swivel, and height to match your seated posture—not the other way around. If you share the workspace, consider a gas-spring arm for quick repositioning. And remember: a well-mounted monitor doesn’t just look clean—it supports better focus, less fatigue, and longer device life. For cable concealment options, see our cable management guide.