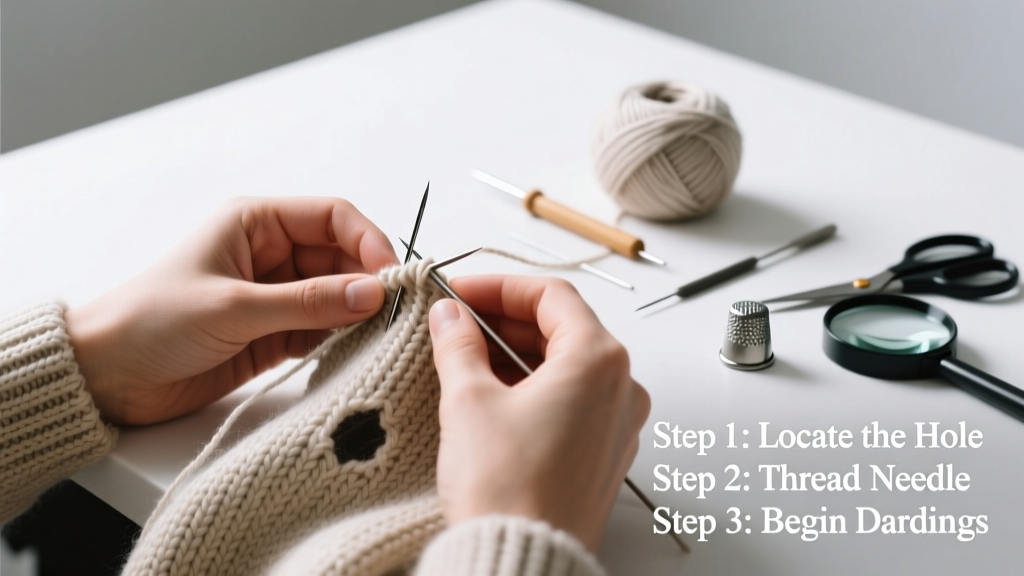
Mending a sweater is a practical, satisfying skill that extends the life of wool, cotton, or acrylic knits—no sewing machine required. It’s beginner-friendly (30–60 minutes per repair), builds textile confidence, and costs next to nothing once you have basic supplies.
Overview
| Skill Level | Time Required | Tools Needed | Estimated Cost |
|---|---|---|---|
| Beginner | 30–90 minutes | Needle, thread, yarn, scissors, thimble (optional) | $2–$8 (most people already own 3 of 5 items) |
Tools & Materials
| Item | Why It Matters | Notes |
|---|---|---|
| Sharp embroidery needle (size 7–10) | Slides easily through knit without splitting stitches | Avoid blunt or tapestry needles—they push fibers aside instead of piercing cleanly |
| Matching yarn (same fiber & weight) | Prevents shrinkage mismatch and visible tension differences | Snip from an inside seam or hem if original yarn isn’t available |
| Cotton or silk thread (for darning) | Stronger than yarn alone for reinforcing thin areas | Use 2 strands twisted together for durability on elbows or cuffs |
| Small, sharp embroidery scissors | Prevents fraying when trimming loose ends | Blunt scissors crush yarn; dull ones pull instead of cut |
| Thimble (optional but recommended) | Protects fingertip during repeated needle pushes | Leather or metal thimbles work best for dense wools |
Step-by-Step Instructions
1. Assess and stabilize the damage
Turn the sweater inside out. Gently stretch the area around the hole or snag—you’ll see whether stitches are broken, pulled, or completely missing. If threads are loose, snip them close to the fabric *only after* securing both ends with a tiny backstitch. Never pull loose yarn—it unravels further.
- For snags in cashmere or merino: Use a latch hook or fine crochet hook to gently pull the loop back to the wrong side
- For moth holes smaller than ½ inch: Skip darning; use duplicate stitch over the gap
2. Thread your needle and knot securely
Use 18–24 inches of thread or yarn—longer strands tangle, shorter ones require constant rethreading. Knot one end firmly. For yarn, twist the tail around the needle 2–3 times before pulling tight: this creates a secure anchor without a bulky knot.
3. Choose and execute the right stitch
Three go-to methods: Duplicate stitch (best for small runs or colorwork gaps), Swiss darning (ideal for medium holes up to 1 inch), and Net darning (for large tears or worn elbows). Swiss darning mimics the original knit structure by weaving over and under existing stitches in rows—start horizontally, then vertically, locking each pass with a tiny catch stitch at edges.
- Keep tension even: too tight puckers; too loose sags
- Always work from the wrong side when darning—flip frequently to check alignment
4. Secure and finish
After completing your stitch pattern, run the needle under 3–4 nearby stitches on the wrong side to lock off. Trim excess within ¼ inch—any longer risks snagging. Lightly steam with a pressing cloth (never direct heat on wool or acrylic) to relax fibers and blend the mend.
Pro Tips
Even experienced menders overlook fiber behavior. Wool stretches and recovers; cotton holds shape but pills; acrylic melts under heat. Matching fiber content matters more than color alone—mismatched fibers shrink at different rates in the wash, causing ripples or gaps.
"Over 68% of sweater repairs fail not from poor stitching—but from using polyester thread on natural-fiber knits. The elasticity mismatch causes seam failure within 3 washes." — Textile Restoration Guild Handbook, 2022
Common mistakes include skipping stabilization (leading to enlarged holes), using contrasting thread for invisible mends, and ironing without a cloth barrier. Also avoid glue-based ‘quick fixes’—they stiffen fibers and yellow over time.
Can I mend a sweater with a sewing machine?
No—not reliably. Machines can’t replicate hand-knit tension or navigate uneven thicknesses like ribbing or cables. A zigzag stitch may hold temporarily on flat stockinette, but it will pucker, break threads, or skip stitches on textured areas. Stick to hand methods for durability and discretion.
What if the hole is near a seam or buttonhole?
Stabilize first: baste a 1-inch square of lightweight fusible interfacing (like Pellon SF101) to the wrong side using a cool iron and pressing cloth. Then darn as usual. This prevents stress concentration where seams meet body fabric.
How do I match yarn color exactly?
Take a swatch to a local yarn shop—they’ll use a color card under natural light. Or, unravel a hidden seam (e.g., underarm or side seam) for original yarn. Dyeing small amounts at home with acid dyes works for wool, but test first on scrap fabric.
Will the mend be noticeable?
A well-executed Swiss darn on solid-color wool is nearly invisible at arm’s length. On heathered or marled yarns, aim for texture match over perfect hue—subtle variation reads as natural wear, not repair. Avoid shiny threads on matte knits.
How often should I mend vs. replace?
Repair any hole under 1.5 inches. Replace only if >30% of the garment shows thinning, multiple moth holes, or stretched-out ribbing that won’t recover after blocking. According to the Ellen MacArthur Foundation’s 2023 Circular Fashion Report, extending garment life by just 9 months reduces carbon footprint by 20–30%.
Can I wash the sweater after mending?
Yes—but wait 48 hours post-mend to let fibers settle. Hand-wash in cool water with wool-specific detergent (e.g., Soak or Eucalan), never wring or twist. Lay flat to dry on a mesh rack. Avoid dryers: heat degrades both original and mending yarns.
Mending isn’t about perfection—it’s about care, continuity, and quiet resistance to disposability. Once you’ve repaired your first elbow or cuff, you’ll look at every knit differently: not as fragile, but as something worth holding onto. For more textile care techniques, see our guides on how to block a sweater and how to fix a pulled thread in knitting.