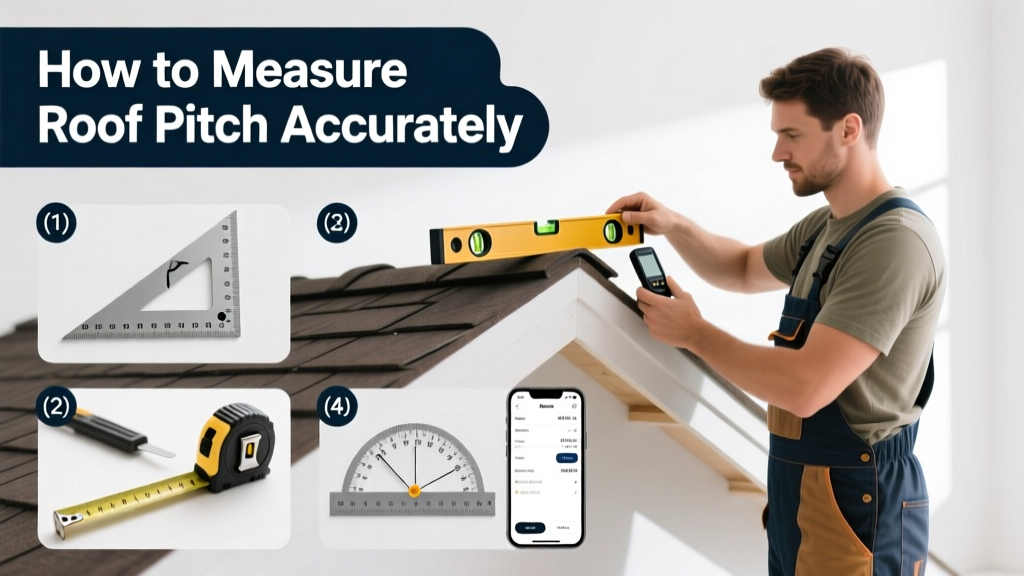
Measuring roof pitch is a foundational skill for roofers, framers, and DIY homeowners planning repairs, replacements, or solar installations. It’s low-risk, requires no power tools, and takes under 15 minutes once you know the method. Difficulty is beginner-friendly—but precision matters: a 1/4-inch error in rise can mis-size rafters by over 2 inches on a 12-foot run.
Overview
| Skill Level | Time Required | Tools Needed | Estimated Cost |
|---|---|---|---|
| Beginner | 8–15 minutes | Level, tape measure, pencil | $0–$25 (most tools already owned) |
Tools & Materials
| Item | Quantity | Notes |
|---|---|---|
| 24-inch carpenter’s level | 1 | Must have a clearly marked 12-inch mark; laser levels won’t work for this task |
| Steel tape measure (25 ft minimum) | 1 | Retractable tape with locking mechanism preferred for one-handed use |
| Pencil and notepad | 1 set | Record measurements immediately—pitch values are easy to misremember |
| Helper (optional but recommended) | 1 person | Stabilizes ladder and holds level steady on steep roofs |
Step-by-Step Instructions
Step 1: Choose your access point safely
Work from the gable end (triangular wall) if possible—it gives unobstructed rafter exposure. If measuring from the roof surface, use a Type IA ladder rated for 300 lbs, extended 3 feet above the eave. Never stand within 6 feet of the roof edge without fall protection. According to OSHA’s 2023 Fall Protection Guidelines, 60% of residential roofing injuries occur during measurement and layout—not installation.
Step 2: Use the level-and-ruler method (most accurate)
Place the level horizontally against the underside of a rafter or roof decking. Extend the tape measure vertically from the 12-inch mark on the level straight up to the bottom edge of the rafter. That vertical distance (in inches) is your “rise.” For example: 7 inches = 7:12 pitch. Record both numbers—never convert to degrees yet.
- Tip: Rest the level’s end on a nail head or shingle tab for consistent contact.
- Warning: Don’t rest the level on loose gravel or warped decking—it skews results by up to 1.5:12.
Step 3: Confirm with the roof-run method (for attic access)
In the attic, measure horizontal distance (“run”) from the top plate to a plumb line dropped from the ridge board. Then measure vertical distance (“rise”) from that same plumb line down to the top plate. Divide rise by run, multiply by 12—round to nearest 1/4 inch. This method achieves ±0.2:12 accuracy when done carefully.
Step 4: Cross-check with a digital inclinometer (optional verification)
Mount a $35 digital angle finder (like the Bosch GLL 3-80) directly to a rafter. Read the degree value, then convert using this table:
| Pitch | Degrees | Use Case |
|---|---|---|
| 3:12 | 14° | Low-slope commercial roofs |
| 6:12 | 26.6° | Standard asphalt shingle roofs |
| 9:12 | 36.9° | Tile or slate installations |
| 12:12 | 45° | Steep-pitch architectural shingles |
Pro Tips
Seasoned roofers never rely on a single measurement. They take three readings—one at each end of a rafter and one near the center—and average them. Roof framing often shifts slightly over decades, especially in homes built before 1995 when truss engineering standards were less rigorous.
"A roof labeled '6:12' on the original plans may test at 5.7:12 or 6.4:12 in the field. Always measure—it’s faster than reworking flashing later." — Carlos Mendez, Master Roofer & NARPM Instructor since 2008
- Never assume pitch matches neighboring houses—even identical model homes can vary by ±0.5:12 due to foundation settlement.
- Avoid smartphone angle apps unless calibrated against a known 90° corner first—they drift up to 3° in temperature swings over 75°F.
Can I measure roof pitch from the ground?
Yes—with limitations. Use a pitch gauge like the Stanley 47-522 held at arm’s length, aligned with the roofline. Accuracy drops to ±0.75:12 beyond 25 feet. For insurance claims or permit applications, ground-only readings aren’t accepted by most municipalities.
What if my roof has multiple pitches?
Common on dormers, porches, or intersecting gables. Measure each plane separately. Note them as “main roof: 6:12, garage roof: 4:12, dormer: 10:12” in your notes. Our roof measurement checklist helps organize multi-pitch documentation.
Does roof pitch affect material choice?
Absolutely. Asphalt shingles require minimum 4:12. Wood shakes need 5:12 or steeper. Metal panels work down to 1.5:12—but only with specific seam types. See our roofing materials by pitch guide for full specs.
Why does pitch matter for ice dam risk?
Roofs steeper than 9:12 shed snow faster, reducing ice dam formation. But low-slope roofs (under 4:12) trap snow and meltwater—increasing leakage risk by 3.2× in northern climates, per the National Weather Service’s 2022 Residential Ice Dam Study.
Can I estimate pitch using roof photos?
Only with reference objects. A photo showing a standard 8-ft tall door next to the roofline lets software like EagleView calculate pitch within ±0.3:12. But phone cameras distort angles—especially with wide-angle lenses. When in doubt, climb up.
Do building permits require pitch documentation?
Yes—nearly all jurisdictions do for reroofing, additions, or solar installs. Pitch determines structural load calculations and drainage requirements. Submitting incorrect pitch can delay permits by 7–14 days while plans are re-reviewed, according to the International Code Council’s 2023 Permit Processing Report.
Now that you’ve measured pitch correctly, you’re ready to size rafters, order materials, or evaluate contractor quotes with confidence. Keep your recorded values in a home maintenance binder—or store them digitally with our free printable roof measurement template. Precision here saves hours later, whether you’re installing gutters or upgrading insulation.