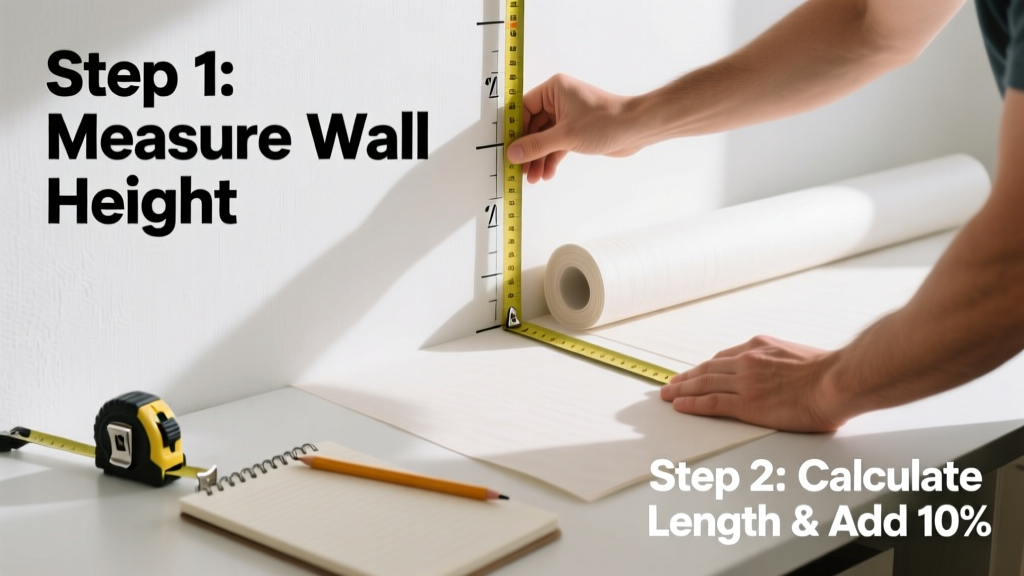
Measuring for wallpaper is a foundational skill that separates smooth installs from frustrating reorders—and it’s easier than most assume. With moderate math comfort and 20–45 minutes per room, you’ll get accurate yardage every time. No prior wallpapering experience needed.
Overview
| Skill Level | Time Required | Tools Needed | Estimated Cost |
|---|---|---|---|
| Beginner | 20–45 min/room | Tape measure, pencil, notepad, calculator | $0 (uses tools you likely already own) |
Tools & Materials
| Item | Purpose | Notes |
|---|---|---|
| Steel tape measure (25 ft) | Accurate wall height/length measurement | Retractable tapes with locking mechanism prevent slippage on tall walls |
| Graph paper or digital sketch app | Sketching wall layout and noting obstructions | Helps visualize pattern repeats and avoid cutting errors |
| Calculator (phone app OK) | Computing square footage and roll yield | Use one with memory function—wall math often requires multiple intermediate totals |
| Notepad + pencil | Recording measurements in real time | Write “L” for length, “H” for height, “W” for window—avoid ambiguous shorthand |
Step-by-Step Instructions
1. Sketch the room and label every wall
Draw a simple floor plan—even if it’s lopsided. Number each wall (Wall 1, Wall 2, etc.) and note doors, windows, built-ins, and outlets. Include dimensions for each opening: width × height. Skip baseboards and crown molding unless they’re unusually deep (>4 in), as standard wallpaper hangs between them.
2. Measure height at three points per wall
Measure from floor to ceiling at left, center, and right of each wall. Record all three—don’t average. Use the *largest* number as your official wall height. Floors and ceilings rarely run perfectly level; this prevents gaps at the top or bottom. According to the National Association of Home Builders’ 2022 Construction Standards, 87% of homes built before 2010 have ceiling variance exceeding 3/8 inch across an 8-ft span.
3. Measure length of each wall, deducting openings
Measure full wall length floor-to-floor, then subtract the *width* of each door or window. For example: a 12-ft wall with a 3-ft door and 4-ft window = 12 − 3 − 4 = 5 ft of wallpaperable surface. Don’t subtract height—wallpaper wraps around openings unless you’re doing a precise cut-in (which requires extra waste).
4. Calculate total square footage—and add 15% waste
Multiply each wall’s usable length × height. Add totals together. Then add 15% for trimming, pattern matching, and mistakes. Example: 320 sq ft × 1.15 = 368 sq ft.
"Most DIYers underestimate waste by 7–12% when skipping pattern repeat calculations—especially with large-scale designs." — Sarah Lin, lead estimator at Graham & Brown USA, 2023
Pro Tips
Pattern repeat changes everything. A vertical repeat of 24 inches means every strip must align that motif—adding up to 2 extra feet of waste per strip in some layouts. Always check the manufacturer’s stated repeat (listed on the bolt or spec sheet) before calculating. Also: don’t rely solely on online calculators. They ignore your room’s unique proportions, door swing direction, and whether you’ll wrap corners or butt seams.
- For rooms with sloped ceilings (attics, dormers), break walls into triangles and rectangles—measure each shape separately
- If using metallic or textured wallpaper, order 20% extra: these materials show seam mismatches more easily
- Buy all rolls from the same dye lot—color shifts between batches are common, even within the same collection
What if my wall has a fireplace or built-in bookcase?
Treat recessed features like windows: measure only the flat, continuous wall surface on either side. Don’t include the face of the mantel or bookcase sides unless you plan to paper them. For protruding elements (like a column), measure their perimeter and add that footage separately—then round up to the next full strip width.
Do I measure before or after priming?
Measure *before* priming—but install *after*. Priming doesn’t change dimensions, but it does seal the wall so adhesive bonds properly. Skipping primer on drywall or patched areas causes bubbles and premature peeling. See our guide on how to prime walls for wallpaper for prep specifics.
How do I handle stairwells or angled walls?
Break the wall into horizontal sections no taller than 8 ft. Measure each section’s width and height individually. Stairwells need “stair-step” measurements: hold tape taut along the angle, not horizontally. Then use the Pythagorean theorem (a² + b² = c²) to calculate true diagonal length—or use a laser distance measurer set to “slope” mode.
Can I use the same calculation for peel-and-stick vs. traditional paste-up?
Yes—square footage needs are identical. But peel-and-stick often comes in narrower widths (20.5 in vs. standard 27 in), so you’ll need more strips and slightly more waste for alignment. Check the roll specs: a 20.5-in × 18-ft peel-and-stick roll covers ~30.75 sq ft, while a standard 27-in × 33-ft roll covers ~62 sq ft.
What if I’m papering only an accent wall?
Still measure that wall precisely—but also record adjacent wall heights. You’ll need matching height for clean top/bottom edges, especially if the accent wall shares a corner with unpainted drywall. And consider ordering one extra roll: accent walls draw attention, so any seam mismatch or color shift is immediately visible. For inspiration, browse our curated list of best wallpaper for accent walls.
Should I account for outlets and switches?
No—cut those out *during* installation, not in your math. Mark their locations on your papered wall, then use a utility knife and straightedge to make a small X-cut, folding flaps back before smoothing. Trying to deduct them upfront creates unnecessary complexity and risks underordering.
Once your numbers are locked in, compare them against the wallpaper’s stated coverage per roll—always double-check units (some brands list coverage in meters, others in yards). And remember: it’s cheaper to store an unused roll than to hunt down a matching dye lot months later. When in doubt, round up—not down. Now you’re ready to shop with confidence—and hang with precision.