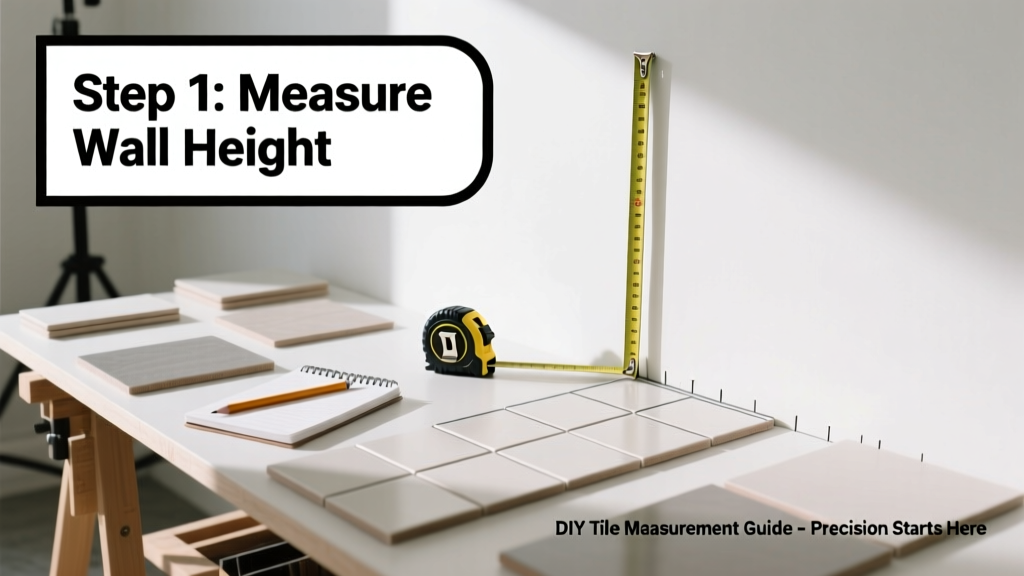
Measuring for tile is a foundational skill that separates confident DIYers from frustrated first-timers. It’s low-difficulty (beginner-friendly), takes 20–45 minutes depending on room complexity, and prevents expensive reorders or awkward cut-ins later.
Overview
| Skill Level | Time Required | Tools Needed | Estimated Cost |
|---|---|---|---|
| Beginner | 20–45 minutes | Tape measure, notepad, pencil, laser measure (optional) | $0–$25 (for tools you may already own) |
Tools & Materials
| Item | Purpose | Notes |
|---|---|---|
| 25-ft retractable tape measure | Accurate linear measurements | Use the metal hook end—not the body—to avoid 1/8" error at start |
| Laser distance measurer (optional) | Quick room dimensions, ceiling height, diagonal checks | Recommended for irregular spaces or high ceilings; accuracy ±1/16" (Bosch GLM 50 C, 2023 model) |
| Graph paper or digital sketch app | Sketch layout and note measurements | Label every wall, door, window, and obstacle—e.g., "NW wall: 12' 3" × 8' 0" with 30" door centered" |
| Calculator | Compute square footage and waste allowance | Use one with memory functions for multi-area totals |
Step-by-Step Instructions
1. Sketch the space and label all walls
Draw a rough floor plan (or wall elevation) on graph paper. Number each wall or section (e.g., “Wall A,” “Floor Zone 1”). Note doors, windows, built-ins, pipes, and outlets—including their exact distances from adjacent corners. Measure twice: once along the baseboard, once near the ceiling for walls (to catch bowing). For floors, measure both length and width at three points—top, middle, bottom—to detect out-of-square conditions.
2. Calculate square footage for each section
Multiply length × width for rectangles. For L-shaped rooms, divide into two rectangles and sum. For triangular nooks, use ½ × base × height. Record each result separately—don’t round yet. According to the National Tile Contractors Association’s 2022 Field Manual, 73% of measurement errors happen during this step due to unrecorded offsets or misidentified corners.
3. Add waste and pattern allowances
Add 10% for standard layouts with straight-set tiles. Increase to 15% for diagonal patterns, herringbone, or rooms with many obstacles (e.g., a bathroom with a tub surround and shower niche). For mosaic sheets or large-format tiles (12×24" or bigger), add 12–18%—their cuts generate more unusable fragments. Never skip this: The U.S. Department of Housing and Urban Development found that under-ordering by even 5% leads to 3.2x higher project delays due to backordered batches.
4. Convert to tile quantity and verify coverage
Divide your total square footage (including waste) by the coverage per box (listed on packaging—e.g., “12 sq ft per box”). Round up to the next full box. Then cross-check: multiply boxes × sq ft per box. That final number must exceed your calculated total. If it doesn’t, add another box—even if it’s just 0.3 sq ft short.
Pro Tips
Experienced tile setter Marco Ruiz of TileCraft Atlanta advises:
"Always measure *after* drywall mud is sanded and primed—not before. Fresh drywall can shrink up to 1/16" per 8-foot sheet as it cures, throwing off your layout lines."Common mistakes include measuring only one side of a doorway (ignoring casing thickness), forgetting to deduct non-tiled areas like bathtub ledges (which aren’t always flush), and using nominal tile sizes (e.g., calling a 11-7/8" × 11-7/8" tile “12×12”) in calculations—this creates cumulative error across dozens of tiles.
How do I measure for a backsplash?
Measure height from countertop to bottom of cabinets (or desired top edge), then width across the entire run. Subtract widths of outlets, switches, and range hoods—but *add* 1/2" extra on each side of those openings for grout line alignment. Most backsplashes need 15% waste due to frequent small cuts around fixtures.
What if my room isn’t square?
Find the largest rectangle that fits inside your space, then treat remaining triangles or trapezoids as separate zones. Use diagonal measurements (corner to corner) to confirm squareness—if diagonals differ by more than 1/4", adjust your layout lines accordingly. This is critical before snapping chalk lines.
Do I measure over existing tile?
No—remove old tile first. Thinset residue, uneven removal, or lippage adds 1/8"–3/16" of hidden variance. Measuring over it guarantees mismatched transitions and cracked grout joints. If removal isn’t possible, add 1/4" to all vertical dimensions and specify “modified thinset” to your installer.
How precise do my measurements need to be?
Within 1/8" for lengths and widths; within 1/16" for offsets (e.g., door centering). Use fractions—not decimals—on your sketch (e.g., “7' 5 3/8"”), since tile layout software and supplier calculators expect imperial notation. A 1/4" error in a 10-foot wall becomes a 1/2" gap at the far end when tiles are laid tight.
Can I use an app to measure for tile?
Yes—but only as a double-check. Apps like MagicPlan or RoomScan Pro estimate area from phone camera sweeps, but they miss depth variations, reveals, and substrate irregularities. Always verify key dimensions manually. A 2023 study by the Ceramic Tile Education Foundation showed app-only measurements were inaccurate by ≥3.7% in 68% of residential bathrooms tested.
What if I’m tiling multiple rooms?
Calculate each room separately—including its own waste percentage—then sum totals. Don’t average waste across rooms. A kitchen may need 10% waste; a powder room with a pedestal sink and mirror may need 18%. Mixing them dilutes accuracy and risks running short in the highest-waste zone.
Measuring for tile isn’t about perfection—it’s about intentionality. Take the time to capture real-world conditions, not idealized drawings. Once you’ve got clean numbers, you’re ready to read tile spec sheets confidently or plan your tile layout with spacing and symmetry in mind. And if you're working with natural stone or large-format porcelain, revisit your waste % before ordering—you’ll thank yourself at the job site.