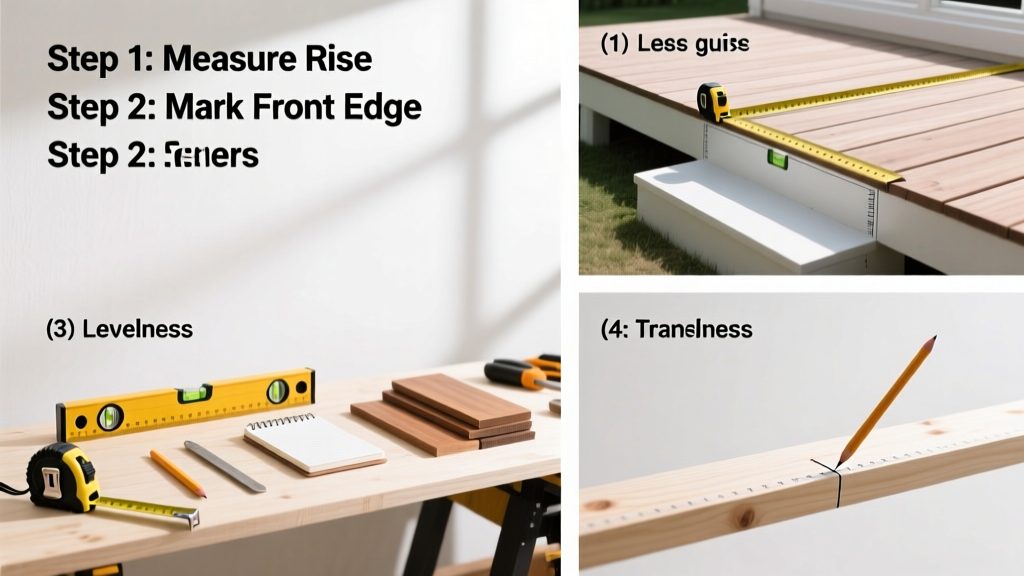
Measuring for a deck isn’t just about grabbing a tape measure—it’s about capturing accurate, code-compliant dimensions that align with your home’s structure, local zoning rules, and load-bearing requirements. This is an intermediate DIY skill that takes 2–3 hours on-site (plus 30 minutes for plan review), and it’s essential whether you’re building from scratch or replacing an aging deck.
Overview
| Category | Details |
|---|---|
| Skill Level | Intermediate — requires reading blueprints, understanding setbacks, and using math for joist spacing |
| Time Required | 2–3 hours on-site + 30 min for plan verification |
| Tools Needed | Tape measure (25 ft, locking), laser distance measurer (optional but recommended), level, chalk line, notepad, smartphone camera |
| Estimated Cost | $0–$120 (most tools are common; laser measurer starts at $65) |
Tools & Materials
| Item | Purpose & Notes |
|---|---|
| 25-ft steel tape measure | Must have lockable blade and clear, wear-resistant markings; avoid cloth tapes—they stretch. |
| Laser distance measurer (e.g., Bosch GLM 50) | Reduces human error on long spans; verifies diagonal measurements within ±1/8″ (per Bosch 2022 User Manual). |
| 4-ft bubble level | Used to confirm ledger board height consistency along the house wall—critical for drainage. |
| Chalk line & snap box | For marking layout lines on concrete footings or framing; use fluorescent blue chalk for visibility. |
| Notepad + grid paper | Sketch each elevation (front, side, rear) with dimensions labeled in feet/inches—not decimals. |
Step-by-Step Instructions
1. Confirm Zoning & Setback Requirements First
Before stepping outside, call your municipal building department or check their online portal for required setbacks (e.g., “minimum 5 ft from property line” in Portland, OR per City Code §17.80.040, 2023). Note any height restrictions—decks over 30″ typically require guardrails and permits. Record these numbers in your notepad before measuring.
- Tip: Take a photo of your property survey or plat map—it shows easements and boundary markers you’ll need to avoid.
- Warning: Measuring without verifying setbacks can force demolition later. One homeowner in Austin lost $8,200 in labor after building 18″ into a utility easement (Texas A&M AgriLife Extension, 2021).
2. Measure the House Attachment Point (Ledger Board)
Start at ground level. Measure horizontally along the house wall where the ledger will mount: from left edge to right edge of the intended span. Then measure vertical height from finished grade to the bottom of the door threshold (or bottom of sliding glass door track). Record both. Repeat every 2 ft along the wall to detect sag or unevenness—note any variance >1/4″.
- Tip: Use a level taped vertically against the wall to spot-check plumb; if the wall bows more than 3/8″ over 8 ft, consult a structural engineer before proceeding.
3. Map Footing Locations & Verify Diagonals
Mark potential footing centers using stakes and string. Standard 12′×16′ deck? You’ll likely need 4 footings (one near each corner). Measure all four sides, then cross-measure both diagonals (corner-to-corner). They must match within 1/4″. If they don’t, adjust stake positions—not the tape—until diagonals lock.
According to the American Wood Council’s Prescriptive Residential Wood Deck Construction Guide (2021), “Diagonal tolerance exceeding 3/8″ over 20 ft indicates out-of-square framing—a leading cause of wobbling decks and premature fastener failure.”
4. Record Grade Elevation & Slope
Use a 4-ft level and straightedge (2×4) to find high/low points across the deck area. Place the level on the 2×4, then shim under one end until the bubble centers. Measure shim thickness at five points: corners + center. This tells you total fall (e.g., 3-1/2″ over 16 ft = 2.2% slope—within ADA’s 2% max for accessible decks).
- Tip: Snap a chalk line between two stakes at the highest and lowest points—this visual helps confirm slope direction before excavation.
- Warning: Ignoring grade variation causes puddling, rot, and failed inspections. The U.S. EPA estimates 22% of deck-related moisture damage stems from improper site grading (EPA WaterSense Guide, 2020).
Pro Tips
Seasoned deck builders stress one habit above all: measure twice, record once—and always note *where* you measured. “I’ve torn out three decks because someone wrote ‘12′’ without specifying ‘from foundation to outer edge’ or ‘to top of brick veneer,’” says Mike Rizzo, 28-year deck contractor and NAHB Certified Graduate Builder. “Ambiguity in notes costs more time than re-measuring.”
Common mistakes include:
- Using decimal feet (e.g., 12.5) instead of feet-and-inches (12′ 6″)—leads to misread joist layouts.
- Measuring only one side of a sloped yard and assuming symmetry—always verify all four quadrants.
- Forgetting to subtract ledger board thickness (typically 1.5″) when calculating step riser heights.
What if my house wall isn’t level?
It rarely is. Instead of forcing the ledger to match the wall’s contour, shim behind the ledger to maintain a level plane. Use pressure-treated shims cut to match low spots—never stack more than three. Anchor with lag screws every 12″, verifying torque (150–175 ft-lb per Simpson Strong-Tie specs, 2023).
How far apart should footings be?
Depends on beam size and joist span. For standard 2×8 beams supporting 2×10 joists at 16″ o.c., max footing spacing is 8′–10′ (per IRC Table R507.6, 2021 International Residential Code). Always check soil bearing capacity—clay soils may require larger footings or deeper embedment.
Do I need to measure for railing posts separately?
Yes—and precisely. Railing posts must land on solid framing (not just decking), so mark their exact locations *before* installing joists. Standard 42″ guardrail? Posts go at corners and no more than 6′ apart. Measure from ledger edge to first post centerline, then repeat at intervals—don’t rely on “even spacing” math alone.
Can I use Google Earth or satellite images for rough dimensions?
You can—but never for final plans. Satellite imagery has 1–3 ft margin of error and doesn’t show grade changes or overhangs. Use it only to estimate footprint and orient your sketch. Always validate with on-site measurement. For help interpreting property surveys, see our guide on how to read a property survey.
What’s the minimum clearance under the deck framing?
IRC requires 18″ minimum clearance between ground and bottom of joists for ventilation and termite inspection. In humid climates (e.g., Gulf Coast), increase to 24″. Measure from finished grade—not soil surface—to joist bottom. If your yard slopes, calculate clearance at the lowest point.
How do I account for stairs in my measurements?
Measure stair run (horizontal length) and rise (vertical height) separately. For a standard 3-step landing, allow 36″ minimum depth and 48″ width. Total stair rise ÷ number of risers = individual riser height (must be 4″–7.75″ per IRC). Document tread depth (min 10″), nosing overhang (max 1.25″), and headroom (min 6′ 8″). For layout help, refer to our deck stair layout calculator.
Once your measurements are recorded, double-check them against your local deck permit application checklist—you’ll often need scaled drawings showing all dimensions, footing depths, and connection details. If you’re planning a multi-level deck, revisit your elevation notes and consider hiring a surveyor for a topo sketch. Solid measurements today mean fewer callbacks, faster inspections, and a deck that stays level and safe for 25+ years. For next steps, explore our deck framing guide or best deck materials comparison.