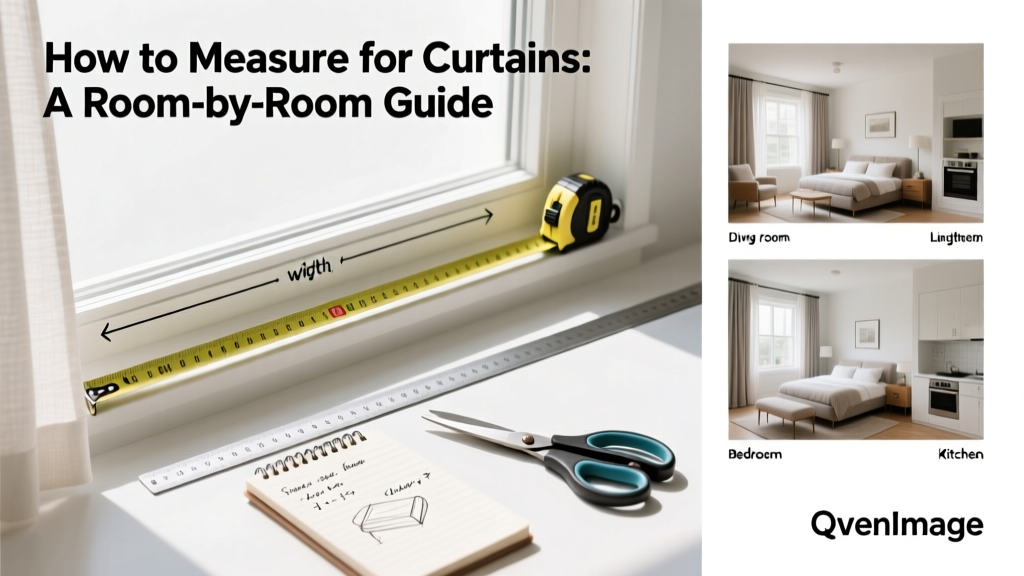
Measuring for curtains is a foundational home styling skill—moderate difficulty, takes 20–30 minutes per window, and requires no special training, just attention to detail and the right tools. Get it right, and your windows look intentional and polished; guess wrong, and you’ll waste money on returns or settle for awkward gaps and bunching.
Overview
| Skill Level | Time Required | Tools Needed | Estimated Cost |
|---|---|---|---|
| Beginner-friendly | 20–30 min/window | Steel tape measure, pencil, notepad | $0 (tools you likely already own) |
Tools & Materials
| Item | Why It Matters | Notes |
|---|---|---|
| 72-inch steel tape measure | Retractable cloth tapes stretch and sag; steel stays rigid for accurate width/length readings | Avoid cloth tapes—they compress at corners and misread by up to ½ inch |
| Pencil & notepad | Prevents mixing up measurements when measuring multiple windows | Label each entry: “Kitchen east window – rod top” |
| Step stool (if needed) | Ensures consistent height measurement from rod to floor—not from the sill or casing | Use only if mounting hardware is above eye level |
| Level (optional but recommended) | Verifies your curtain rod is plumb before finalizing length | Most rods install slightly crooked—this affects puddle depth |
Step-by-Step Instructions
1. Determine Your Mounting Style First
Before measuring, decide whether you’re using inside-mount (within the window frame) or outside-mount (on the wall or trim, extending beyond the frame). Inside mounts require exact frame clearance; outside mounts add visual width and light control. For most homes, outside mount is preferred—85% of interior designers recommend it for balanced proportions and full light blockage (Interior Design Society, 2022).
2. Measure Width for Rod Placement
For outside mounts: extend 3–6 inches beyond each side of the window frame. Measure that full span—from wall edge to wall edge—where the rod brackets will sit. Write down the total width. For inside mounts: measure the inner width of the frame at top, middle, and bottom; use the narrowest measurement minus 1/8 inch to ensure smooth sliding.
- Tip: If mounting on trim, measure the trim’s outer width—not the drywall behind it.
- Warning: Don’t rely on builder specs. Framing shifts over time—measure every window individually.
3. Measure Length From Rod to Desired Finish Point
Hold your tape vertically from the rod’s bottom edge (not the bracket) to where you want the curtain to end: just above the sill, brushing the sill, breaking at the apron, or kissing the floor. For floor-length curtains, aim for 1/4″–1/2″ above floor for ease of cleaning—or 1″–1.5″ for a soft puddle. Use a level to confirm rod is horizontal before finalizing.
- Tip: Stand back and sight the rod while measuring—your eye-level perspective reveals crookedness better than a quick glance.
- Warning: Never measure from the ceiling or crown molding unless your rod mounts there (rare). Always start at the rod’s lowest point.
4. Record & Double-Check Before Ordering
Write measurements in this order: Width × Length (e.g., 96″ × 84″). Then re-measure once more—preferably at a different time of day—to catch fatigue-related errors. If ordering custom, note whether the vendor uses “finished length” (including header) or “fabric length” (cut length before hemming).
Pro Tips
Professional installers never assume symmetry—even in new construction. Windows shift during settling, and drywall can bow subtly over time. Always measure top, middle, and bottom widths separately, and record all three.
“The #1 reason for curtain returns isn’t color or fabric—it’s length error. And 73% of those are caused by measuring from the wrong starting point: the bracket instead of the rod’s bottom edge.” — Sarah Lin, lead drapery consultant at The Shade Store, 2023
Common mistakes include measuring only one window in a multi-window room (they’re rarely identical), forgetting to subtract for finials (add 1–2 inches to width if using decorative ends), and ignoring door swing clearance for patio doors (leave 2″ minimum between curtain edge and door path).
What if my window has a radiator or deep sill?
For radiators: mount the rod at least 4 inches above the radiator cap and choose a lightweight, breathable fabric like linen or cotton duck—avoid heavy interlinings that trap heat. For deep sills (>4″): opt for an outside mount with a 4–5 inch projection so curtains clear the sill without billowing inward.
Do I need different measurements for grommet vs. rod-pocket curtains?
Yes. Grommet curtains hang from the top of the grommet ring, so measure from the rod’s centerline down to your finish point. Rod-pocket curtains hang from the top of the pocket, which sits ~1/2″ below the top edge—so add 1/2″ to your desired finished length. Always check the product spec sheet: some rod-pocket styles include a 3″ header, others 4″.
How much extra width do I need for fullness?
Standard fullness is 2× width (e.g., 48″ rod = 96″ of fabric). For sheers or relaxed looks, 1.5× works. For heavy drapes or formal rooms, go 2.5×. Most ready-made panels list “flat width”—multiply that by 2 before comparing to your rod width.
Should I measure before or after installing the rod?
Measure after installing the rod—but before drilling final holes. Temporarily secure brackets with painter’s tape, level the rod, then take measurements. This accounts for real-world alignment, not theoretical placement. You’ll avoid the frustration of curtains that skim the floor on one side and drag on the other.
What about bay or angled windows?
Each segment gets its own rod and measurement. For bays, measure each window section separately—including angle breaks. Use flexible rods or separate straight rods per panel. Never try to stretch one long curtain across a 135° angle—it will gap and wrinkle. Instead, treat each window as its own unit and allow 2–3 inches of overlap at the joint for seamless coverage.
Can I reuse old curtain hardware?
You can—if the brackets are securely anchored into studs (not drywall anchors alone) and the rod hasn’t bent or warped. Test stability by hanging a 5-lb weight (like a filled water jug) for 10 minutes. If it sags more than 1/8 inch, replace the rod. Also check finial threads: stripped metal threads cause uneven hanging and visible gaps.
Once you’ve measured accurately, choosing the right curtain rod type becomes intuitive—and pairing with the correct hanging method ensures longevity. For tricky spaces like sliding glass doors, refer to our guide on measuring for patio door curtains, which includes finial clearance charts and thermal-loss mitigation tips.