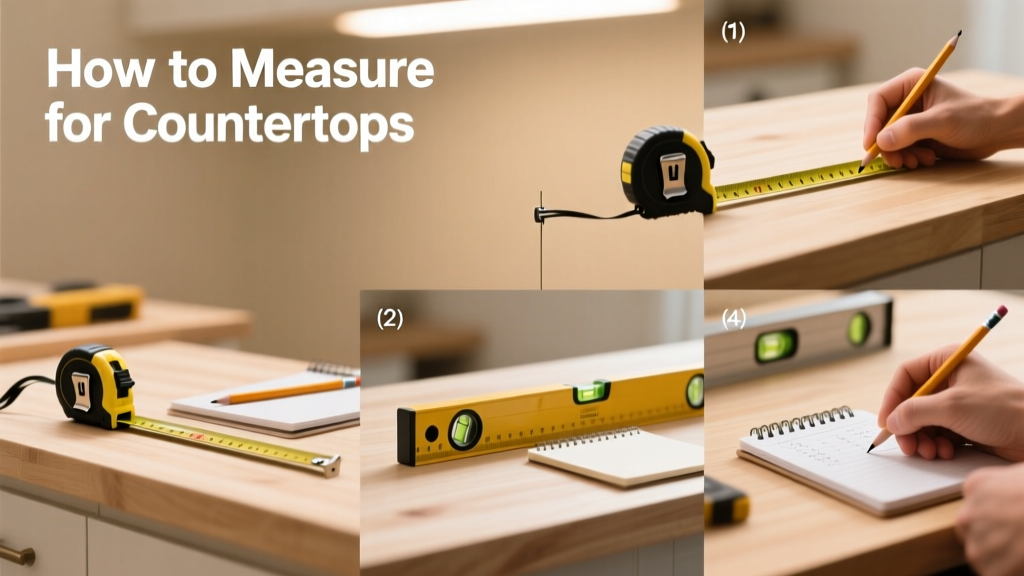
Measuring for countertops is a foundational skill for any kitchen or bathroom remodel—and it’s easier than most assume. With moderate precision and 45–90 minutes of focused time, you can gather measurements accurate enough for fabrication. This isn’t guesswork; it’s geometry with purpose.
Overview
| Skill Level | Time Required | Tools Needed | Estimated Cost |
|---|---|---|---|
| Beginner-friendly (no prior experience needed) | 45–90 minutes per surface | Tape measure, notepad, pencil, smartphone camera | $0 (tools you likely already own) |
Tools & Materials
| Item | Specifications | Why It Matters |
|---|---|---|
| Retractable steel tape measure | 25-foot length, locking mechanism, fractional inch markings | Flexibility and lockable blade prevent sagging over long spans—critical for accuracy beyond 6 feet |
| Graph paper or digital sketch app | Grid-lined or scale-drawing capability (e.g., SketchUp Free or even Notes app) | Helps visualize cutouts, seams, and overhangs before fabricator sees your numbers |
| Smartphone with camera | High-resolution, wide-angle lens preferred | Captures context: sink location, outlet placement, backsplash gaps—details hard to note in writing |
| Level (optional but recommended) | 24-inch aluminum torpedo level | Verifies cabinet top is truly flat—uneven cabinets affect seam alignment and overhang consistency |
Step-by-Step Instructions
1. Clear and prep the surface
Remove all items from countertops—including appliances, decor, and small fixtures. If replacing existing countertops, leave base cabinets intact—but remove any loose trim or damaged edging that obscures cabinet edges. Wipe down cabinet tops so you can see the full perimeter and identify any warping or damage.
2. Sketch the layout on paper or screen
Draw a rough overhead view of the countertop area. Label walls (e.g., “north wall”, “window wall”), note door swings, and mark locations of sinks, cooktops, and outlets. Include cabinet runs, peninsulas, and islands—even if unfinished. Use this sketch as your reference map while measuring.
- Tip: Number each wall segment (e.g., “Wall A: left of sink”, “Wall B: behind range”) to avoid mixing up dimensions later.
- Warning: Don’t rely solely on builder plans or old blueprints—cabinets often shift during installation, making field measurements non-negotiable.
3. Measure length and depth at multiple points
For each straight run, measure length along the front edge of the cabinets—not the wall. Take three measurements: left, center, and right. Record the smallest length (fabricators cut to the shortest usable dimension). Then measure depth (front-to-back) at least three spots—left, center, right—along the same run. Note the shallowest depth.
For L-shaped or U-shaped layouts, measure each leg separately and record the inside corner angle—if it’s not a true 90°, note the deviation (e.g., “87°” or “92°”). Most quartz and granite shops require corner angles within ±2° for seamless mitering.
4. Document cutouts, obstructions, and overhangs
Measure sink cutout length, width, and distance from front edge and side walls. For cooktops, include knockout dimensions *and* required clearance (e.g., “30" induction cooktop: 28-1/4" x 19-3/4", 2" minimum rear clearance”). Record faucet hole spacing (center-to-center), outlet box heights from countertop surface, and backsplash height (if continuing).
- Tip: Place masking tape on cabinet tops where cutouts sit—then label with dimensions directly on tape.
- Warning: Standard 1-1/2" overhang is typical, but island ends may need 12" for seating. Confirm with your designer—overhangs affect structural support requirements.
Pro Tips
Even experienced DIYers miss subtle pitfalls. According to the National Kitchen & Bath Association’s 2023 Countertop Installation Standards, 68% of countertop returns requiring re-cut stem from inaccurate sink or cooktop cutout placement—not overall dimensions.
“Always measure twice, sketch once, and photograph everything. We’ve had clients send us five photos of the same corner—and it still saved us two hours of back-and-forth.” — Maria Chen, lead estimator at MetroStone Fabrication (2024)
Common mistakes include measuring from drywall instead of cabinet fronts, forgetting to subtract toe-kick depth when calculating total run length, and omitting the thickness of existing countertops when planning for undermount sink support. Also: never assume symmetry—measure both sides of a sink base cabinet separately. One side may be 23-1/2", the other 23-3/4" due to plumbing offsets.
How do I measure for an island countertop?
Islands require four precise measurements: length, width, height (from floor to cabinet top), and overhang depth on all sides. Note whether the island has a sink, cooktop, or waterfall edge—and measure those features relative to the island’s outer edges. If electrical or plumbing runs are exposed underneath, measure clearance zones too. For seating overhangs, confirm structural support: 12" overhang requires at least 6" of solid wood or steel corbel beneath.
What if my cabinets aren’t level or square?
Minor inconsistencies (<1/8" over 6 feet) are normal—and fabricators expect them. But if your cabinet top varies more than 1/4" front-to-back or side-to-side, document the high/low points. Share this with your fabricator: they’ll either shim the countertop or recommend cabinet repair first. The U.S. Department of Housing and Urban Development notes that 41% of pre-1990 homes have out-of-level cabinetry—so don’t panic, just record it.
Do I need to measure for backsplash separately?
Yes—but only if it’s the same material and installed as one piece. Measure height from countertop surface to bottom of wall cabinets (or desired height, e.g., 4" for a minimal band or 18" for full coverage). Record length along each wall section, noting transitions (e.g., “backsplash stops 3" before window frame”). If using tile or separate material, provide those specs to your contractor—not your countertop fabricator.
Should I include appliance dimensions in my measurements?
Only the cutout and clearance specs—not the full appliance footprint. Your fridge, dishwasher, or microwave don’t sit on the countertop, so their external dimensions rarely affect slab sizing. However, built-in ovens or drawer dishwashers that integrate into the countertop plane *do* require full dimensional specs, including required ventilation gaps.
Can I measure over existing countertops?
You can—but only if they’re firmly attached, undamaged, and represent the final cabinet height. If the old countertop is cracked, warped, or sitting on shims, remove it first. Measuring over compromised surfaces leads to errors in overhang, seam placement, and sink depth. As a rule: if you wouldn’t trust it to hold a hot pan, don’t trust it to guide your new slab.
What’s the smallest detail I shouldn’t skip?
The radius of rounded corners. Even a 1/4" radius affects CNC programming. Note whether corners are square, bullnosed (1/2" radius), or custom (e.g., “3/8" radius, eased edge”). Also log edge profiles you want—ogee, dupont, or bevel—since some profiles reduce usable thickness and affect support needs. You’ll find more about countertop edge profiles and how they impact durability in our dedicated guide.
Once your measurements are logged, cross-check them against your sketch and photos. Then share the full package—notes, sketch, and images—with your fabricator *before* ordering. That simple step prevents 90% of callbacks. For help choosing materials based on your space and lifestyle, explore our quartz vs. granite comparison or best countertop materials for small kitchens.