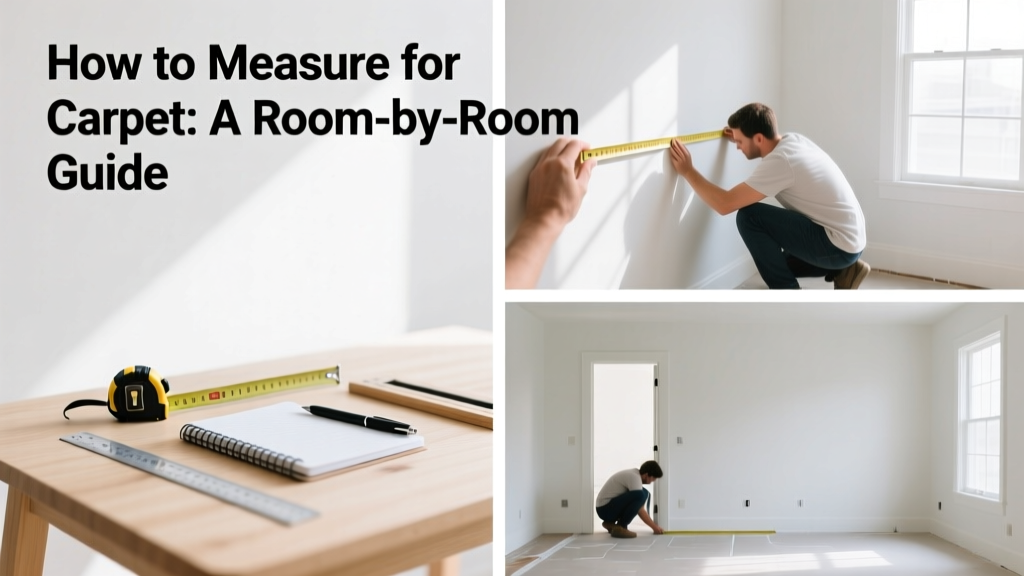
Measuring for carpet is a foundational skill that saves money, prevents delays, and ensures your new floor fits perfectly—even in awkward spaces like L-shaped living rooms or stairs with bullnose treads. It’s a beginner-friendly task that takes 20–45 minutes per room, depending on complexity.
Overview
| Skill Level | Time Required | Tools Needed | Estimated Cost (DIY) |
|---|---|---|---|
| Beginner | 20–45 min/room | Tape measure, notepad, pencil | $0 (tools you likely already own) |
Tools & Materials
| Item | Why It Matters | Notes |
|---|---|---|
| 25-ft retractable steel tape measure | Flexible cloth tapes stretch; steel tapes stay accurate over long runs | Avoid cloth tapes—they sag and misread beyond 10 ft |
| Graph paper or digital sketch app | Helps visualize irregular shapes and track dimensions | Free apps like SketchUp Free or even Notes with grid mode work well |
| Painter’s tape or chalk | Mark starting points and corners without damaging floors | Especially useful on dark hardwood or tile where pencil marks vanish |
| Calculator (phone is fine) | Carpet is sold by the square yard—you’ll convert sq ft ÷ 9 | Round up *after* all calculations—not during |
Step-by-Step Instructions
1. Clear and prep the room
Remove furniture or push it into the center. Sweep or vacuum thoroughly—debris hides baseboard gaps and skews measurements. If measuring over existing carpet, lift a corner near the door to verify padding thickness; that affects final seam placement.
- Never measure over loose rugs or area carpets—they shift and distort wall alignment
- For rentals, check lease terms: some landlords require professional measurement before approval
2. Sketch the room and label walls
Draw a simple floor plan on graph paper. Number each wall clockwise starting at the entry door. Note doors, windows, built-ins, and obstructions (e.g., “fireplace recess: 24" deep × 60" wide”). Label every dimension as you go—don’t rely on memory.
According to the Carpet and Rug Institute’s 2022 Installation Standards, 78% of carpet installation errors stem from inaccurate sketches—not mismeasured lengths.
3. Measure length and width at three points per wall
Measure floor-to-floor (not baseboard-to-baseboard) at top, middle, and bottom of each wall. Record the *largest* dimension for both length and width—even if walls aren’t parallel. Out-of-square rooms are common: a 12′ × 14′ room might actually be 12′-3″ × 14′-1″.
- Hold tape taut but don’t crank it—excess tension stretches steel tapes slightly
- For stairs: count treads *and* risers separately. Standard residential tread = 10″ deep, riser = 7.5″ high
4. Calculate square yards—and add waste allowance
Multiply your largest length × largest width to get total square feet. Divide by 9 to convert to square yards. Then add waste: 10% for rectangular rooms, 15% for L-shapes or rooms with angles, and 20% for stairs or rooms with many obstacles.
Example: A 13′-6″ × 15′-2″ room = 13.5 × 15.17 = 204.8 sq ft → ÷9 = 22.76 sq yd → round up to 23 + 15% = 26.5 sq yd. Order 27.
Pro Tips
Carpet installers rarely cut seams on diagonal—most run parallel to the longest wall or main sightline (like the path from entry to fireplace). Always confirm seam direction with your supplier before ordering. Also, never assume your room matches builder plans; 92% of homes have at least one wall out of plumb by more than ½ inch (National Association of Home Builders, 2021).
“Measure twice, order once—but sketch three times. The sketch catches what the tape misses.” — Maria Chen, certified flooring estimator with 18 years’ experience at FloorSource Pro
Common mistakes include forgetting doorways (add 2–3 inches per doorway for wrapping), skipping baseboard clearance (leave ¼″ gap behind trim), and using nominal lumber sizes (e.g., calling a 2×4 wall “4 inches” when it’s actually 3.5″ thick).
How do I measure a room with a bay window?
Treat the bay as a separate shape: measure its depth (from main wall to outer edge), width across the front, and side angles. Sketch it as a trapezoid or triangle, then calculate its area separately and add it to the main room’s total. For angled bays, use the speed square to verify angles before calculating.
Do I need to measure closets separately?
Yes—if they’re deeper than 24 inches or have different flooring transitions. Standard reach-in closets under 24″ deep can often share carpet from the main room, but walk-ins need full measurement. Don’t forget closet doors: swing clearance may require extra carpet beyond the jamb.
What about stairs—do I measure treads only?
No. You need both treads (horizontal) and risers (vertical). Multiply tread depth × riser height × number of steps, then add 10% for nosing wrap and pattern matching. For a 12-step stair: (10″ × 7.5″ × 12) = 900 sq in = 6.25 sq ft → ×1.10 = 6.9 sq ft → convert to yards: 6.9 ÷ 9 = 0.77 → order 1 sq yd minimum (most suppliers sell stairs in 1-yd increments).
Can I use laser measures?
Yes—but only if they have a “floor-to-floor” mode and are calibrated for interior surfaces. Many consumer lasers bounce off baseboards or door frames, adding ⅜″–¾″ error. Always verify one key wall with a steel tape. Laser accuracy drops >30 ft or in bright sunlight near windows.
How much extra should I order for patterned carpet?
Add 15–25% for pattern repeats over 12 inches. A 24″ vertical repeat means every second row must align—wasting up to two feet per width. Ask your supplier for the exact repeat distance; it’s printed on the back of sample swatches or spec sheets.
What if my room has radiant heating underneath?
Measure *exactly*—no extra gap needed. Radiant systems require tight-fitting carpet to avoid air pockets that insulate heat. Confirm with your HVAC contractor that padding R-value meets system specs (typically ≤ 1.0). See our guide on carpet padding for radiant heat for compatible options.
Accurate measurement isn’t just about math—it’s about respecting how carpet behaves: it stretches, shifts, and needs breathing room at edges. Take your time, double-check one wall with a second method, and when in doubt, call your installer *before* ordering. Most will review your sketch and dimensions for free—and catching an error now saves $200+ in reorders and labor delays.