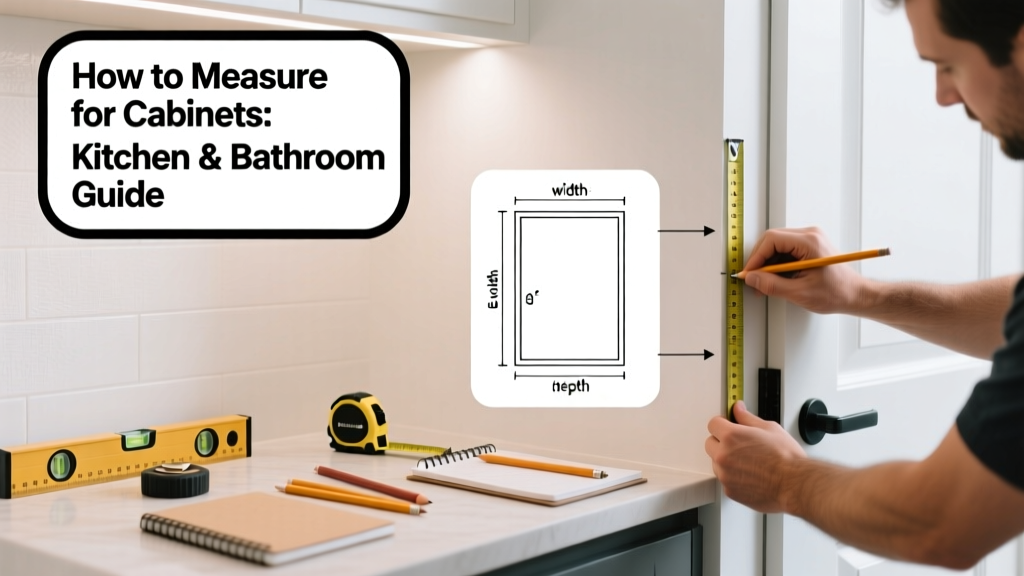
Measuring for cabinets is a foundational skill for DIY kitchen or bathroom remodels—and it’s easier than most assume. With moderate precision and 2–3 hours of focused time, you’ll gather reliable dimensions that prevent ordering mistakes, shipping delays, or on-site fit issues. No prior carpentry experience needed, but attention to detail is non-negotiable.
Overview
| Skill Level | Time Required | Tools Needed | Estimated Cost |
|---|---|---|---|
| Beginner-friendly (with patience) | 2–3 hours per room | Tape measure, level, pencil, notepad, smartphone camera | $0–$15 (most tools likely already owned) |
Tools & Materials
| Item | Purpose | Notes |
|---|---|---|
| 25-foot retractable tape measure (metal blade) | Accurate linear measurements up to 12 ft without shifting | Avoid cloth tapes—they stretch. Use one with a locking mechanism and clear, bold markings every 1/8" |
| 4-foot bubble level | Verify wall plumb and countertop height consistency | Walls are rarely perfectly vertical; this reveals where adjustments matter most |
| Graph paper or digital sketch app (e.g., SketchUp Free) | Plot measurements visually before ordering | Draw to scale: 1 square = 3 inches works well for quick hand sketches |
| Smartphone with camera | Capture wall angles, outlet placements, and obstructions | Take photos from multiple heights—especially behind appliances or under sinks |
Step-by-Step Instructions
1. Clear the space and note existing conditions
Remove items from countertops, shelves, and base cabinets. Pull out appliances if measuring for replacements (e.g., fridge alcove width). Record current cabinet heights, toe-kick depths (typically 3–4"), and any visible wall bowing or uneven floors. Warning: Don’t assume walls are square—even new construction often has 1/4"–3/8" variance over 8 feet.
2. Measure wall-to-wall width at three points
Hold tape taut and level. Measure top (just below ceiling), mid-height (eye level), and bottom (above baseboard) across each wall section. Note the smallest dimension—this is your usable width. For example: left wall measures 96-1/4", 96", and 95-7/8" → use 95-7/8" as max cabinet run. Tip: Mark each measurement directly on the wall with light pencil ticks and label them (e.g., "W1-T", "W1-M").
3. Record vertical heights from floor to ceiling and key obstructions
Measure floor-to-ceiling at left, center, and right of each wall. Also record: distance from floor to bottom of window sill, top of radiator, or HVAC vent. Note ceiling height variation—if it drops more than 1/4" across 8 feet, plan for scribe molding or custom filler panels. Warning: Base cabinets sit on subfloor—not finished flooring. If you’re installing new flooring later, subtract its thickness (e.g., 3/4" hardwood) from your floor-to-cabinet-top height.
4. Map all obstacles and utilities
Log exact locations of outlets, switches, pipes, vents, and structural columns. Measure horizontally from the nearest corner and vertically from the floor. For outlets: note height (standard is 12" above floor for base cabinets, 48" for wall cabinets), depth (recessed vs. surface-mount), and whether they’re centered in a stud bay. Tip: Use your level to draw a light horizontal reference line at 34-1/2"—standard base cabinet height—to visualize where outlets fall relative to cabinet backs.
Pro Tips
Professional cabinet installers always measure twice—and verify once with a dry layout. According to the National Kitchen & Bath Association’s 2023 Installation Standards, 68% of field adjustments stem from inaccurate height or reveal measurements—not material defects. That’s why pros never rely on builder-provided blueprints alone.
"The biggest mistake I see? Measuring only the 'pretty' side of the wall. Always check behind the refrigerator, inside the pantry door swing, and under the sink trap—those hidden inches kill perfect fits."
— Maria Chen, CKD, lead installer at Metro Cabinetry Co. (2022–present)
- Always measure in fractions of inches—not decimals—to match cabinet specs (e.g., 35-1/2", not 35.5")
- If your wall has wainscoting or crown molding, measure to the face—not the edge—of the trim
- For corner cabinets, measure both adjacent walls to the corner point, then add 1" for scribe allowance
Where do I start measuring—with the left or right wall?
Start at the longest uninterrupted wall and move clockwise. This minimizes cumulative error. Label walls A–D in your notes, and assign corners A-B, B-C, etc. Consistency prevents mix-ups when comparing your sketch to manufacturer cut sheets.
Do I need to measure the depth of my existing cabinets?
Yes—but only as a reference. Standard base cabinets are 24" deep; wall cabinets, 12" or 13-1/2". However, measure actual depth at multiple points: older cabinets may sag forward or have warped doors. Compare to your planned countertop overhang (typically 1") and appliance clearance (e.g., dishwasher needs 24" depth + 1" rear service gap).
What if my floor isn’t level?
It rarely is. Record the high and low points across the run. Most cabinet systems include adjustable legs (1/2"–1" range) to compensate. If floor variation exceeds 3/8" over 8 feet, discuss shimming options with your supplier—or consider a floating base design like those used in floating shelves.
How precise do my measurements need to be?
To the nearest 1/16" for widths and heights; within 1/8" for depths and obstacle locations. Manufacturer tolerances allow ±1/8" on standard stock cabinets—but semi-custom and frameless styles require ±1/16" accuracy. A misread 1/4" can mean a 30" cabinet won’t fit between two walls spaced at 30-3/16".
Should I measure for upper and lower cabinets separately?
Absolutely. Base cabinets anchor to the floor and depend on floor-level data; wall cabinets hang on studs and rely on ceiling height, soffit depth, and header clearance. Measure base runs first, then mark stud locations (16" or 24" on-center) for wall cabinets using your level and tape. You’ll also want to review how to read cabinet spec sheets before finalizing orders.
What if I’m ordering online without an in-person consult?
Submit your scaled sketch, all three-point measurements, and five clear photos (corner views, ceiling line, floor junction, outlet close-up, and full-wall shot). Reputable suppliers like CliqStudios and CabinetNow require this before quoting. One missed pipe location can delay delivery by 10+ business days for redesign.
Accurate cabinet measurements don’t just save money—they save weeks of scheduling headaches and keep your renovation moving forward. Take your time, double-check each number against your sketch, and when in doubt, add a 1/4" scribe allowance to tight fits. Once you’ve measured three rooms, the rhythm becomes second nature—and you’ll spot inconsistencies others miss. For next steps, explore our guide on how to install base cabinets or compare cabinet materials based on your measured space constraints.