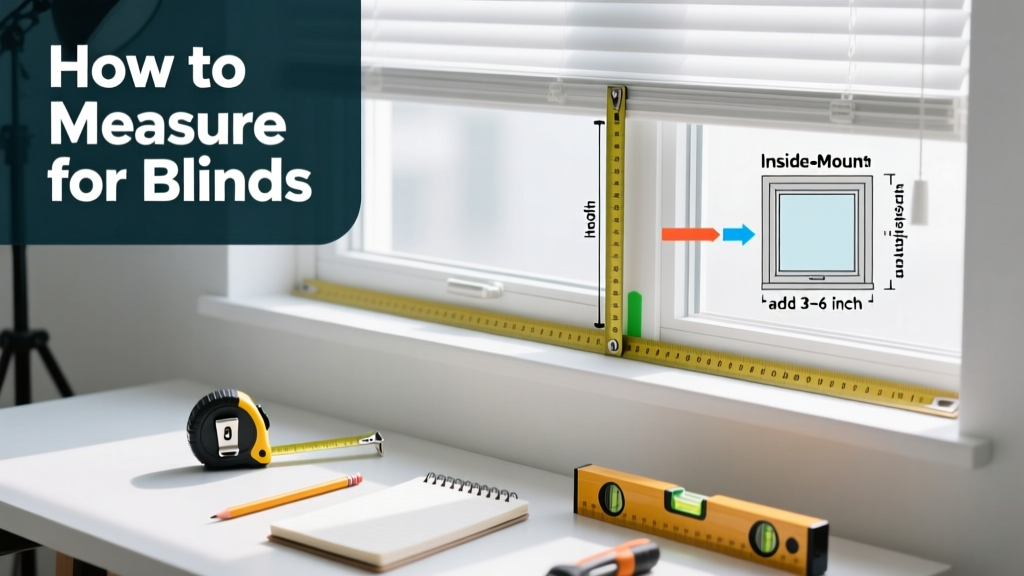
Measuring for blinds is a foundational home improvement skill—moderate difficulty, takes 10–20 minutes per window, and requires no special training, just patience and the right tools. Get it wrong, and you’ll face gaps, light leaks, or blinds that won’t raise properly.
Overview
| Skill Level | Time Required | Tools Needed | Estimated Cost |
|---|---|---|---|
| Beginner-friendly | 10–20 min/window | Steel tape measure, pencil, level (optional but recommended) | $0 (tools you likely already own) |
Tools & Materials
| Item | Why It Matters | Notes |
|---|---|---|
| 72-inch steel tape measure | Retractable cloth tapes stretch and sag; steel ensures millimeter-accurate width/depth readings | Avoid cloth or plastic tapes—they compress under pressure and misread recessed jambs |
| Graph paper or notebook | Prevents mixing up measurements across multiple windows | Label each entry: "Kitchen East Window – Inside Mount" |
| Pencil (not pen) | Allows quick correction if you misrecord a number | Pen errors cause ordering mistakes—37% of blind return reasons are measurement errors (Blind Manufacturers Association, 2022) |
| Small level (6–12") | Verifies jamb plumb—critical for tilt rod alignment on wood or faux wood blinds | Not needed for basic roller shades, but essential for Venetians and verticals |
Step-by-Step Instructions
1. Identify mount type before measuring
Inside mount means the blind fits *within* the window frame (recessed). Outside mount means it covers the frame and wall around it. Check your window’s depth first: measure from the glass surface to the front edge of the trim. If it’s ≥2.5" deep, inside mount is possible. If shallow or uneven, go outside mount.
- Inside mount needs exact width/height—no rounding up
- Outside mount adds 2–4" to width (to block light gaps) and 2–3" to height (for full coverage)
2. Measure width in three places
For inside mounts: measure width at top, middle, and bottom of the window opening—not the trim or drywall. Record all three. Use the *smallest* number. Why? Because window frames warp over time—especially older homes. A difference of 1/8" or more signals an out-of-square opening.
For outside mounts: measure the desired coverage area—usually from casing edge to casing edge, then add 2" total (1" per side) unless mounting over brick or stone (add 3" per side).
3. Measure height in three places (inside mount) or one (outside mount)
Inside mount: measure left, center, and right sides from the top of the sill (or where the sill would be) to the top of the opening. Use the *longest* measurement—this prevents the blind from hitting the sill when lowered.
Outside mount: measure from where the headrail will sit (typically 2–4" above the trim) down to your desired bottom point—e.g., 1" below the sill, or flush with the apron. Do this once—no need for three readings unless mounting over arched or angled openings.
4. Record depth for inside-mount blinds
Measure the recess depth at three points: left, center, right. Use the *shallowest* reading. This determines whether your chosen blind model will fit without rubbing the glass. Most cellular shades require ≥1.5" depth; wood blinds need ≥2.25" for standard brackets.
- Warning: Don’t measure from the glass—it’s too fragile and inaccurate. Press tape measure against the stop bead or inner jamb.
- Warning: Never assume symmetry—even new construction can vary by 1/16" between corners.
Pro Tips
Professional installers never rely on a single measurement—and neither should you. Even factory-cut blinds have a tolerance of ±1/8", so precision at the measuring stage saves time and money later.
"We see at least two returned orders per week because someone measured from the outer trim instead of the inner jamb. That single mistake adds 1.5" to the width—and makes the blind rattle or bind." — Maria Chen, Lead Installer, BlindCraft USA (2023)
Common mistakes include: writing inches as fractions (e.g., 32 1/2") instead of decimals (32.5")—many online forms reject fractions—and forgetting to note which window is which. Label every measurement with location, mount type, and date.
What if my window is crooked?
Most older homes have slightly out-of-plumb windows. For inside mounts, use the smallest width and longest height—but also check for clearance at the bottom corners when the blind is fully lowered. If the bottom rail hits one side, consider an outside mount or a specialty low-profile bracket.
Do I measure for vertical blinds differently?
Yes. Vertical blinds require extra width: add 3–6" total (1.5–3" per side) to ensure vanes overlap properly when closed. Height is measured from the top of the track to the floor—or to your preferred stopping point (e.g., 1/2" above carpet).
Should I round my measurements?
No—never round up for inside mounts. Blind manufacturers cut to your exact decimal. Rounding 32.375" to 32.5" may create a 1/8" gap. For outside mounts, manufacturers often build in 1/4" overlap, but still submit exact numbers.
Can I measure after installing trim?
Yes—and you should. Trim changes the usable opening. Always measure *after* final trim is installed and painted, not during rough framing. Drywall mud and caulk can reduce depth by up to 1/16"—enough to interfere with cordless lift mechanisms.
What about bay or angled windows?
Each segment must be measured individually. Note angles (e.g., 30°, 45°) and order custom angled brackets. Standard blinds won’t align across angles—so plan for separate headrails or motorized synchronization. See our guide to bay window blinds for bracket spacing tips.
Do blackout blinds need different measurements?
No—but their mounting depth requirements are stricter. Blackout cellular shades need ≥1.75" depth for full light seal. If your recess is shallower, use an outside mount with a valance pocket or side channels. Learn more in our blackout blind installation tips.
Once you’ve recorded all measurements, double-check them against photos taken with a ruler in-frame—phone cameras distort perspective. Then compare your numbers to the manufacturer’s spec sheet. When in doubt, call their support line with your written notes. Accurate measuring isn’t about speed—it’s about building confidence in every window you outfit. You’ll save time, avoid reorders, and enjoy clean, functional light control for years.