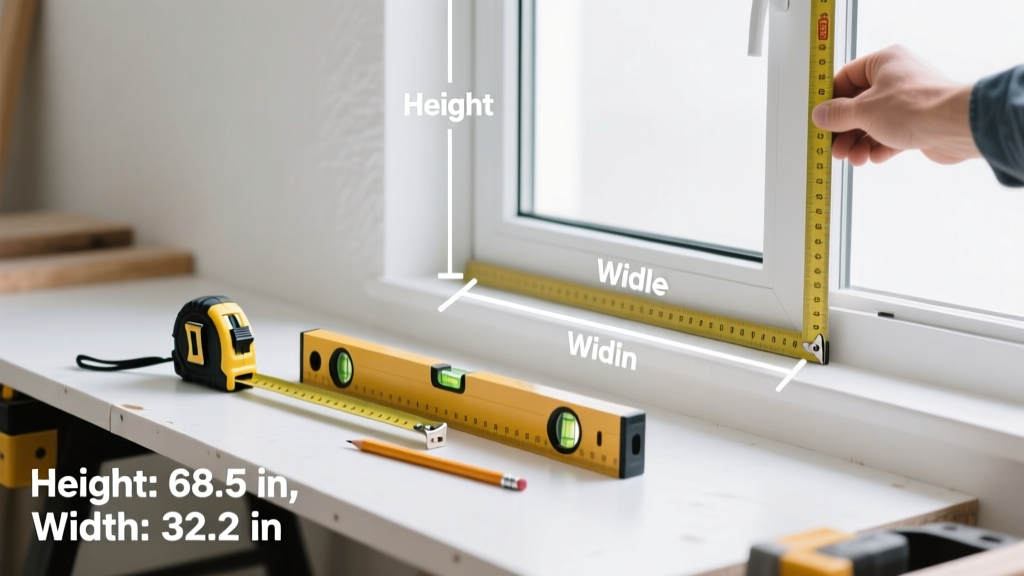
Measuring for a replacement window is a foundational skill for DIYers and contractors alike—it’s low-risk, requires no power tools, and takes under 20 minutes per opening. With practice, you’ll get consistent results every time.
Overview
| Category | Details |
|---|---|
| Skill Level | Beginner — no prior carpentry experience needed |
| Time Required | 15–20 minutes per window (plus 5 minutes for double-checking) |
| Tools Needed | Steel tape measure (25 ft), pencil, notepad, level (optional but recommended) |
| Estimated Cost | $0 (if you own a tape measure); $12–$25 for a quality 25-ft tape if you don’t |
Tools & Materials
| Item | Purpose & Notes |
|---|---|
| 25-ft steel tape measure | Must have a locking blade and clear, millimeter-precise markings. Cloth or plastic tapes stretch and sag—avoid them. Learn how to read a tape measure if your numbers feel fuzzy. |
| Hard pencil (e.g., HB or #2) | So it doesn’t smudge on dusty sills or brickmold. A mechanical pencil works well too. |
| Notepad or digital note app | Label each measurement clearly: “Front Bedroom, East Window – Width Top” to avoid mix-ups later. |
| Carpenter’s level (optional) | Use only if checking for out-of-plumb jambs—critical for vinyl or fiberglass windows that require square openings. |
Step-by-Step Instructions
1. Clear the opening and identify the rough opening
Remove any curtains, blinds, or interior trim that blocks access to the window frame’s structural edges. The rough opening is the unfinished wood or framing behind the drywall or brickmold—not the visible glass or sash. If you’re measuring for a new construction window, the rough opening is already exposed. For replacements, look for the nailing flange or the outermost framing members.
2. Measure width in three places: top, middle, and bottom
Stretch the tape across the inside of the rough opening—measuring from jamb to jamb, not from trim to trim. Record all three: top (just below header), middle (at center height), and bottom (just above sill). Write them down immediately. Warning: Never assume symmetry—the bottom is often 1/8″–3/16″ wider due to settling. Use the smallest width as your final dimension.
3. Measure height in three places: left, center, and right
Hold the tape vertically along the interior edge of the rough opening—from the sill up to the header. Measure at left, center, and right. Again, record all three. Use the shortest height as your final number. According to the National Fenestration Rating Council’s 2022 Installation Manual, 72% of misfit windows stem from using the longest instead of shortest vertical measurement.
4. Measure depth of the rough opening
Press the tape measure’s hook into the deepest corner of the opening and extend it straight back to the exterior sheathing or foundation wall. Most standard replacement windows require 4½″–6½″ depth. If your wall is stucco or masonry, measure from interior drywall face to exterior surface—including any brick or stone veneer. Note whether insulation or furring strips reduce usable depth.
Pro Tips
Even experienced installers re-measure—twice—before ordering. Here’s why:
- Always measure in inches and fractions (e.g., 36 1/8″), not decimals. Window manufacturers use fractional increments.
- If measuring an old wood window with warped jambs, use a straightedge (like a 4-ft level) to bridge gaps and find true plane—then measure to the straightedge.
- For bow or bay windows, measure each individual unit separately—and note the angle between units (usually 15°, 30°, or 45°).
“The single most common error we see is measuring from exterior brickmold to brickmold instead of the rough opening. That adds 2–3 inches per side—and guarantees the window won’t fit.” — Mike R., Field Technical Lead, Andersen Windows, 2023
What if my measurements aren’t perfectly square?
It’s normal. Most residential rough openings are out of square by 1/8″–3/8″. Manufacturers build tolerance into their frames—but if diagonal measurements differ by more than 3/8″, call a contractor to assess structural issues before ordering.
Do I measure the existing window or the rough opening?
Rough opening—always. The existing window may be installed crooked, shimmied, or held in place with decades of caulk and paint. Its dimensions reflect wear, not structure. Removing the old unit first gives the cleanest access, but isn’t required if you can reach the framing.
Should I subtract anything for clearance?
No. Reputable manufacturers provide exact rough opening requirements for each model. Your job is to supply accurate rough opening dimensions. They’ll handle the engineering clearance (typically 1/4″–3/8″ total gap around the frame).
Can I measure from the outside?
Only if the exterior is fully exposed and unobstructed (e.g., new construction). Vinyl siding, brick, or stucco hides framing—so interior measurement is safer and more reliable. Exterior-only readings miss critical sill and header depth.
What about arched or specialty-shaped windows?
Photograph the opening from multiple angles, then sketch its outline on paper with labeled dimensions: radius, chord length, rise, and base width. Many suppliers require this for custom orders—and some offer free CAD drawing services if you send clear photos and notes.
How do I label measurements for the supplier?
Use this format: “36 1/8″ W × 48 3/4″ H × 5 1/2″ D – Rough Opening”. Include window type (e.g., “double-hung”, “casement”), exposure (e.g., “west-facing, full sun”), and energy specs if known. Decoding NFRC labels helps match performance to your climate zone.
Accurate window measurements save time, money, and frustration—they’re the quiet foundation of every successful upgrade. Take your time, write it down, and verify once more before hitting “submit” on that order form.