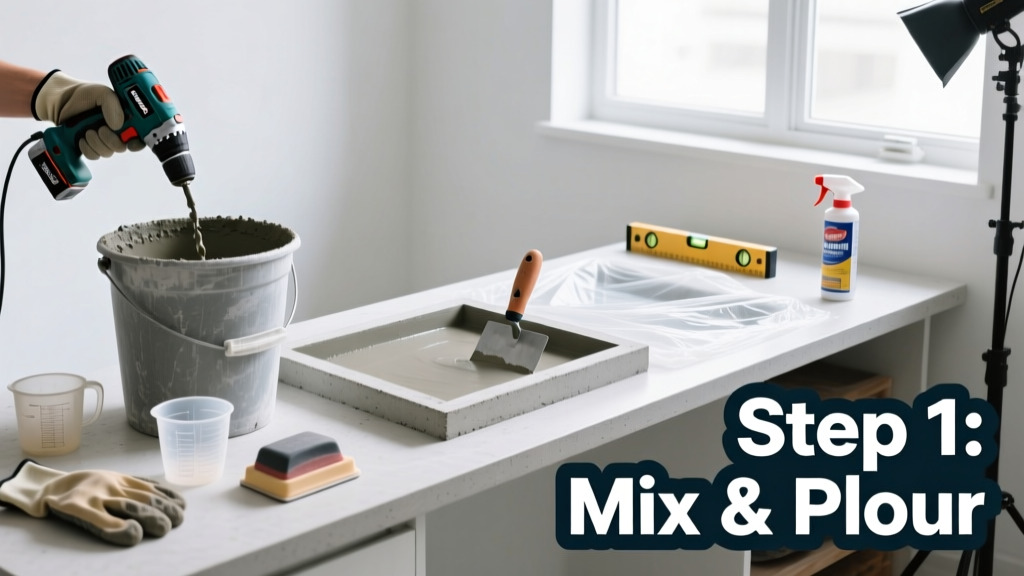
Making a concrete countertop is a rewarding DIY project that delivers custom, industrial-chic surfaces for kitchens or bathrooms—but it’s not just pouring cement in a box. It requires precision mixing, controlled curing, and careful finishing. Expect 5–7 days of active work (plus 28 days for full strength), with intermediate difficulty due to timing sensitivity and material handling.
Overview
| Category | Details |
|---|---|
| Skill Level | Intermediate — requires attention to mix ratios, vibration, and moisture control |
| Time Required | 40–50 hours total (5–7 days active; 28 days for full cure) |
| Tools Needed | Concrete mixer (or heavy-duty drill + paddle), orbital sander (5″), diamond grinding pads (50–3000 grit), laser level, caulk gun |
| Estimated Cost | $180–$320 for a standard 24″ × 72″ slab (excluding sink cutout hardware) |
Tools & Materials
| Item | Specifications & Notes |
|---|---|
| Concrete Mix | QUIKRETE® Countertop Mix (60-lb bag yields ~0.45 ft³); avoid standard Sakrete—too coarse for thin pours |
| Mold Frame | ¾″ MDF (not plywood—swells when wet); sealed with 3 coats of oil-based polyurethane |
| Reinforcement | 2 layers of ¼″ fiberglass mesh (not rebar—too stiff for 1.5″ slabs); overlapped 2″ at seams |
| Release Agent | Smooth-On AquaCon® (water-based, non-staining); never use vegetable oil—it causes voids |
| Sealer | Ghostshield Lithi-Tek® 4500 (penetrating lithium silicate) + Top Shield® WB (film-forming acrylic topcoat) |
| Grinding Pads | 50, 100, 200, 400, 800, 1500, 3000 grit resin-bonded diamond pads (wet-use only) |
Step-by-Step Instructions
1. Build and seal the mold
Cut MDF to final dimensions plus 1.5″ extra on all sides for overhang. Assemble with waterproof glue and #8 × 1.5″ screws every 6″. Fill screw holes and seams with silicone caulk, then apply three full coats of oil-based polyurethane—sand lightly between coats. Let dry 48 hours. Warning: Skipping sealant leads to MDF swelling, warping the slab and causing honeycombing.
2. Install reinforcement and embedments
Line the mold floor with 6-mil plastic. Lay first fiberglass mesh layer, then place your sink cutout template (rigid PVC or HDPE, not cardboard). Cover with second mesh layer, overlapping edges by 2″. Anchor faucet holes using threaded PVC pipe stubs epoxied into place—don’t rely on post-pour drilling.
3. Mix and pour the concrete
Use a 5-gallon bucket and drill-mounted paddle. Mix QUIKRETE Countertop Mix at 4.5–5 quarts water per 60-lb bag (never more—excess water increases shrinkage cracks). Mix for 3 minutes, rest 2 minutes, remix 2 minutes. Pour in one continuous pass—no cold joints. Immediately vibrate with a handheld concrete vibrator (or tap mold sides firmly every 6″) for 30 seconds to release air. Tip: Keep ambient temperature between 60–75°F; below 55°F slows hydration and invites microcracks.
4. Cure, demold, and initial grind
Cover slab with damp burlap + plastic sheeting for 7 days—re-wet burlap twice daily. After day 7, remove mold and flip slab onto foam padding. Wait until day 14 before grinding: start with 50-grit pad, keep surface wet, and overlap passes by 50%. Remove all trowel marks and high spots—this step cannot be rushed. According to the American Concrete Institute’s Guide to Decorative Concrete (2022), skipping early-stage grinding creates irreversible surface inconsistencies.
Pro Tips
Seasoned fabricators stress one thing above all: moisture management. Too much water in the mix or too little during cure guarantees hairline cracks—even with fiber reinforcement. Also, never skip the 14-day wait before grinding: concrete gains only ~70% of its strength by day 7, but hits 90% by day 14. Rushing exposes aggregate unevenly and tears the matrix.
"I’ve seen more failed countertops from premature grinding than from bad mix design. Day 14 isn’t optional—it’s structural." — Maria Chen, owner of TerraForm Concrete Studios (Portland, OR), 2023
- Always test your sealer on a scrap piece: Lithi-Tek 4500 reacts differently on dense vs. porous pours
- For integral color, add oxide pigment directly to dry mix—not water—to prevent streaking
- If using decorative aggregates (glass, quartz), pre-soak them for 10 minutes to avoid air pockets
Can I make a concrete countertop without a mixer?
Yes—but only for slabs under 3 ft². Hand-mixing larger volumes introduces inconsistent hydration and entrained air. For a standard kitchen run (24″ × 72″), you’ll need ~120 lbs of mix—nearly impossible to homogenize by hand. Rent a 4-cu-ft drum mixer ($35/day) or use a heavy-duty drill + ½″ paddle rated for mortar.
How do I prevent cracking around the sink cutout?
Drill relief holes (⅛″ diameter) in a 2″ radius around all inside corners of the cutout *before* pouring. These act as stress relievers during shrinkage. Then, reinforce the perimeter with a 2″ band of 16-gauge galvanized wire lath embedded in the top ¼″ of concrete—verified by the National Kitchen & Bath Association’s Countertop Installation Standards (2021).
What’s the minimum thickness for a concrete countertop?
1.5 inches is the functional minimum for supported slabs (e.g., on cabinets with full plywood subtop). Unsupported overhangs (like breakfast bars) require 2″ minimum—and must include steel micro-rebar or carbon fiber rods. Thinner than 1.5″ risks flexural failure under impact or thermal cycling.
Do I need expansion joints?
No—if the countertop is isolated from cabinets using ¼″ closed-cell foam tape along all contact edges. This allows independent movement. Expansion joints are only needed for runs over 10 feet or where two slabs meet. Per the Portland Cement Association’s Concrete Countertops Manual (2020), rigid attachment to cabinets is the #1 cause of edge delamination.
Can I stain or dye a concrete countertop after polishing?
Only if you skip the Lithi-Tek 4500 densifier. Acid stains require an open pore structure—and lithium silicate permanently seals the surface. If color variation is key, use integral pigments or apply water-based acrylic dyes *before* the final 800+ grit passes, then seal with Top Shield® WB alone.
How long before I can install my concrete countertop?
You can set it on cabinets at day 21—but wait until day 28 before placing hot pans or cutting directly on the surface. Compressive strength reaches 4,000 psi by day 28 (per ASTM C39 testing), which is required for residential load-bearing performance. Earlier installation risks micro-fractures under point loads.
Making your own concrete countertop bridges craftsmanship and function—when done right, it lasts longer than granite and develops richer patina over time. Pair it with matte black fixtures and open shelving for a cohesive modern look. For sink cutout templates, see our concrete sink cutout template guide; for sealing best practices, check out best concrete countertop sealers. And if you’re upgrading cabinetry to support the weight, our kitchen cabinet reinforcement tutorial walks through hidden ledger and toe-kick bracing.