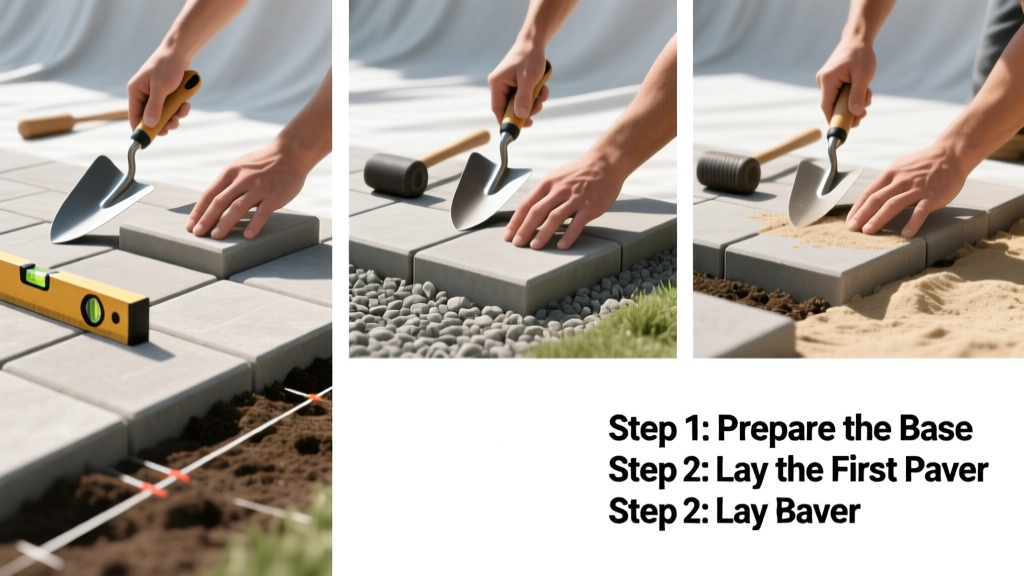
Laying pavers is a foundational hardscaping skill that transforms bare soil into durable, attractive outdoor surfaces—patios, walkways, or driveways. It’s rated intermediate: you’ll need physical stamina, attention to detail, and comfort using hand and power tools. Most 10' × 12' patios take two people 2–3 full days, including prep and finishing.
Overview
| Skill Level | Time Required | Tools Needed | Estimated Cost (10' × 12') |
|---|---|---|---|
| Intermediate | 2–3 days | Tamper, string line, level, rubber mallet, plate compactor, wheelbarrow, shovel, screed board | $850–$1,400 (materials only) |
Tools & Materials
| Category | Items | Notes |
|---|---|---|
| Tools | Plate compactor (rental), 4-ft level, 2×4 screed board, string line & stakes, rubber mallet, margin trowel, carpenter’s square | Rent the compactor—it’s non-negotiable for base stability. Avoid hand-tamping gravel or sand. |
| Materials | Base gravel (¾” crushed stone), bedding sand (concrete sand, not play sand), edge restraints (aluminum or plastic), pavers (concrete or clay), polymeric sand | Use ASTM C33 concrete sand—its angular grains lock together. Play sand washes away in rain. |
Step-by-Step Instructions
1. Mark and Excavate the Area
Drive wooden stakes at each corner and run mason’s string to define edges. Use a line level to confirm consistent elevation. Dig down 6–8 inches total: 4–6 inches for gravel base + 1 inch for sand + paver thickness (typically 2–2.5 inches). Slope the excavation ¼ inch per foot away from structures for drainage—critical for preventing water damage to foundations.
2. Install Edge Restraints
Set rigid edge restraints (never rely on mortar or spikes alone) along all perimeter sides before adding base material. Anchor them with 12-inch galvanized spikes every 24 inches. According to the Interlocking Concrete Pavement Institute’s 2022 Design Manual, unsecured edges cause up to 73% of paver failures within five years due to lateral movement.
3. Lay and Compact the Gravel Base
Spread 4–6 inches of ¾” crushed stone evenly. Use a 2×4 screed board dragged across string lines to level it. Then compact in two passes with a plate compactor—first pass perpendicular to the slope, second parallel. Test compaction by stepping on it: no footprints should remain. Let it rest 2 hours before proceeding.
4. Add and Screed Bedding Sand
Spread 1 inch of concrete sand over the compacted base. Screed it smooth using a straight 2×4 floated across two parallel pipes or rails set at exact height. Do not walk on the sand bed—use boards as temporary bridges. Mist lightly with water just before laying pavers to reduce dust and improve stability.
5. Lay Pavers and Tap Into Place
Start from one corner and work outward, using a string line for alignment. Leave ⅛-inch gaps between pavers for polymeric sand. Tap each paver gently with a rubber mallet—not a sledgehammer—to seat it without cracking. Check level every 3–4 pavers with a 4-ft level; adjust sand underneath low spots with a margin trowel.
6. Cut Pavers and Fill Joints
Mark cuts with chalk and cut using a wet saw with a diamond blade (rent one if needed). Wear eye and hearing protection. After full layout, sweep polymeric sand into joints until completely filled. Mist lightly with a fine-nozzle hose—three times at 10-minute intervals—to activate binding polymers. Avoid heavy runoff.
Pro Tips
Seasoned hardscape contractor Maria Chen of TerraForm Landscapes advises:
"Always compact the base twice—once dry, once after light misting. That second pass locks fines into place and mimics real-world moisture conditions."Common mistakes include skipping edge restraints, using soft sand instead of concrete sand, and failing to check slope with a transit or laser level. Also avoid laying pavers in temperatures below 40°F or above 95°F—the polymeric sand won’t cure properly.
How deep should the gravel base be for a driveway vs. a patio?
Driveways require 8–12 inches of compacted gravel (ICPI recommends 12 inches for residential vehicles); patios need only 4–6 inches. The extra depth prevents rutting under point loads like car tires.
Can I lay pavers directly over concrete?
Yes—but only if the slab is sound, well-drained, and sloped correctly. You’ll need a 1-inch mortar bed or leveling compound, not sand. Skip this approach if the concrete shows cracks wider than ⅛ inch or signs of heaving.
What’s the best pattern for beginners?
The running bond (brickwork) pattern is most forgiving. It hides minor alignment errors and distributes weight evenly. Herringbone looks sharp but demands precise cutting at borders and tighter joint control.
Do I need a permit to lay pavers?
In most municipalities, yes—if your project exceeds 120 sq ft or alters drainage near a structure. Check with your local building department before digging; many require a site plan showing setbacks and stormwater flow. Permits typically cost $50–$120 and take 3–5 business days to process.
How long before I can walk or drive on the pavers?
You can walk on them immediately after joint sand curing (24–48 hours, depending on humidity). Wait 72 hours before parking cars or placing heavy furniture. Polymeric sand needs full hydration and drying time to form its binding matrix.
What maintenance do paver installations need?
Annual inspection of joints and reapplication of polymeric sand every 3–5 years. Sweep debris regularly and avoid de-icing salts—use calcium magnesium acetate instead. For stains, try a pH-neutral cleaner like OxyClean Outdoor mixed with water and gentle scrubbing.
A well-laid paver surface lasts 25–40 years with minimal upkeep—far longer than poured concrete. Take your time on the base and edges; those hidden layers do 80% of the work. Once you’ve mastered this, you’ll find yourself eyeing that side-yard path or fire pit surround next. For help choosing materials, see our guide on best pavers for patios and how to level ground for a patio.