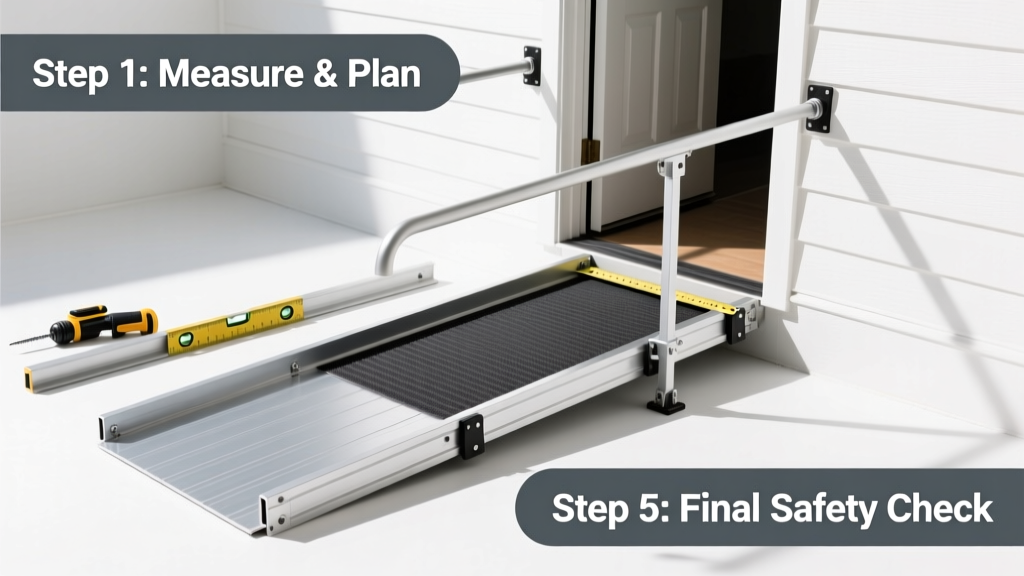
Installing a wheelchair ramp is a moderately challenging DIY project that takes 2–3 full days for a standard 8-foot, 1:12 slope ramp (e.g., for a 6-inch step). You’ll need basic carpentry skills, a helper for lifting, and careful attention to slope, stability, and local code requirements.
Overview
| Category | Details |
|---|---|
| Skill Level | Intermediate — requires measuring, cutting, drilling, and concrete anchoring experience |
| Time Required | 16–24 hours over 2–3 days (includes curing time for footings) |
| Tools Needed | Tape measure, level, drill/driver, circular saw, post-hole digger, string line, speed square |
| Estimated Cost | $280–$650 (for 8' × 36" pressure-treated wood ramp; aluminum kits start at $1,200) |
Tools & Materials
| Item | Specs & Notes |
|---|---|
| Pressure-treated 2×6 joists | 10 pieces, 8 ft long (spaced 16" on center) |
| Pressure-treated 2×12 stringers | 2 pieces, 8 ft long (cut to match rise/run slope) |
| Decking boards | 12 pieces of 5/4×6 cedar or composite (36" wide × 8' long) |
| Concrete mix | 2 bags (60-lb) for two 12"-diameter × 24"-deep footings |
| Galvanized hardware | 3" deck screws, 1/2"×6" anchor bolts, 10" galvanized joist hangers |
| Non-slip surface | ADA-compliant tread tape or grooved decking (required for slopes >1:20) |
Step-by-Step Instructions
1. Measure and Plan Your Layout
Calculate required ramp length using the 1:12 slope rule: every inch of vertical rise needs 12 inches of ramp run. For a 6-inch step, you need a minimum 6-foot ramp—but add 1 foot for top and bottom landings (minimum 5'×5'). Mark landing areas with spray paint and use string lines to align stringer positions. Confirm local zoning allows freestanding ramps; some municipalities require permits for ramps over 30 inches in length.
2. Dig and Pour Concrete Footings
Dig two 12"-diameter holes at the ramp’s lower end, 24" deep (below frost line in cold climates). Insert cardboard sonotubes, level them, and pour concrete. Embed one 1/2"×6" anchor bolt per footing, centered and protruding 2". Let cure 48 hours before proceeding. Warning: Skipping footings or using deck blocks instead of poured concrete violates ADA and most building codes—and risks collapse under load.
3. Cut and Secure Stringers
Use a framing square to mark and cut 2×12 stringers to match your exact rise and run. Clamp both stringers together and cut simultaneously for consistency. Attach them to the existing door threshold using 10" galvanized joist hangers and 3" screws. At the bottom, bolt each stringer to its concrete footing using the embedded anchor bolts and washered nuts. Verify level and plumb with a 4-ft level before fastening.
4. Install Joists and Decking
Space 2×6 joists 16" on center between stringers, securing with 3" screws through the stringers into joist ends. Use a speed square to ensure consistent spacing. Lay 5/4×6 decking perpendicular to joists, leaving 1/8" gaps for drainage. Fasten with two 2.5" corrosion-resistant screws per board end. Apply non-slip tread tape across each board’s leading edge—or use pre-grooved decking—to meet ADA’s 0.8 coefficient of friction requirement.
Pro Tips
Even experienced builders misjudge ramp slope. A 1° error over 8 feet adds nearly 1.7 inches of vertical rise—enough to fail inspection. Always double-check with a digital inclinometer or smartphone app calibrated to degrees *and* ratio.
"Over 62% of home-installed ramps fail initial ADA compliance checks—not from materials, but from inaccurate slope measurement and inadequate landing depth." — National Accessible Housing Council, 2022 Ramp Compliance Audit
- Always install handrails if the ramp rises more than 6 inches (ADA requirement); use 1.25"–1.5" diameter steel or wood, mounted 34–38" above walking surface
- For icy climates, avoid open-grate metal ramps unless paired with heated cables or calcium-chloride-safe coatings
What’s the minimum width for a residential wheelchair ramp?
The ADA requires a minimum clear width of 36 inches between handrails—or 48 inches if used by multiple people or bariatric wheelchairs. Most jurisdictions enforce this for any ramp serving a primary entrance. Narrower ramps (e.g., 32") may pass local code but limit usability and resale value.
Can I attach a ramp directly to my vinyl or aluminum siding?
No—never screw into or notch vinyl, aluminum, or fiber-cement siding. It compromises weather resistance and voids warranties. Instead, mount stringers to the home’s structural framing (rim joist or ledger board) behind the siding. Remove a small section of siding, flash the connection properly, and reinstall trim.
Do I need a permit to build a wheelchair ramp?
Yes, in 41 of 50 U.S. states—and all major metro areas—for ramps longer than 30 inches or higher than 6 inches. Permits ensure inspections for slope, handrails, footing depth, and egress clearance. Check with your local building department before digging; unpermitted ramps can delay home sales or insurance claims. See our guide on how to get a permit for home renovation.
How do I maintain a wooden wheelchair ramp?
Inspect twice yearly: check for loose screws, rot at ground-contact points, splintering decking, and worn tread tape. Re-seal pressure-treated wood every 2 years with water-repellent preservative (not paint). Replace warped decking boards immediately—uneven surfaces increase fall risk. For low-maintenance alternatives, consider composite decking rated for ramp use.
Can I build a ramp over existing stairs?
Yes—but only with engineered support. Standard stringers won’t span stair treads safely. You’ll need LVL (laminated veneer lumber) stringers or steel I-beams sized by a structural engineer. Most DIYers opt for a side-mounted or freestanding ramp instead. See our side-mounted ramp installation tutorial for safer alternatives.
What’s the best material for a temporary ramp?
For short-term use (<3 months), aluminum modular ramps (like those from EZ-ACCESS or PVI) are safest—they’re lightweight, non-corrosive, and include built-in handrails. Avoid plywood-on-cinder-block setups: they shift, lack traction, and exceed 1:12 slope without precise shimming. Temporary doesn’t mean unsafe.
A properly installed wheelchair ramp improves accessibility, safety, and home equity—without requiring professional contractors for every step. Take your time on layout and footings, verify measurements twice, and never skip the non-slip surface. If your home has multiple levels or complex entry geometry, consult a certified aging-in-place specialist before starting.