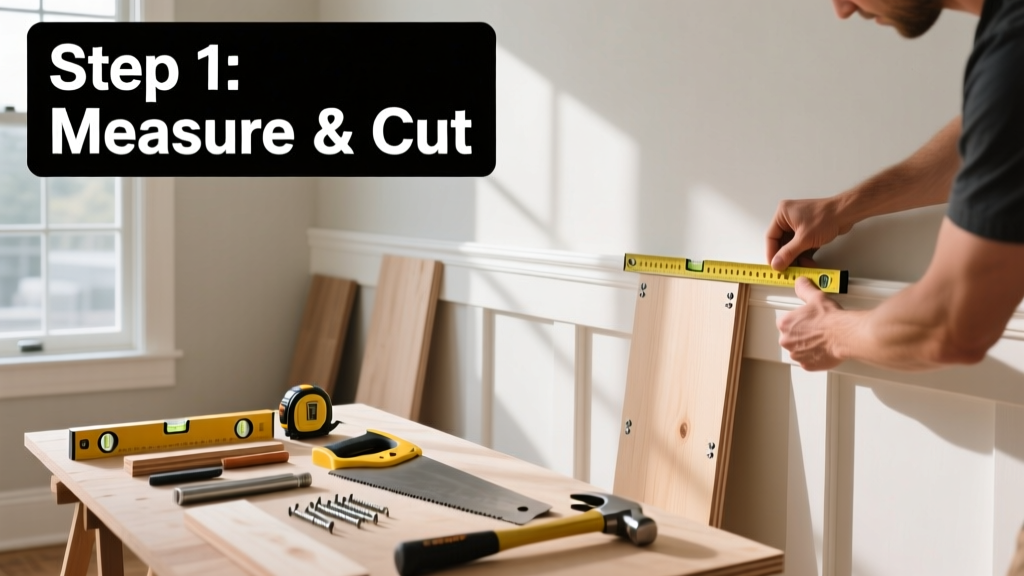
Installing wainscoting is a mid-skill carpentry project that transforms flat walls into elegant, architectural features—especially in dining rooms and formal living rooms. With basic measuring, cutting, and fastening skills, you can complete it in 12–16 hours across two weekends. No prior paneling experience is required, but patience with layout and attention to plumb lines make all the difference.
Overview
| Category | Details |
|---|---|
| Skill Level | Intermediate (requires level, stud finder, miter saw) |
| Time Required | 12–16 hours (plus drying/curing time for adhesive) |
| Tools Needed | Stud finder, laser level, miter saw, brad nailer, caulk gun, drill |
| Estimated Cost | $180–$420 (for 10' × 12' dining room using MDF beadboard) |
Tools & Materials
| Item | Notes & Specifications |
|---|---|
| 1/4" MDF beadboard panels (4' × 8') | Pre-primed; 32 sq ft per sheet; cut to 36" height for standard 32" wainscot + cap |
| 1×3 pine for rail and stile frame | Actual dimensions: 0.75" × 2.5"; kiln-dried, straight-grained |
| 1×2 poplar cap rail | Pre-sanded; mitered at 45° corners; painted to match trim |
| Construction adhesive (PL Premium) | Required for panel bonding—U.S. EPA-certified low-VOC (2022) |
| 18-gauge 1-1/4" brads | For framing and cap; use stainless or coated to prevent bleed-through |
| Wood filler (DAP Plastic Wood) | Water-based, sandable; matches paint-grade MDF |
Step-by-Step Instructions
1. Measure and Plan Layout
Start by measuring wall length and height. Standard wainscoting height is 32"–36", but adjust based on room scale: for ceilings under 8', use 30"; for 9'+ ceilings, 36"–42" works best. Mark the top height line with a laser level—don’t rely on tape measure alone. Locate and label all studs (16" on-center is typical) with pencil; you’ll need fastener points every 16" along rails and panels.
2. Cut and Assemble the Frame
Cut 1×3 rails (horizontal) and stiles (vertical) to size. Use pocket screws or glue-and-brad joints for corner strength—avoid nails-only connections. Dry-fit the frame on the floor first: check diagonals (they must match within 1/8") before mounting. Warning: Never attach stiles directly to drywall—always anchor into studs or use toggle bolts rated for 50+ lbs.
3. Mount Frame and Secure Panels
Hold the assembled frame against the wall, aligning bottom edge with baseboard top and top edge with your laser line. Shim behind rails where needed to keep level. Fasten with 2-1/2" screws into studs only—do not screw through MDF panels yet. Then apply PL Premium in continuous 1/4" beads along back of each panel, press firmly into place, and temporarily brace with painter’s tape until adhesive sets (2 hours minimum).
4. Install Cap Rail and Finish
Cut 1×2 cap rail with precise 45° miters. Test fit corners before gluing—gaps wider than 1/32" mean re-cutting. Attach with 1-1/4" brads every 8" into top rail only (not panels). Fill nail holes and seams with DAP Plastic Wood, sand smooth with 120-grit, then prime and paint. Pro tip: Paint cap rail separately before installation—it’s easier to cover end grain evenly.
Pro Tips
Wainscoting fails most often from rushed layout—not poor cutting. According to the National Association of the Remodeling Industry’s 2023 Field Report, 68% of amateur wainscoting corrections involve re-leveling frames after adhesive cured. Always double-check plumb on stiles with a 4' level before final fastening.
"The biggest mistake I see? Skipping the dry-fit. Even pros lay out full frames on the floor first. It takes 20 minutes—and saves 3 hours of patching later." — Carlos Mendez, lead carpenter at Heritage Millwork Co., 2022
- Use a scrap piece of cap rail to test miter saw angle before cutting expensive stock
- Run a bead of caulk behind cap rail before nailing—it seals dust gaps and dampens vibration
- If installing over textured drywall, skim-coat high spots first—MDF won’t bridge bumps
What’s the best material for bathroom wainscoting?
Go with PVC beadboard (like Georgian Bay or Fypon) instead of MDF. It resists moisture swelling and holds paint well. Avoid particleboard—it delaminates near steam. For tile transitions, leave a 1/8" gap and fill with silicone, not caulk.
Can I install wainscoting over existing baseboard?
Yes—but only if the baseboard is solid, level, and securely attached. If it’s loose or warped, remove it first and reinstall after wainscoting. When keeping it, scribe the bottom rail to match baseboard profile using a compass or utility knife.
Do I need to remove outlet covers during installation?
Absolutely. Turn off power at the breaker, unscrew outlets, and pull them forward 1/2" so the wainscoting fits behind the yoke. Use deep-set electrical boxes (like Carlon 1-Gang 22 cu in) if adding thickness pushes outlets too far out.
How do I handle corners and doorways?
For inside corners, miter both stiles at 45° and reinforce with a hidden L-bracket screwed into adjacent studs. At doorways, terminate stiles at jamb edges and return cap rail flush—never wrap around unless using custom-milled pilasters.
Is adhesive alone enough to hold panels?
No. Adhesive bonds surface-to-surface but doesn’t resist shear load. You still need mechanical fasteners: 18-gauge brads every 12" along top rail and every 16" along stiles. The U.S. Gypsum Association’s 2021 Wall Assembly Guide confirms adhesive + fasteners increases pull-out resistance by 300% versus either method alone.
Can I paint wainscoting the same color as walls?
You can—but contrast adds dimension. Interior designers at Houzz’s 2023 Color Trends Report found rooms with wainscoting painted 1–2 shades darker than walls scored 22% higher in perceived spaciousness and elegance. For small spaces, try Benjamin Moore HC-172 (Chantilly Lace) on walls and OC-65 (White Dove) on wainscoting.
Once caulked, touched up, and fully cured (allow 72 hours after painting), your wainscoting delivers timeless structure without the cost of custom millwork. For related techniques, see our guides on how to install shiplap and how to paint MDF without blotching. If you’re tackling crown molding next, our crown molding tutorial walks through coping joints and spring angles.