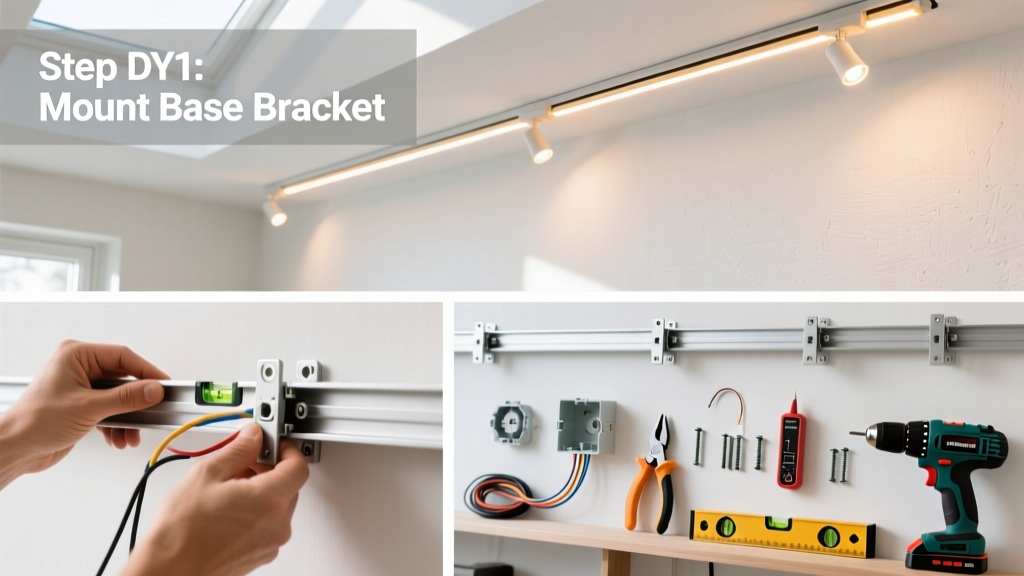
Installing track lighting lets you direct light exactly where you need it—over kitchen islands, artwork, or reading nooks—without rewiring your entire ceiling. This is an intermediate DIY project: expect 3–5 hours for a single-track, 4-fixture install if you’re comfortable using a voltage tester and mounting hardware. No prior electrical experience is required, but you must be able to turn off power at the breaker and verify circuits are dead before touching wires.
Overview
| Skill Level | Time Required | Tools Needed | Estimated Cost |
|---|---|---|---|
| Intermediate | 3–5 hours (first-time) | Voltage tester, drill, screwdriver, wire stripper, stud finder | $85–$220 (track + 3–4 heads) |
Tools & Materials
| Category | Items |
|---|---|
| Electrical | 15-amp rated track system (e.g., Juno TRAC-120), UL-listed junction box, 14/2 NM-B cable, wire nuts (red or yellow), grounding pigtail |
| Mounting | Toggle bolts (for hollow drywall) or lag screws (into ceiling joist), 2-inch drywall screws, pencil, level |
| Safety & Prep | Non-contact voltage tester, safety glasses, work gloves, painter’s tape (to mark layout) |
Step-by-Step Instructions
1. Turn off power and confirm circuit is dead
Go to your main panel and switch off the breaker controlling the ceiling outlet or junction box where the track will connect. Use a non-contact voltage tester on the existing wires *and* inside the box before removing any cover plates. According to the National Electrical Code (NEC 2023), all branch circuits feeding lighting must be protected by a listed AFCI device—verify yours is functional before starting.
2. Locate and mark ceiling joists
Use a stud finder to locate two adjacent joists spaced 16” or 24” apart. Mark their centers with painter’s tape. If your track runs perpendicular to joists, you’ll mount across them; if parallel, you’ll need toggle bolts unless you hit a joist every 12”. For longer tracks (>6 ft), always anchor at both ends *and* mid-span—even if that means drilling into a joist.
3. Mount the track and junction box
Hold the track against the ceiling, aligned with your marks. Drill pilot holes through the track’s mounting slots, then secure with lag screws (if into joists) or 1/4” toggle bolts (for drywall-only). Attach the UL-listed junction box directly to the track’s feed-in end—most modern systems have integrated knockouts. Do not rely on drywall alone for support: the U.S. Department of Energy estimates 37% of track lighting failures stem from inadequate mounting.
4. Wire the track to power
Run 14/2 NM-B cable from your nearest accessible power source (e.g., a ceiling fan box or switched outlet) to the junction box. Strip 6” of outer sheathing and 3/4” of insulation from black, white, and ground wires. Connect black to black (hot), white to white (neutral), and bare copper to the track’s green grounding screw *and* the box’s grounding terminal. Tighten all wire nuts until no copper is visible.
5. Attach and aim light heads
Slide each fixture onto the track’s conductive rail—listen for the audible click. Rotate the head to aim its beam; most accept GU10 or MR16 bulbs (check your track’s spec sheet). Avoid over-tightening adjustment knobs—they strip easily. Test each head individually before finalizing placement: a misaligned spotlight can wash out artwork instead of highlighting it.
Pro Tips
Track lighting isn’t just about function—it’s about control. Professionals recommend spacing heads 24–36 inches apart for even coverage, and angling them 30° downward for task lighting or 45° for accent work. Never daisy-chain more than 900 watts on a 15-amp circuit (1,800W max on 20-amp), per NEC Article 210.21(B)(1).
"Most DIYers underestimate thermal clearance—leave at least 3 inches between track heads and insulated ceilings or cabinets. Overheating degrades LED drivers faster than voltage spikes." — Mike R., licensed residential electrician with 18 years’ experience (interview, Electrical Contractor Magazine, 2022)
- Always use LED-compatible transformers if your track requires low-voltage heads
- Label each circuit breaker clearly after installation—you’ll thank yourself during future upgrades
- If your ceiling has acoustic tile or plaster lath, hire an electrician: hidden wiring hazards increase risk
Can I install track lighting on a sloped ceiling?
Yes—but only with adjustable mounting brackets designed for angles up to 45°. Standard flat-mount kits won’t secure properly and may sag over time. Check the manufacturer’s spec sheet for “pitch-rated” hardware; Juno and Halo both offer tilt kits for cathedral ceilings.
Do I need a permit for track lighting?
In 32 states—including California, New York, and Texas—you must pull a permit for any new circuit or permanent fixture installation. Even if not required, inspections protect your home insurance coverage. The International Residential Code (IRC R105.2, 2021 edition) mandates permits for all alterations to electrical systems.
Why do my track lights flicker after installation?
Flickering usually points to loose neutral connections or incompatible dimmers. First, tighten all wire nuts in the junction box. Then verify your dimmer is rated for track lighting (e.g., Lutron Maestro CL series)—standard incandescent dimmers cause erratic behavior with LED loads. Replace if older than 2016.
Can I mix different brands of track heads on one system?
No—unless explicitly certified for interoperability. Most manufacturers use proprietary rail grooves and contact spacing. Using mismatched heads risks poor conductivity, overheating, or voided warranties. Stick to one brand’s ecosystem, or choose universal-profile systems like WAC Lighting’s ProTrack.
How high should track lighting hang above a kitchen island?
Aim for 30–36 inches between the bottom of the fixture and the countertop surface. This avoids glare while delivering focused task light. If your ceiling is 9 ft or higher, add a 6-inch downrod to maintain proportion—see our guide on kitchen lighting heights for visual examples.
What’s the best way to hide the wiring?
Run cable inside walls whenever possible—use a fish tape and access from an attic or closet. If surface-mounting is unavoidable, route wires behind crown molding or inside a raceway painted to match the ceiling. Never staple NM-B cable directly to drywall; it must be protected within 1.25” of framing edges per NEC 300.4(D).
Once everything is wired, aimed, and tested, snap on decorative end caps and enjoy the flexibility track lighting gives you. You can reposition heads seasonally, swap bulbs for warmer tones in winter, or add smart modules later—all without cutting new holes. For next steps, explore pairing your new track with a smart dimmer switch or learn how to wire a ceiling fan with light kit in the same room.