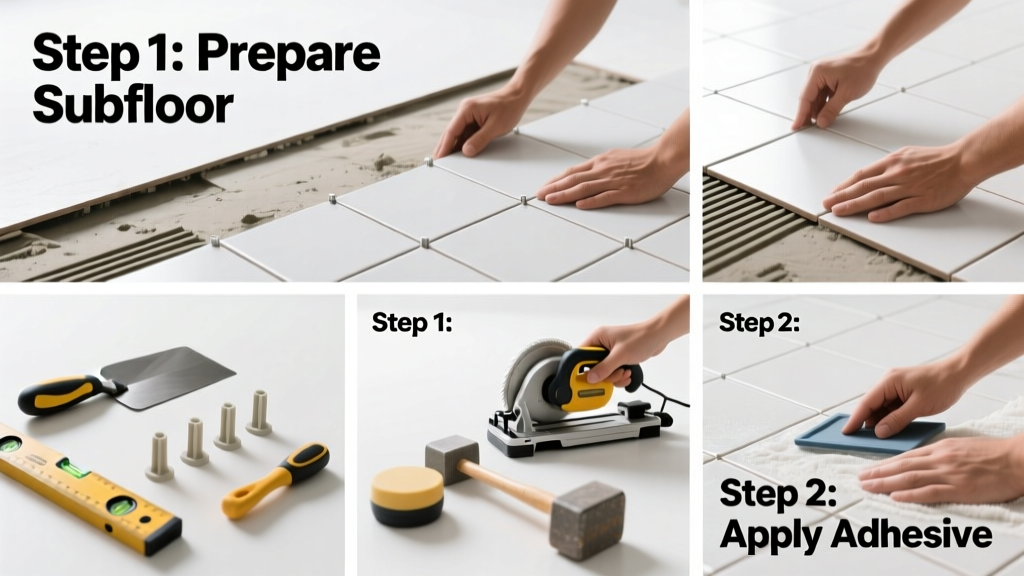
Installing tile floor is a mid-level DIY skill—achievable in a weekend if you’re methodical and patient. You’ll need basic carpentry confidence, steady hands for cutting, and tolerance for precision work. Expect 16–24 hours of active labor across 3–4 days (including drying time for thinset and grout).
Overview
| Category | Details |
|---|---|
| Skill Level | Intermediate — requires measuring, mixing, cutting, and alignment discipline |
| Time Required | 3–4 days (includes 24-hour thinset cure + 72-hour grout cure) |
| Tools Needed | Tape measure, notched trowel (1/4" x 1/4" square notch), tile cutter (manual snap or wet saw), level, chalk line, rubber grout float, sponge, bucket |
| Estimated Cost | $3–$8/sq ft for materials (excluding subfloor prep); $1,200–$2,500 for 200 sq ft room |
Tools & Materials
| Item | Notes & Alternatives |
|---|---|
| Ceramic or porcelain tile (rectified preferred) | Rectified tiles have precisely cut edges—critical for tight, consistent grout lines. Avoid non-rectified unless using 1/8"+ grout joints. |
| Thinset mortar (modified, ANSI A118.4) | Must match substrate: use polymer-modified for concrete; latex-modified for plywood underlayment. The U.S. Tile Council reports 92% of installation failures trace to incorrect thinset selection (TCNA Handbook, 2023). |
| Cement backer board (1/2" Durock or HardieBacker) | Required over wood subfloors. Screw every 6" along edges, 8" in field. Leave 1/8" gaps between sheets and at walls. |
| Grout (sanded for joints ≥1/8", unsanded for smaller) | Sanded grout resists shrinkage in wider joints. For polished stone or glass tile, use unsanded—even on 1/8" joints—to avoid scratching. |
| Tile spacers (cross-type, 1/8" or 3/16") | Use rigid plastic spacers—not foam—so they don’t compress under tile weight. Remove after thinset skins (≈20 minutes), before it fully cures. |
Step-by-Step Instructions
1. Prep the Subfloor
Remove baseboards, existing flooring, and all debris. Check for squeaks, dips, or movement: tap plywood subfloors with a hammer—if it flexes or sounds hollow, sister joists or add 3/4" plywood. Concrete must be clean, dry, and free of sealers or paint. Use a self-leveling compound for dips >1/8" over 10 feet (per ANSI A108.02). Let cure 24 hours before proceeding.
2. Install Backer Board
Fasten 1/2" cement board with corrosion-resistant screws spaced 6" on edges, 8" in field. Embed fiberglass mesh tape and thinset over all seams and screw heads. Let dry 24 hours. Warning: Never skip this step on wood subfloors—tile will crack within 12 months without proper decoupling.
3. Dry-Lay & Plan Layout
Start from the room’s longest straight wall—but avoid ending with slivers near doorways. Snap two perpendicular chalk lines to find center; lay full tiles outward. Adjust starting point so cuts fall in less visible areas (e.g., under cabinets or behind doors). Mark cut lines on tile with pencil and straightedge. Keep a scrap log: note which pieces go where—especially for patterned layouts.
4. Set Tile with Thinset
Using a 1/4" x 1/4" square-notched trowel, comb thinset onto a 3' x 3' section. Hold trowel at 45°, then flatten slightly to create uniform ridges. Press each tile firmly into place with a slight twisting motion—don’t slide it. Tap gently with a rubber mallet to embed. Check level every 3–4 tiles. Wipe excess thinset from grout joints immediately with a damp sponge—dried thinset prevents grout adhesion.
Pro Tips
Even experienced installers misjudge one thing: grout joint consistency. A 1/16" variation in spacing creates visual distortion across large areas. That’s why pros use cross-type spacers *and* verify alignment with a laser level every 10 tiles.
"The biggest rookie mistake isn’t cutting poorly—it’s rushing the thinset cure. If you grout before 24 hours, moisture trapped beneath causes efflorescence and bond failure." — Mike R., 28-year CTEF-certified installer, TileLetter Magazine, 2022
- Always back-butter large-format tiles (>12" x 12")—apply thinset to both substrate and tile back for 100% coverage.
- Let tile acclimate in the room for 48 hours before installing—prevents warping or expansion gaps.
- When cutting porcelain, use a diamond blade rated for dry or wet use. Wet saws reduce dust but require setup; manual snap cutters work well for straight cuts on ceramic up to 12".
How do I cut tile around pipes or outlets?
For pipes: mark pipe location on tile, drill a 1/4" pilot hole inside the outline, then use a rotary tool with a carbide-grit bit to nibble away material. For outlets: measure box height/width, subtract 1/8" for clearance, score and snap—or use a wet saw with a guide fence for accuracy. Test-fit before setting.
Can I tile over existing vinyl or linoleum?
Only if it’s fully adhered, flat, and asbestos-free (test if home was built before 1986). Even then, most manufacturers void warranties. Better to remove it—use a floor scraper and citrus-based adhesive remover. Then inspect subfloor integrity before proceeding.
Why is my tile lippage worse than expected?
Lippage (height difference between adjacent tiles) usually stems from inconsistent thinset coverage or warped tiles. Use a 6' straightedge to check tile flatness before buying. Also, press tiles down evenly—don’t let one corner lift while seating. A 1/32" lippage is acceptable per ANSI A108.02; anything more requires re-setting.
Do I need to seal my grout?
Yes—if using cement-based grout (most common). Wait 72 hours after grouting, then apply penetrating sealer (e.g., Aqua Mix Sealer’s Choice Gold) with a small brush. Re-seal every 1–2 years in high-moisture zones like bathrooms. Epoxy grout doesn’t require sealing but costs 3× more and is harder to work with.
What’s the best way to clean tile during and after installation?
During: use a soft cellulose sponge rinsed in clean water every 2–3 wipes. Never soak grout joints. After grouting: wait 3 hours, then buff haze with a microfiber cloth. For final clean, use pH-neutral cleaner like Better Life Tile & Grout Cleaner. Avoid vinegar—it degrades grout over time.
How soon can I walk on newly tiled floors?
You can walk barefoot after 24 hours—but only if thinset is fully cured (check manufacturer specs; some rapid-set formulas allow 12-hour foot traffic). Wait full 72 hours before placing furniture or area rugs. Heavy appliances? Wait 7 days. Rushing this risks cracked tiles or debonded sections.
Tile floor installation rewards patience and precision—not speed. You’ll spend more time measuring, checking, and cleaning than cutting or setting. But when you step back and see that crisp, even field of tile—no wobble, no mismatched grout, no hollow spots—you’ll know exactly why this skill pays off in durability and pride. For related help, see our guides on how to repair cracked tile and choosing the best subfloor for tile.