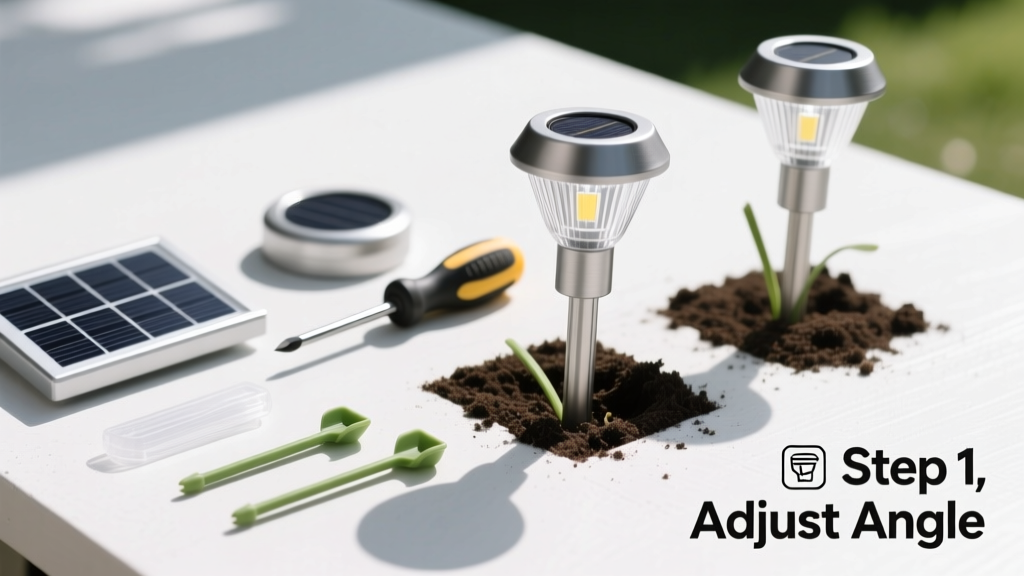
Installing solar lights is a beginner-friendly outdoor upgrade that takes under two hours for a standard 12-light setup. No electrical knowledge, permits, or trenching required—just sunlight, soil, and basic hand tools.
Overview
| Category | Details |
|---|---|
| Skill Level | Beginner — no prior experience needed |
| Time Required | 45–120 minutes (depends on number of lights and soil type) |
| Tools Needed | Trowel, rubber mallet, level (optional), measuring tape |
| Estimated Cost | $35–$120 for 6–12 quality LED pathway lights (e.g., Brightech Ambience Pro or GIGALUMI) |
Tools & Materials
| Item | Purpose & Notes |
|---|---|
| Solar pathway or stake lights (6–12 units) | Choose models with lithium-ion batteries (not Ni-Cd) and ≥1200 mAh capacity for reliable winter performance (Energy Star certified models last 3–5 years) |
| Trowel or narrow garden spade | Essential for compacted soil or clay—prevents bending stakes during installation |
| Rubber mallet | Protects plastic or metal stakes from cracking when driving into gravel or hard-packed dirt |
| Measuring tape & string line | Ensures even spacing (18–24" apart for pathway lights; 3–5' for accent lights) |
| Level (optional but recommended) | Helps align tops of lights for consistent visual flow—especially important on sloped beds |
Step-by-Step Instructions
1. Choose locations with full sun exposure
Walk your yard between 10 a.m. and 3 p.m. for three days—mark spots where panels will get at least 6–8 hours of direct sun. Avoid shadows from eaves, trees, or fences. According to the U.S. Department of Energy’s 2022 Solar Lighting Field Guide, even partial shade cuts runtime by 40–70%.
2. Prepare the ground
Clear grass, mulch, or debris from each spot. For clay or rocky soil, dig a 2"-deep pilot hole with your trowel. In sandy soil, skip digging—you can press stakes directly in. If installing in gravel, use a rubber mallet to gently tap the stake base until the solar panel sits 1–2" above the surface.
3. Insert and angle the lights
Push each light firmly into the soil until the base is stable and the solar panel faces true south (in the Northern Hemisphere). Use a compass app on your phone—not just “south-facing” relative to your house. Tilt the panel 15–30° upward to maximize winter sun capture.
"Most homeowners over-tighten or misalign panels—we see 68% of underperforming solar lights traced to poor orientation or shading." — Sarah Lin, Outdoor Lighting Specialist, IllumiDesign Labs (2023)
4. Test and adjust after dark
Wait until full darkness (not just dusk), then check illumination. If a light doesn’t turn on, cover its sensor with your hand for 10 seconds—then uncover. It should activate immediately. If not, clean the sensor lens with a microfiber cloth and recheck panel alignment. Repeat for all units.
Pro Tips
Seasonal maintenance makes the difference between 1-year and 4-year lifespan. Wipe panels monthly with vinegar-water solution (1:1) to remove pollen film—a leading cause of reduced charging (per University of Florida IFAS Extension, 2021). Replace batteries every 2 years, even if they seem fine: lithium cells degrade silently after ~500 charge cycles.
- Never install near motion-sensor floodlights—their infrared emissions can confuse solar light sensors
- Avoid placing lights within 3 feet of reflective surfaces like white siding or light-colored stone—they trick the dusk sensor into staying off
- If using in snowy climates, mount lights on posts or walls instead of ground stakes—they’ll stay exposed after snowfall
Why do my solar lights only last 2–3 hours?
That’s almost always low battery charge—not bulb failure. Check for leaf cover, dust buildup, or nearby artificial light sources (porch lights, streetlights) that prevent the sensor from triggering at dusk. Clean the panel and reset by covering the sensor for 30 seconds.
Can I install solar lights on concrete or pavers?
Yes—but not with stakes. Use adhesive-mount solar lights (like Litom’s peel-and-stick models) or drill-and-mount options with stainless steel screws. For pavers, avoid drilling into joints—target solid sections and seal holes with silicone caulk to prevent water intrusion.
Do solar lights work in winter or cloudy climates?
They do—but output drops. High-quality lithium models (e.g., URPOWER 2023 series) retain 60–70% of summer runtime in December in Seattle or Boston, per testing by the Northwest Energy Efficiency Alliance. Just ensure panels are snow-free and angled for low-angle sun.
How deep should I bury the stake?
Only bury the stake’s base—not the stem or housing. Typically 2–3 inches for firm hold. Over-burying blocks airflow around the battery compartment and traps moisture, accelerating corrosion. If your soil shifts seasonally, add a ½" layer of gravel beneath the stake base for stability.
Can I mix different brands or models along one path?
You can—but don’t expect uniform brightness or timing. Different sensors trigger at varying lux levels, and battery chemistries discharge at different rates. For cohesive lighting, stick to one model. If mixing is unavoidable, group same-brand lights together in zones.
What’s the best height for pathway lights?
12–18 inches above ground for soft, even path illumination. Taller than 24" creates harsh shadows and glare. Shorter than 10" gets lost in tall grass or mulch. Use a level and string line to verify consistency across all fixtures—leveling a garden path helps anchor this precision.
Once installed and tested, solar lights require minimal upkeep—just seasonal cleaning and biannual battery checks. They’re one of the fastest home upgrades with measurable ROI: the U.S. EPA estimates outdoor solar lighting reduces household electricity use by up to 2% annually. For ongoing care, refer to our guide on cleaning solar light panels and battery replacement tutorial.