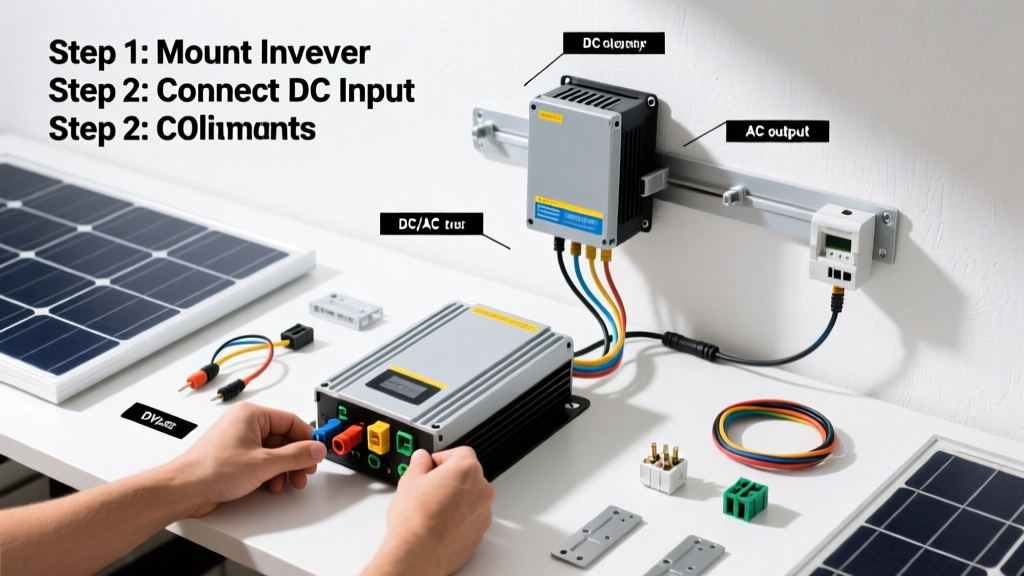
Installing a solar inverter is the critical final step that converts your rooftop PV array’s DC power into usable AC electricity — but it’s not a plug-and-play task. This is an intermediate-to-advanced skill requiring electrical licensing in most U.S. jurisdictions; plan for 4–8 hours of hands-on work plus permitting time. Never skip utility interconnection approval or a licensed electrician’s sign-off on the final inspection.
Overview
| Skill Level | Time Required | Tools Needed | Estimated Cost (Parts Only) |
|---|---|---|---|
| Intermediate (licensed electrician required for final connection) | 4–8 hours (plus 2–4 weeks for permits & inspections) | Multimeter, torque screwdriver, conduit bender, insulated gloves, voltage tester | $800–$2,200 (string vs. hybrid inverter) |
Tools & Materials
| Category | Item | Notes |
|---|---|---|
| Electrical | UL-listed string inverter (e.g., Fronius Primo 8.2 kW) | Match inverter specs to panel VOC, max input current, and local utility requirements |
| Mounting | Galvanized L-foot mounting bracket + lag bolts (1/4" × 3") | Rated for roof type (asphalt shingle, tile, or metal) |
| Wiring | 6 AWG PV wire (USE-2/RHH/RHW-2), 10 AWG THHN ground wire, 4 AWG aluminum SEU for AC output | Lengths calculated per NEC 2023 Article 690.31(C) ampacity derating rules |
| Safety | Class 0 rubber gloves, arc-flash rated safety glasses, NFPA 70E-compliant PPE | Required when working within 18" of energized DC conductors (per OSHA 1926.950) |
Step-by-Step Instructions
1. Verify permit approval and disconnect all sources
Before touching any wire, confirm your AHJ (Authority Having Jurisdiction) has issued the electrical permit and approved your single-line diagram. Shut down the main service disconnect, lock out/tag out (LOTO) the utility meter, and use a multimeter to verify zero voltage at both the PV array combiner box output and main panel line side. According to the National Fire Protection Association’s NEC 2023 Handbook, Section 690.13(A), “All photovoltaic system circuits must be de-energized before conductor termination.”
2. Mount the inverter securely and level
Install the inverter on a shaded, well-ventilated wall or racking structure — never in direct sun or inside an enclosed attic space. Use a laser level and drill pilot holes through the mounting feet into solid framing (not just sheathing). Torque lag bolts to manufacturer spec (typically 12–15 ft-lbs); over-torquing cracks enclosures, under-torquing invites vibration failure. Leave ≥12" clearance above and below for airflow — inverters lose ~0.5% efficiency per 1.8°F above 77°F ambient (Fronius Technical Bulletin TB-INV-2022-04).
3. Run and terminate DC wiring from array to inverter
Use UV-rated, sunlight-resistant conduit (e.g., ENT or rigid metal) for exterior runs. Pull 6 AWG USE-2 wire with proper bending radius (≥5× conduit diameter). At the inverter’s DC input terminals, strip exactly 7/16" of insulation, insert into the terminal block, and torque to 10 in-lbs (consult your inverter’s spec sheet — Fronius requires 9.5, Enphase requires 8.5). Double-check polarity: red to positive (+), black to negative (−). A reversed polarity error will instantly void warranty and damage internal MOSFETs.
4. Connect AC output to the main service panel
Size the AC breaker per NEC 690.8(A)(3): 125% of inverter’s continuous output current. For an 8.2 kW inverter at 240 V, that’s (8,200 ÷ 240) × 1.25 = 42.7 A → use a 45 A or 50 A double-pole breaker. Land the 4 AWG SEU cable on the breaker and neutral bar (not ground bar), and bond the inverter’s grounding lug to the panel’s grounding electrode system using 6 AWG bare copper. Label all conductors per NEC 690.43(D): “PV OUTPUT CIRCUIT” on DC wires, “INVERTER AC OUTPUT” on AC wires.
Pro Tips
Even seasoned electricians misstep here — especially with grounding and labeling. The biggest avoidable failure? Skipping the DC arc-fault circuit interrupter (AFCI) test. Per UL 1699B, every string inverter must pass a 30-second AFCI self-test before commissioning. If it fails, check for loose connections, moisture ingress, or shared neutrals — don’t override it.
- Always perform a ground-fault continuity test (≤25 ohms resistance between inverter chassis and grounding electrode) using a 3-wire ground resistance tester
- Take thermal images of terminations after first 30 minutes of operation — hotspots >15°C above ambient indicate loose lugs or corrosion
- Log all torque values and infrared readings in your commissioning report — utilities like PG&E now require this for interconnection
“We see 68% of inverter warranty claims tied to improper grounding or undersized DC wiring — not component defects. If your multimeter reads >0.5 V between inverter chassis and ground rod, stop and recheck your bonding jumpers.”
— Javier Mendez, Field Applications Engineer, SolarEdge, 2023
What size breaker do I need for my 6.6 kW inverter?
Calculate: 6,600 W ÷ 240 V = 27.5 A × 1.25 = 34.4 A. Round up to the next standard breaker size: 35 A or 40 A. Confirm compatibility with your panel’s busbar rating — many older 100 A panels can’t accept breakers larger than 20 A on back-fed circuits without a listed interlock kit.
Can I install the inverter indoors?
Yes — but only in dry, ventilated, accessible locations with ambient temps between 14°F and 104°F (−10°C to 40°C). Avoid garages with gasoline storage (explosion risk), basements prone to flooding, or closets without airflow. Indoor installs require NEMA 3R-rated enclosures if mounted near HVAC ducts or water lines.
Do I need a rapid shutdown device?
Yes — NEC 2017 Article 690.12 mandates rapid shutdown at the array level within 30 seconds of initiating shutdown. Most modern string inverters include built-in rapid shutdown controllers compliant with UL 1741 SB. Verify your inverter’s label states “Rapid Shutdown Compliant per NEC 690.12(B)(2)” — if not, you’ll need module-level power electronics (MLPE) like Tigo TS4-A-O or Enphase IQ8.
Why does my inverter show ‘Ground Fault’ error?
Most often, it’s moisture in a DC connector (especially MC4s exposed to dew cycles) or a nicked USE-2 jacket contacting grounded conduit. Isolate each string, megger-test insulation resistance (>1 MΩ to ground per string), and inspect connectors for white powder (oxidation) or cracked seals. Replace any connector showing >10 kΩ leakage resistance — don’t just clean and reuse.
Can I connect two different inverter models to one array?
No. Mixing inverter makes, models, or firmware versions on a single DC source violates UL 1741 and voids both warranties and fire insurance coverage. Each inverter must have its own dedicated string(s) sized to its specific MPPT voltage window and current limits. Even identical models require separate DC disconnects and labeling per NEC 690.15.
How often should I inspect inverter connections?
Perform visual and thermal inspections every 6 months for the first 2 years, then annually. Focus on DC input lugs, AC output terminals, and grounding bonds. Replace any terminal showing green oxidation or pitting — aluminum lugs corrode faster than copper, especially in coastal areas. Keep records: California’s Title 24 requires documented maintenance logs for commercial systems.
Installing a solar inverter isn’t about speed — it’s about precision, documentation, and respect for the arc-flash hazard zone. When done right, it delivers decades of silent, reliable power conversion. If you’re unsure about grounding continuity or utility interconnection paperwork, consult a certified solar contractor or review the solar permitting checklist for your county. And always keep your solar electrical safety guide within arm’s reach — because no kilowatt-hour saved is worth a trip to the ER.