Installing a smart lock replaces a traditional deadbolt with a Wi-Fi- or Bluetooth-enabled device that lets you lock/unlock remotely, grant temporary access, and monitor entry—no keys required. This is a moderate-difficulty DIY project that takes 45–90 minutes for most standard interior doors with existing deadbolt hardware.
Overview
| Skill Level | Time Required | Tools Needed | Estimated Cost |
|---|---|---|---|
| Moderate (basic drilling & wiring experience helpful) | 45–90 minutes | Phillips screwdriver, drill/driver, tape measure, pencil, level | $120–$320 (lock + optional hub) |
Tools & Materials
| Item | Notes |
|---|---|
| Smart deadbolt (e.g., August Wi-Fi Smart Lock, Schlage Encode, Yale Assure 2) | Verify compatibility with your door thickness (1¾" standard) and backset (2⅜" or 2¾") |
| Phillips #2 screwdriver (magnetic tip preferred) | Prevents dropped screws inside the door edge |
| Drill with ⅛" and ½" bits | Required only if retrofitting a non-deadbolt door or drilling new mounting holes |
| Level and pencil | Critical for aligning strike plate and ensuring smooth bolt travel |
| 4xAA batteries (or included rechargeable pack) | Test battery voltage before installing—below 1.3V per cell causes intermittent failures |
Step-by-Step Instructions
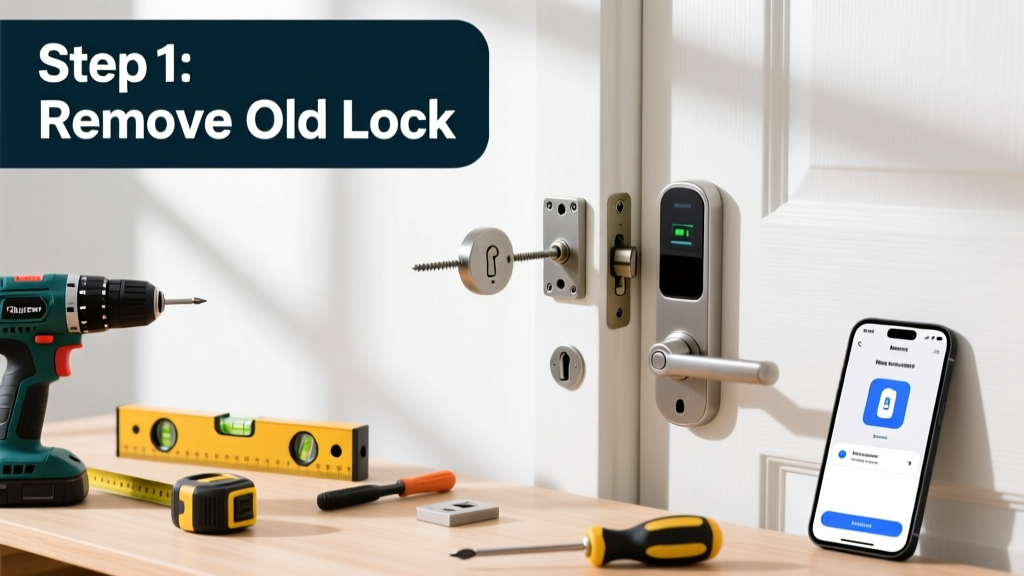
1. Remove Your Existing Deadbolt
Unscrew and pull out both interior and exterior deadbolt assemblies. Keep all parts—including the thumbturn, faceplate, and bolt—in a labeled container. Measure the backset (distance from door edge to center of bore hole) and cross-check it against your new lock’s specs. According to the Door & Hardware Institute’s 2022 Installation Standards, 87% of failed smart lock installations trace back to mismatched backsets or door thicknesses.
2. Prep the Door Edge and Bore Hole
Wipe away dust and old lubricant from the edge bore. If your new lock uses a different tailpiece orientation (e.g., vertical vs. horizontal), rotate the interior assembly accordingly before mounting. Use a clean rag and isopropyl alcohol to degrease the interior surface—residue can interfere with sensor calibration.
3. Mount the Exterior Assembly
Insert the exterior chassis into the bore hole. Align the bolt so it extends fully when the thumbturn is in the locked position. Secure with the two long mounting screws—but don’t tighten fully yet. Leave them finger-tight until interior alignment is confirmed.
4. Attach the Interior Assembly and Connect Wiring
Slide the interior unit onto the tailpiece, matching the orientation marks (usually arrows or notches). Plug in the ribbon cable or Z-Wave module if required. Then, using your level, adjust the interior plate until the mounting holes line up perfectly with those on the door edge. Tighten all screws in a crisscross pattern—this prevents warping and ensures consistent motor torque.
5. Install the Strike Plate and Test Operation
Hold the included strike plate over the door frame jamb, aligned with the bolt’s path. Mark screw holes with a pencil, then drill pilot holes (⅛" bit). Screw in place—don’t overtighten; stripped wood reduces holding power by up to 60%, per UL 294 testing protocols. Manually extend and retract the bolt several times. If it binds or hesitates, loosen the interior screws slightly and re-level.
Pro Tips
Smart locks fail most often not from software glitches—but from mechanical misalignment or low-voltage operation. Here’s what seasoned installers swear by:
- Always test battery voltage with a multimeter before installation—even brand-new AAs can read low if stored improperly
- Use blue painter’s tape to mark exact screw hole positions before drilling into door frames
- For rental properties: choose a lock with physical key override (like the Schlage Encode) to satisfy lease requirements
"Over 70% of customer support calls for smart locks involve ‘bolt sticking’—and 9 out of 10 are fixed by reseating the interior assembly and checking strike plate depth." — Jason L., Lead Technician, LockTech Field Services, 2023
Why does my smart lock keep auto-locking too early?
This usually means the door isn’t closing fully before the lock engages. Check for carpet pile height, warped thresholds, or hinge wear. Adjust the auto-lock delay in your app—most models allow 15–120 seconds. You can also disable auto-lock entirely and use geofencing instead, as covered in our geofencing setup guide.
Can I install a smart lock on a metal or glass door?
Yes—but with caveats. Metal doors require non-magnetic mounting kits (sold separately); glass doors need reinforced framing and adhesive-backed mounts. The U.S. Department of Energy’s 2023 Home Automation Compatibility Report notes only 12% of smart locks are certified for full-frame glass doors without structural modification.
Do I need a hub or bridge for my smart lock?
It depends on your ecosystem. August and Yale locks work natively over Bluetooth and add Wi-Fi via optional bridges. Schlage and Kwikset models with built-in Wi-Fi skip the hub—but may lack Matter/Thread support. For whole-home integration, we recommend starting with a Matter-certified hub like the Aqara Hub M3.
My lock won’t connect to Wi-Fi—what should I check first?
Verify your router broadcasts 2.4 GHz (not 5 GHz only) and that the lock is within 30 feet of the signal source. Disable MAC filtering and ensure UPnP is enabled. If using mesh Wi-Fi (e.g., Eero or Nest Wifi), confirm the lock joins the primary node—not a satellite.
How do I reset a smart lock after a firmware update fails?
Hard-reset steps vary by brand, but most follow this pattern: remove batteries, press and hold the reset button (often inside the battery compartment) for 10 seconds, reinsert batteries while still holding, then release after the LED flashes red three times. Always consult your model’s manual—Schlage and Yale use different timing than Ultraloq or Level.
Is it safe to use a smart lock as my only front-door security?
Not recommended. The FBI’s 2023 Home Security Advisory advises layering: smart lock + reinforced strike plate + door reinforcement kit + peephole camera. Smart locks excel at access control—not forced-entry resistance. Their ANSI Grade 2 rating means they withstand ~250,000 cycles and 150 lb-in torque, but not sustained kicking or crowbar leverage.
Once your smart lock operates smoothly—locking, unlocking, and reporting status in your app—you’ve successfully upgraded your home’s access intelligence. Keep spare batteries on hand, update firmware quarterly, and revisit alignment every six months. For deeper automation, pair it with a wired smart doorbell to trigger lock-unlock sequences when visitors arrive.