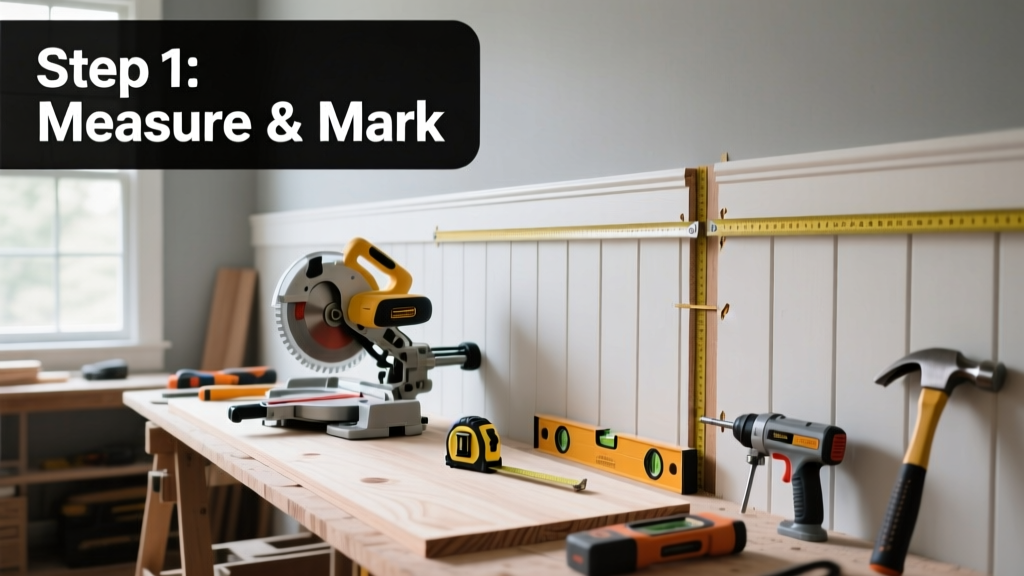
Installing shiplap is a mid-skill carpentry task that delivers high-impact visual results—think cozy farmhouse walls or modern accent features. With solid prep and steady hands, most DIYers complete a standard 10' × 8' wall in one full day (6–8 hours), including layout, cutting, fastening, and touch-up.
Overview
| Category | Details |
|---|---|
| Skill Level | Intermediate — requires measuring accuracy, power tool familiarity, and basic framing knowledge |
| Time Required | 6–8 hours for a 80 sq ft wall; add 1–2 hours for primer/paint if finishing on-site |
| Tools Needed | Level, stud finder, miter saw, drill/driver, brad nailer (18-gauge), caulk gun, laser line level (optional but recommended) |
| Estimated Cost | $2.40–$5.80 per sq ft for pine or poplar boards; $7.20–$12.50/sq ft for pre-primed MDF or cedar |
Tools & Materials
| Item | Specs & Notes |
|---|---|
| Shiplap boards | 1×6 or 1×8 pine (actual thickness: 3/4"; width: 5.5" or 7.25"); choose kiln-dried, S4S (surfaced four sides); avoid green lumber |
| Stud finder | Digital model with AC detection (e.g., Bosch GMS120) — essential for locating blocking behind drywall |
| Brad nailer | 18-gauge, 1.25"–2" nails; use 1.5" for drywall, 2" when nailing into studs or blocking |
| Construction adhesive | PL Premium or Liquid Nails LN-903 — required for board ends and top/bottom rows to prevent seasonal telegraphing |
| Finishing supplies | Wood filler (DAP Plastic Wood), 120-grit sandpaper, primer (Zinsser Bulls Eye 1-2-3), and paint (Benjamin Moore Aura Matte) |
Step-by-Step Instructions
1. Prep the wall surface and locate studs
Remove outlet covers, baseboards, and any trim. Inspect for damage or unevenness — repair holes and sand bumps. Use a digital stud finder to map every stud (16" on-center standard) and mark centers with painter’s tape. Then, snap a level horizontal line at 32" from the floor — this becomes your reference for the first board’s bottom edge. Warning: Never rely solely on spacing — verify each stud location. Mis-hit nails compromise holding power and cause board bowing.
2. Cut and acclimate boards
Stack boards flat in the room for 48–72 hours before installation. This equalizes moisture content and prevents post-install cupping. Cut boards to length using a miter saw with a sharp 60-tooth blade — cut all boards for one row at once to ensure consistent length. Leave a 1/8" gap at each end against walls and corners for expansion. Pro tip: Label cut boards by row (e.g., "Row 1 – Left", "Row 1 – Right") to avoid confusion during layout.
3. Install the starter board and level it precisely
Apply a continuous 1/4" bead of PL Premium along the back of the first board, centered vertically. Press firmly into place along your snapped line. Drill two pilot holes through the face near each end, then drive 2" screws into studs (don’t countersink — you’ll fill later). Use a 4-ft level across the top edge — adjust with wood shims behind the board until perfectly level. Nail every 16" into studs using 1.5" brads.
"If your starter board isn’t dead-level, every subsequent row will compound the error — take 20 extra minutes here. It’s the single biggest cause of 'wavy' shiplap walls." — Mike R., master carpenter with 28 years’ residential finish work (RenoCraft Builders, 2022)
4. Stagger joints and maintain consistent reveals
Each new board overlaps the previous one by its tongue-and-groove profile — typically 3/8" to 1/2" reveal. Stagger end joints by at least 24" between rows to avoid vertical seams. Use spacers (like a nickel or purpose-made 3/16" shim) between boards to hold uniform gaps. Apply construction adhesive to the back of each board *and* to the tongue before engaging the groove — this eliminates hollow-sounding panels and reduces seasonal movement noise. Nail only into studs or blocking — never into drywall alone.
Pro Tips
Seasonal humidity swings cause wood to expand and contract. Pine shiplap can shift up to 1/16" across a 6" board width (U.S. Forest Service Wood Handbook, 2023). That’s why skipping end gaps or over-tightening nails leads to buckling or popped nails within 6 months. Always leave expansion space at ceiling, floor, and side walls — cover gaps with quarter-round or casing, not caulk alone.
- Use a chalk line instead of a laser for long walls — lasers drift over distance; chalk lines stay true
- Pre-drill nail holes in visible areas (like near outlets) to prevent splitting
- For ceilings or vaulted walls, install boards perpendicular to joists and add horizontal blocking every 24"
Common mistakes include nailing too close to board edges (causes splitting), skipping adhesive on end joints (leads to audible creaking), and installing boards directly over textured drywall (creates shadow lines). If your wall has popcorn texture, skim-coat first — shiplap magnifies every imperfection beneath it.
How do I handle electrical outlets and switches?
Turn off power at the breaker. Remove cover plates and outlet boxes. Measure and cut precise openings in boards using a jigsaw or oscillating tool — leave 1/8" clearance around the box. Reinstall boxes flush with the shiplap surface using adjustable-depth mud rings. Cover gaps with Decora-style oversized plates (like Legrand Adorne) — they hide minor misalignments better than standard plates.
Can I install shiplap over existing tile or brick?
Yes — but only with proper substrate prep. Clean thoroughly, then attach 1×2 furring strips horizontally every 16" using Tapcon screws (for concrete/masonry) or sleeve anchors (for tile over drywall). Shim strips to level, then nail shiplap to the furring. Never glue boards directly to tile — adhesion fails within 1–2 years due to thermal expansion mismatch.
What’s the best way to hide seams where shiplap meets crown molding?
Install crown molding *after* shiplap is complete. Set the crown so its bottom edge sits just above the top shiplap board — then caulk the seam with paintable acrylic latex caulk (DAP Alex Plus). Sand lightly, prime, and paint. For seamless blending, use a router to cut a 1/4" rabbet into the back of the crown’s bottom edge — it slips over the shiplap’s top board like a cap.
Do I need to prime and paint shiplap before installing?
No — and doing so invites problems. Unpainted pine absorbs moisture unevenly during installation, causing warping. Instead, install raw boards, fill nail holes and seams with wood filler, sand smooth, then prime and paint the entire surface. Pre-primed MDF shiplap is an exception — but still wait until after installation to caulk and touch up joints.
How do I fix a bowed or warped board after installation?
Remove it immediately — don’t try to force it straight. Check moisture content with a pinless meter (should be 6–8% indoors); if >10%, let the board acclimate longer. Replace with a board cut from the same batch — mixing lots causes color and grain mismatches. If bowing appears weeks later, inspect HVAC airflow: rooms with poor circulation see localized humidity spikes that warp boards near vents or windows.
Shiplap transforms spaces without demanding contractor rates — but it rewards patience, precision, and respect for wood’s natural behavior. Once you’ve nailed the starter row and mastered the stagger, you’ll find rhythm in the repetition. For more finish techniques, see our guide on how to fill nail holes in wood and how to paint shiplap walls for flawless results.