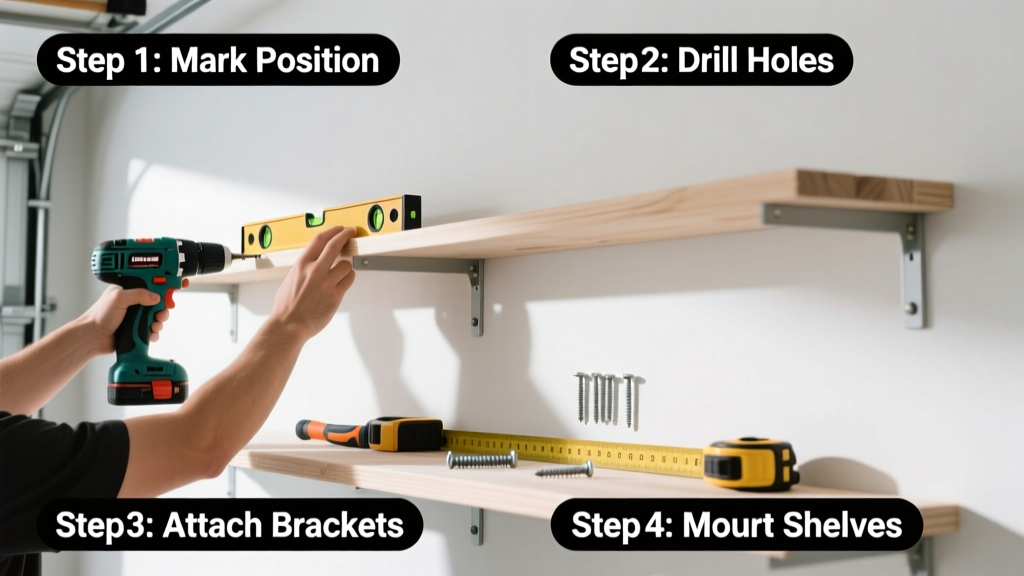
Installing shelving is a foundational home improvement skill that boosts storage, organization, and room functionality. It’s rated intermediate—easier than drywall repair but trickier than hanging a picture—and takes 2–4 hours depending on wall type and shelf size. You’ll need basic tools, a stud finder, and patience for leveling.
Overview
| Skill Level | Time Required | Tools Needed | Estimated Cost |
|---|---|---|---|
| Intermediate | 2–4 hours | Drill, level, stud finder, tape measure, pencil, screwdriver | $25–$120 (brackets + lumber or pre-fab unit) |
Tools & Materials
| Category | Items |
|---|---|
| Essential Tools | 3-foot level, magnetic stud finder (e.g., Zircon MultiScanner i3), cordless drill with Phillips #2 and 1/8" drill bits, 25' tape measure, pencil, safety glasses |
| Hardware & Supplies | 16-gauge steel L-brackets (2 per shelf), 3" #10 wood screws (for studs), 2" drywall anchors (if no stud access), shelf boards (1×10 pine or 3/4" plywood), wall plugs (for masonry) |
| Optional Upgrades | Shelf pins & adjustable bracket system, edge banding, wood filler, paint or stain |
Step-by-Step Instructions
1. Plan Shelf Layout & Locate Studs
Measure your wall space and decide on shelf depth (12" for books, 16" for bins), height between shelves (12–18"), and total vertical span. Use your stud finder to mark every stud—most are 16" apart on center, but verify. Circle each stud location with a pencil; double-check with a small pilot hole if uncertain. Warning: Never rely solely on measuring from a corner—studs shift due to framing errors or repairs.
2. Mark Bracket Positions
Hold your first bracket against the wall at your planned height. Use the level to ensure it’s perfectly horizontal, then lightly trace its top and bottom edges. Repeat for all brackets—keeping them aligned across the same horizontal plane. For multi-shelf units, use a laser level or snap a chalk line between marks. Tip: Label each bracket position with “L” or “R” so you don’t reverse left/right mounting later.
3. Drill Pilot Holes & Mount Brackets
Drill 1/8" pilot holes through the bracket holes into each stud. If a bracket falls between studs, use toggle bolts rated for 50+ lbs or snap-toggle anchors (not plastic anchors). Drive 3" #10 screws until flush—don’t overtighten and strip the threads. Check level again after each bracket is secured. Warning: Overdriving screws into hollow-core doors or plaster can crack the surface—back off pressure once resistance increases.
4. Install Shelf Boards & Verify Load Capacity
Place your shelf board onto the brackets. Secure with two 1-1/4" screws driven down through the shelf into each bracket’s top flange. For longer spans (>36"), add a center support bracket. Test stability: press down firmly at the front edge—if it deflects more than 1/8", reinforce with a third bracket or switch to 1-1/4" thick material. According to the American Wood Council’s Design Values for Joists and Rafters (2023), 3/4" plywood spanning 36" supports only 40 lbs/ft² without mid-span support.
Pro Tips
Seasoned carpenters stress one thing above all: “A shelf is only as strong as its weakest attachment point—and most failures happen at the wall, not the board.” That’s why pros always test stud locations with a nail before drilling, and never skip the level—even for “temporary” shelves. Common mistakes include using drywall anchors for heavy loads (they fail under vibration), forgetting to account for baseboard thickness (which lifts brackets off the wall), and installing shelves too high for daily access (ideal bottom shelf height is 18–24" from floor).
“We see three times more shelf collapses in garages than kitchens—and 90% involve anchors installed into drywall instead of studs.” — Home Repair Safety Council, Wall-Mounted Storage Incident Report 2022
How do I install shelves on concrete or brick walls?
Use a masonry bit to drill 1/4" holes, insert lead sleeve anchors, then drive lag shields or Tapcon screws. Always wear eye protection—concrete dust is hazardous. For brick, avoid mortar joints; drill into solid brick for best hold. See our guide on how to drill into concrete for bit selection and torque settings.
Can I hang shelves without finding studs?
Yes—but only for lightweight use (<15 lbs per shelf). Use heavy-duty toggle bolts (like WingIts or SnapToggles) rated for your wall type. Standard plastic anchors fail under repeated loading. For plaster walls, consult a pro: lath-and-plaster holds poorly unless you hit wood backing.
What’s the best wood for DIY shelves?
- Pine (1×10): affordable, easy to cut, stains well—but dents easily
- Birch plywood (3/4"): stable, no warping, smooth finish—ideal for painted shelves
- Hard maple: dense and durable, but expensive and harder to drill
Avoid particleboard for anything over 24" span—it sags under weight and swells if damp. For garage storage, consider adding a 1×2 cleat along the back edge for rigidity.
Why does my shelf sag in the middle?
Sagging almost always means insufficient support—not weak wood. A 36" pine shelf needs support every 24" for medium loads. Add a third bracket centered beneath the shelf, or upgrade to 1-1/4" thick material. You can also rout a 1/4" x 1/2" dado along the underside and glue in a hardwood stiffener.
How high should I mount kitchen pantry shelves?
Base your heights on ergonomics: bottom shelf 18–24" above floor (accessible while standing), middle shelves between 42–60" (within comfortable reach), top shelf no higher than 72" unless using a step stool. The National Kitchen & Bath Association recommends 15" vertical clearance between shelves for standard cereal boxes and canned goods.
Do I need to anchor shelves to studs in rental units?
Legally, yes—if you’re drilling into walls. Most leases require landlord approval before permanent modifications. Use removable options like tension rods, freestanding units, or adhesive-backed hooks rated for shelf weight (e.g., Command™ Heavy-Duty Strips up to 16 lbs). For long-term rentals, ask about installing toggle bolts—you may be able to patch cleanly with joint compound and touch-up paint.
Once your shelves are secure and level, load them gradually—start with lighter items, check for deflection, then add heavier bins or books. Wipe down wood surfaces before finishing, and consider sealing open grain with sanding sealer if staining. For more layout ideas, explore our garage storage ideas or bookshelf design tips. Solid shelves don’t just hold things—they hold your space together.