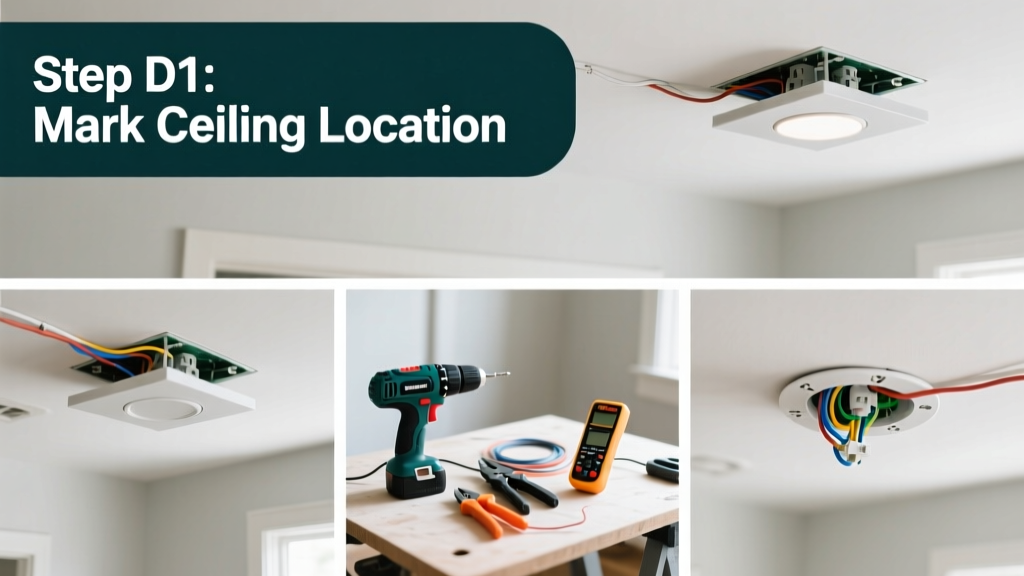
Installing recessed lighting transforms a room’s ambiance and functionality—but it’s not just about cutting holes and screwing in cans. This project requires careful planning, adherence to local electrical codes, and confidence working with household wiring. It’s an intermediate DIY task: expect 4–8 hours for a 6-light install in an accessible attic or drop ceiling, assuming no major framing obstacles or circuit upgrades.
Overview
| Skill Level | Time Required | Tools Needed | Estimated Cost (6 lights) |
|---|---|---|---|
| Intermediate (must understand circuit load, wire gauge, and box fill) | 4–8 hours (first-time), 2–3 hours (experienced) | Stud finder, drywall saw, voltage tester, drill, fish tape, wire strippers | $180–$450 (LED trims + IC-rated housings) |
Tools & Materials
| Category | Item | Notes |
|---|---|---|
| Electrical | UL-listed IC-rated airtight housing (e.g., Halo H7ICAT) | Required if insulation contacts fixture; non-IC units violate code in insulated ceilings |
| Electrical | 14/2 NM-B cable (or 12/2 for 20A circuits) | Match wire gauge to breaker rating—14-gauge only for 15A circuits (NEC 2023, 310.15(B)(16)) |
| Tools | Non-contact voltage tester (Klein Tools NCVT-2) | Test before every cut—30% of DIY electrical injuries occur from assumed-dead wires (ESFI 2022) |
| Hardware | Old-work (remodel) electrical boxes with integral clamps | For ceiling-only access—no attic needed—but require solid joist anchoring |
| Lighting | Dimmable LED retrofit trim (e.g., Juno RL6 or Lithonia LR6) | Look for CRI >90 and 2700K–3000K for warm, flattering light |
Step-by-Step Instructions
1. Turn off power and verify circuit isolation
Shut off the correct breaker at your main panel—don’t rely on switches. Use a non-contact voltage tester at the existing switch box *and* at the intended light locations before drilling or cutting. Label the breaker with tape so no one accidentally restores power mid-job.
2. Map joist layout and mark light positions
Use a stud finder with deep-scan mode to locate ceiling joists (typically 16" or 24" on center). Mark light centers at least 3" from any joist edge and 12" from walls to avoid shadowing and heat buildup. For even spacing in a 12' × 14' living room, place six lights in two parallel rows—36" from side walls and 48" apart along each row.
- Tip: Snap a chalk line between marks to ensure alignment across multiple fixtures.
- Warning: Never cut into a ceiling without confirming no plumbing, HVAC ducts, or conduit runs above—check attic access first or use a borescope.
3. Cut openings and install housings
Drill a 3/8" pilot hole at each mark, then feed a drywall saw through. Cut a clean 6" or 7" diameter circle (match your housing spec). For remodel housings, squeeze the spring clips, push the unit up into the cavity, and release—the clips grip the drywall’s backside. Tighten adjustment screws until the housing flange sits flush with the ceiling surface.
4. Run and connect wiring
Run 14/2 NM-B cable from the switch box to the first can, then daisy-chain to remaining fixtures using approved connectors (e.g., Ideal Twister reds). Leave 8" of slack at each housing. Strip 3/4" of insulation, connect black-to-black, white-to-white, and bare copper to the housing’s green grounding screw. Secure cables within 8" of each box with staples rated for NM cable (NEC 334.30).
- Tip: Label wires with masking tape at each junction—“SW” for switch leg, “H1”, “H2”, etc.—before connecting.
- Warning: Overfilling a housing’s junction box violates NEC 314.16—max 7 #14 wires in a standard 18 cu in box.
Pro Tips
Recessed lighting fails most often due to poor thermal management or mismatched dimmers—not faulty bulbs. Always pair LED trims with ELV (electronic low-voltage) or MLV (magnetic low-voltage) dimmers rated for your specific load. And never stack more than three IC-rated housings side-by-side without airflow gaps—they’ll overheat and trip thermal cutoffs.
“The biggest rookie mistake I see? Installing non-IC housings in insulated ceilings. They’re not just inefficient—they’re a fire hazard. Always check the label: ‘IC’ means it’s safe for direct insulation contact.” — Carlos Mendez, Master Electrician & NEC Code Trainer, IAEI Journal 2023
Can I install recessed lights without attic access?
Yes—with remodel (old-work) housings designed for ceiling-only installation. But confirm ceiling material thickness (most require ≥1/2" drywall) and that joists are accessible enough to anchor the housing’s spring clips securely. If your ceiling is plaster or lath, consult an electrician—cutting there risks structural damage and hidden wiring.
Do I need a permit for recessed lighting?
In 42 states and all major municipalities, yes—especially when adding new circuits or modifying existing ones. Permits trigger inspection of box fill, grounding, and AFCI/GFCI compliance. Skipping it voids homeowner’s insurance coverage for electrical fires (Insurance Institute for Business & Home Safety, 2023). Call your local building department—they’ll tell you if a simple “alteration” permit covers 6 lights on an existing circuit.
Why do my new LED recessed lights flicker or buzz?
It’s almost always a dimmer incompatibility. Standard incandescent dimmers lack the low-wattage control needed for LEDs. Replace with a dimmer explicitly listed for your trim model (e.g., Lutron Diva DVCL-153P for Juno trims). Also verify neutral wire presence—if your switch box lacks a neutral, you’ll need a no-neutral dimmer like the Leviton D26HD.
How far apart should recessed lights be spaced?
Use the “rule of halves”: spacing = ceiling height ÷ 2. For an 8' ceiling, position lights 4' apart. For task lighting (e.g., over a kitchen island), reduce to 30"–36" and aim trims downward. Ambient lighting in living rooms benefits from wider spacing—up to 5'—to prevent scalloping (overlapping light pools).
Can I replace old halogen recessed lights with LEDs?
Absolutely—and you should. Retrofit LED trims draw 10–12W vs. 50–90W halogens, cutting cooling load and eliminating bulb replacement every 1–2 years. Just verify your existing housing accepts retrofit kits (most Halo, Juno, and Lithonia models do), and confirm thermal ratings match—older housings may lack adequate airflow for enclosed LED modules.
What’s the best color temperature for recessed lighting?
Stick to 2700K–3000K for living spaces (warm, inviting), 3500K for kitchens and bathrooms (clean but not clinical), and 4000K only for garages or workshops. Higher CCTs increase blue-light exposure, which disrupts melatonin production—studies link bedroom lighting above 3000K to reduced sleep quality (Lighting Research Center, Rensselaer Polytechnic Institute, 2021).
Once all trims are secured and bulbs installed, restore power and test each light individually. Walk the room at night—adjust trim angles to eliminate glare on TVs or artwork. If you’re adding lighting to a home office, consider pairing recessed fixtures with under-cabinet lighting for layered task illumination. For tighter budgets, start with high-traffic zones first—dimmer switches and ceiling fixtures offer faster ROI, but recessed lighting delivers unmatched visual calm and resale appeal when done right.