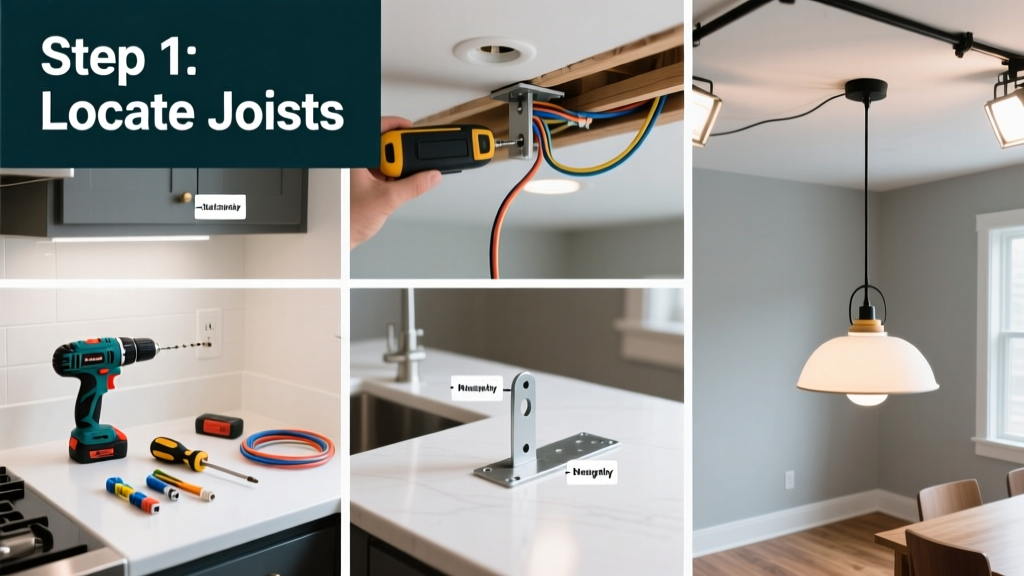
Installing a pendant light is a mid-level DIY electrical project that takes 1–2 hours and delivers high-impact visual payoff—especially over kitchen islands or dining tables. You’ll need basic wiring knowledge, but no license required if you’re replacing an existing fixture on the same circuit.
Overview
| Skill Level | Time Required | Tools Needed | Estimated Cost |
|---|---|---|---|
| Intermediate (basic wiring experience required) | 1.5–2 hours | Voltage tester, screwdrivers, wire strippers, ladder, drill (if mounting new box) | $45–$180 (fixture + hardware; excludes electrician fees) |
Tools & Materials
| Category | Item | Notes |
|---|---|---|
| Electrical | UL-listed pendant light kit (with canopy, cord, and shade) | Ensure it’s rated for your ceiling type (e.g., sloped, drywall, or concrete) |
| Hardware | Mounting bracket, 3–4” hex screws, plastic or metal junction box (if replacing old box) | Old-work boxes cost $6–$12; use metal if retrofitting into plaster or near insulation |
| Tools | Non-contact voltage tester, lineman’s pliers, wire nuts (red or yellow), fish tape (if running new cable) | Test every wire *before* touching—live circuits cause 40% of DIY electrical injuries (NFPA 70E, 2023) |
| Safety | Insulated gloves, safety glasses, LED work light | Wear gloves even when power is off—capacitors in some drivers can hold residual charge |
Step-by-Step Instructions
1. Turn Off Power & Verify It’s Dead
Go to your main panel and switch off the circuit breaker supplying the ceiling box. Use a non-contact voltage tester on the black (hot), white (neutral), and bare copper (ground) wires *inside the box*—not just at the switch. Test twice: once before removing the old fixture, and again after pulling wires out. If the tester beeps, go back to the panel and double-check the breaker label.
2. Remove the Old Fixture & Inspect the Box
Unscrew the mounting screws, lower the fixture, and disconnect wires by unscrewing wire nuts. Pull the wires gently to examine the junction box. If it’s plastic, cracked, or wobbles when tapped, replace it with a UL-listed 20-amp rated metal pancake box ($8.50 at Home Depot). According to the National Electrical Code (NEC Article 314.27), all ceiling fixtures must be supported by a box rated for at least 50 lbs—critical for pendants with heavy glass shades or brass stems.
3. Mount the New Bracket & Run Wires
Secure the included mounting bracket to the junction box using the provided machine screws. Feed the pendant’s cord through the bracket’s opening. If your pendant uses a field-cuttable cord (most modern ones do), measure from the bottom of the canopy to your desired hang height—add 6 inches for slack inside the box. Strip 3/4″ of insulation from black, white, and green/bare wires using wire strippers—never a knife.
4. Connect Wires & Secure the Canopy
Match colors: black to black (hot), white to white (neutral), green/bare to bare copper (ground). Twist each pair clockwise with lineman’s pliers, then screw on a red wire nut (rated for 2–3 #14 AWG wires). Tuck wires neatly into the box—no insulation nicks or exposed copper beyond the nut. Lift the canopy, align screw holes, and tighten mounting screws *just enough* to compress the gasket—overtightening cracks plastic canopies and voids UL listing.
Pro Tips
Most failed pendant installs stem from two oversights: misjudging hang height and skipping box reinforcement. Measure *from the floor*, not the ceiling—standard kitchen island clearance is 30–36″; dining tables need 28–34″. And never hang a 12-lb brass pendant from a plastic remodel box anchored only to drywall screws.
"I’ve replaced over 200 pendants in Chicago condos—and 7 out of 10 ‘wobbly’ installations traced back to undersized boxes or loose hanger bars. Always torque mounting screws to 12 in-lbs with a calibrated driver." — Elena Ruiz, Master Electrician & NEC Code Trainer, IBEW Local 134 (2022)
- For sloped ceilings: Use an adjustable swivel canopy (sold separately) to keep the shade level
- If installing where no box exists: Drill a 4″ hole, run 14/2 NM-B cable from nearest accessible junction, and install a fan-rated box (required by NEC 314.27(D) for any hanging load)
- LED pendants often include dimmable drivers—verify compatibility with your existing dimmer switch (Lutron Caseta and Leviton Decora Smart require ELV or MLV mode)
Can I install a pendant light without existing wiring?
Yes—but it requires running new cable from a nearby outlet or junction box, installing a proper ceiling box, and updating your home’s electrical permit log. In most municipalities, this triggers inspection. Consider a plug-in pendant with a cord cover kit instead—it’s legal, safe, and cuts time by 70%.
How high should my pendant hang over a kitchen island?
Bottom of the shade should be 30–36 inches above the countertop surface. For ceilings taller than 9 feet, add 3 inches of drop per additional foot (e.g., 10-ft ceiling = 33–39″). This prevents head bumps and ensures task lighting covers the full prep zone.
Why does my pendant flicker after installation?
Flickering usually means a loose neutral connection or incompatible dimmer. Double-check that the white wire isn’t nicked and that all wire nuts are snug—not just finger-tight. If using a dimmer, confirm it’s rated for LED loads and set to the correct low-end trim (many Lutron models require a small screwdriver adjustment).
Do I need an electrician to install a pendant light?
Not if you’re replacing an existing fixture on the same circuit and your local code allows owner-permitted work (42 states do, including Texas, Florida, and Ohio). But hire one if you’re adding a new circuit, working in a bathroom or garage, or unsure about grounding integrity. The U.S. Consumer Product Safety Commission estimates 2,700 home fires annually start with faulty DIY electrical work (CPSC Fire Incident Data, 2023).
Can I hang multiple pendants over an island?
Absolutely—space them 30 inches apart center-to-center, with outer fixtures aligned 12 inches inside the island’s edge. Use identical fixtures and a multi-point canopy or separate junction boxes wired in parallel (not daisy-chained) to prevent voltage drop.
What’s the safest way to test before final assembly?
After wiring but before securing the canopy, turn the breaker back on *briefly*, flip the wall switch, and check for light and heat. Then immediately shut off power again. Feel the wire nuts—if warm, re-strip and reconnect. Never leave power on while adjusting shade height or tightening canopy screws.
Once your pendant casts clean, focused light over your island or table—and stays rock-solid when brushed during cleaning—you’ve nailed it. For more wiring confidence, see our how to wire a light switch tutorial, or troubleshoot buzzing with our guide to quieting fixture hum. Ready to upgrade more? Our recessed lighting guide walks you through layering ambient and task light like a pro.