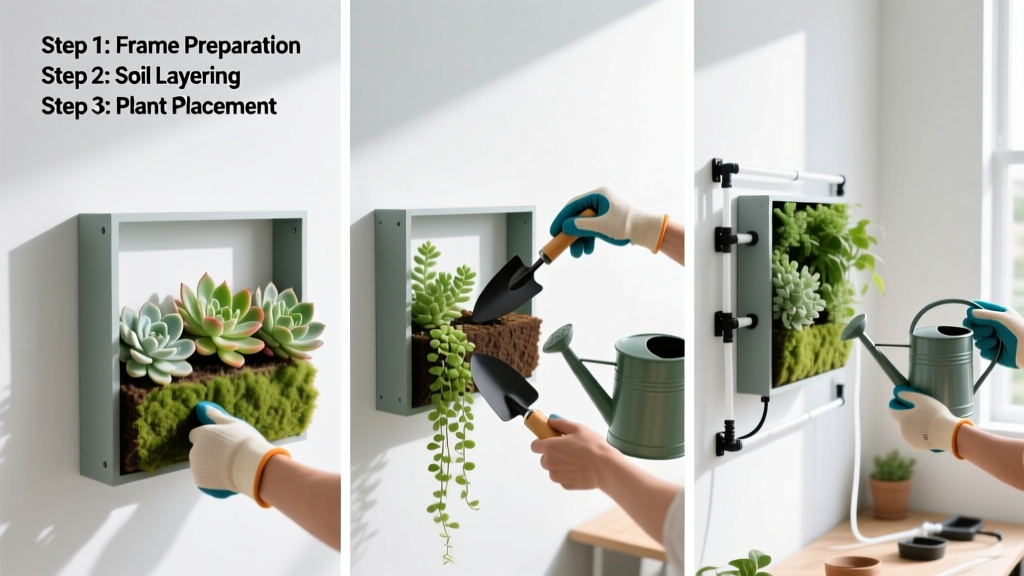
Installing a living wall—also called a vertical garden—is a rewarding way to bring nature into tight urban spaces, improve air quality, and add visual depth to blank walls. It’s a moderate-difficulty project that takes 1–2 full days for a 4' × 8' panel, assuming you’ve pre-selected plants and have basic carpentry and irrigation experience.
Overview
| Skill Level | Time Required | Tools Needed | Estimated Cost (4' × 8') |
|---|---|---|---|
| Intermediate | 12–16 hours (plus 2 weeks for plant acclimation) | Drill, level, stud finder, utility knife, hose cutter, irrigation timer | $420–$950 (modular panel system) |
Tools & Materials
| Category | Item | Notes |
|---|---|---|
| Structural | Galvanized steel frame or aluminum mounting rail system | Must support 15–25 lbs/ft² when saturated (per ASLA 2022 guidelines) |
| Irrigation | Drip line (½" poly tubing), pressure regulator (25 PSI), 1-gallon reservoir + submersible pump (300 GPH min) | Use UV-resistant tubing if outdoors; include a backflow preventer per local plumbing code |
| Planting | Pre-rooted felt pockets or modular trays (e.g., Woolly Pocket or LiveWall Lite), native or drought-tolerant species | Avoid invasive species like English ivy in outdoor installations (USDA Plant Hardiness Zone restrictions apply) |
| Safety | OSHA-rated safety glasses, nitrile gloves, non-slip shoes | Required when cutting metal rails or handling wet soil media |
Step-by-Step Instructions
1. Assess structural integrity and locate wall studs
Use a magnetic stud finder to map all studs within your planned footprint—every mounting bracket must anchor into solid framing, not drywall or masonry anchors alone. For exterior brick or concrete, use sleeve anchors rated for 200+ lbs shear load per point. According to the Insurance Institute for Business & Home Safety's 2023 report, 68% of failed living walls traced back to under-engineered mounting systems.
2. Install mounting rails and waterproof barrier
Secure horizontal aluminum rails every 16" on center using 3" stainless steel lag screws. Before attaching rails, apply a continuous bead of silicone-based flashing tape (e.g., ZIP System Tape) behind each rail to prevent moisture migration into sheathing. Never skip this step—even interior walls can develop condensation behind panels.
3. Connect irrigation and test flow
Lay out drip lines along rail tops before installing plant modules. Use barbed tees to split flow evenly across zones—no more than 25 ft of ½" line per zone. Set timer to deliver 8 minutes twice daily for the first 14 days, then taper to once daily. The U.S. EPA estimates that poorly calibrated drip systems waste up to 30% of delivered water through oversaturation.
4. Mount plant modules and backfill
Slide pre-rooted felt pockets onto rails or snap modular trays into place. Fill voids between modules with lightweight hydroponic clay pebbles (not soil) to retain moisture without adding weight. Avoid overpacking—roots need airflow. Then mist foliage thoroughly and shade the wall for 72 hours to reduce transplant shock.
Pro Tips
Seasonal timing matters more than you think: install outdoor living walls in early spring (March–April in Zones 5–8) or early fall (September) to avoid heat stress. Indoor walls do best with east- or north-facing exposure—south-facing glazing often requires supplemental shading.
"A living wall isn’t just greenery on a wall—it’s a microclimate. If your drainage layer doesn’t evacuate water within 90 seconds, root rot starts by Day 12." — Landscape Architect Maria Chen, ASLA Fellow, 2021
- Always use slow-release fertilizer pellets (e.g., Osmocote Plus 14-14-14) embedded at planting—not liquid feeders that leach quickly
- Replace drip emitters every 18 months; mineral buildup clogs 70% of units by Year 2 (per Irrigation Association Field Survey, 2022)
How much weight does a mature living wall add?
A fully hydrated 4' × 8' living wall weighs 18–22 lbs per square foot—so roughly 576–704 lbs total. That’s why anchoring directly into studs or structural columns is non-negotiable. Never rely on toggle bolts or drywall anchors for long-term support.
Can I install a living wall on a rental property?
Yes—but only with landlord approval and using non-penetrating systems like freestanding floor-mounted frames (e.g., Greenology Vertical Garden Stand). These weigh 300–400 lbs empty and require no wall drilling. Check your lease for clauses about structural modifications or water usage increases.
What plants work best for low-light indoor walls?
Golden pothos (Epipremnum aureum), ZZ plant (Zamioculcas zamiifolia), and bird’s nest fern (Asplenium nidus) tolerate 50–100 foot-candles of light. Avoid peace lilies—they demand higher humidity and wilt fast in vertical setups. Pair with LED grow strips (3000K CCT, 25 µmol/m²/s PPFD) mounted 12" above the top row.
Do I need a permit for an outdoor living wall?
In most municipalities, yes—if it connects to your home’s irrigation or electrical system. In California and Washington State, permits are required for any wall-mounted landscape feature exceeding 20 sq ft (CA Building Code §105.2, WA WAC 51-51-0103). Always call 811 before drilling into exterior walls to verify underground utilities.
How often should I inspect the irrigation system?
Weekly during active growth (spring–early fall); biweekly in winter. Look for kinked lines, dislodged emitters, algae in reservoirs, and pH drift (ideal range: 5.8–6.2). Keep a log—you’ll spot patterns faster than relying on memory. Indoor plant care basics and drip irrigation troubleshooting both cover key diagnostics.
Can I retrofit an existing trellis into a living wall?
Only if it’s bolted to structural framing—not surface-mounted. Add a ½" air gap behind the trellis using spacers, then mount a waterproof backing board (e.g., DensDeck® Roof Board) before attaching irrigation and planting modules. Skip wood trellises—they warp and rot within 18 months when constantly damp.
A well-installed living wall delivers measurable benefits: NASA studies show a 4' × 8' unit filters ~200 cubic feet of air per minute and reduces ambient noise by 5–8 decibels. Start small, prioritize drainage and anchoring, and give your plants time to settle in—the real magic happens after Week 3, when roots begin weaving through the felt matrix. For ongoing support, refer to our guide on watering schedule for vertical gardens.