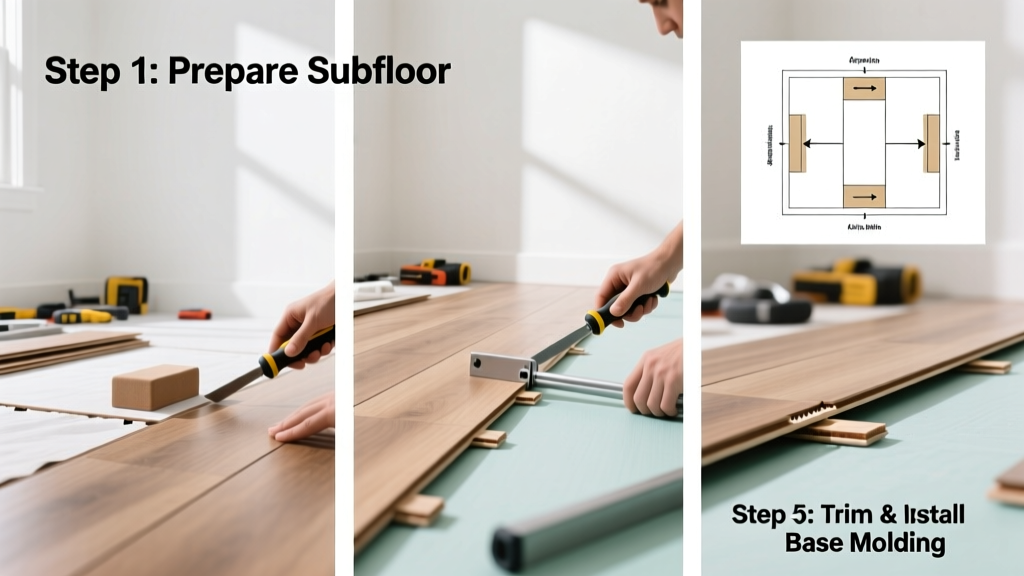
Installing laminate flooring is a mid-skill DIY project that delivers hardwood-look results without the cost or complexity of solid wood. With basic tools and careful prep, most homeowners can complete a standard bedroom (12'×14') in 1–2 days. No prior flooring experience is needed—but patience with expansion gaps and subfloor prep is non-negotiable.
Overview
| Skill Level | Time Required | Tools Needed | Estimated Cost (168 sq ft) |
|---|---|---|---|
| Intermediate (requires measuring & cutting precision) | 12–16 hours across 2 days | Tape measure, spacers, tapping block, pull bar, jigsaw, rubber mallet | $420–$680 (including underlayment & trim) |
Tools & Materials
| Category | Item | Notes |
|---|---|---|
| Essential Tools | Tape measure (25-ft metal) | Double-check all measurements before cutting—laminate expands/contracts with humidity |
| Essential Tools | Spacers (¼" thick) | Use plastic or DIY cardboard strips; never skip these—they prevent buckling |
| Essential Tools | Pull bar & tapping block | Prevents chipping edges when locking planks tight |
| Materials | Laminate planks (AC3 or AC4 rated) | For bedrooms: 8 mm thickness is sufficient; avoid AC1/AC2 in high-traffic zones |
| Materials | Underlayment (2 mm foam with vapor barrier) | Required even over concrete—per the National Wood Flooring Association’s 2022 Installation Guidelines |
| Materials | Quarter-round trim & finish nails | Match species/color; use 1½" brad nails with a nail set |
Step-by-Step Instructions
1. Prep the subfloor and room
Remove baseboards using a pry bar—label each section by wall for reinstallation. Sweep and vacuum thoroughly. Check for levelness: use a 6-ft straightedge; any gap >⅛" over 6 ft needs patching. Test moisture: concrete subfloors must read <75% relative humidity with a calcium chloride test (per ASTM F1869-21). If damp, add a second vapor barrier layer.
2. Lay underlayment seam-to-seam, not overlapped
Unroll foam underlayment perpendicular to your planned plank direction. Butt seams tightly—do NOT overlap, which creates uneven height. Tape seams with 2-inch foil tape (not duct tape) to prevent shifting. Around HVAC vents and pipes, cut precise X-slits and fold flaps down. Leave a ¼" gap between underlayment and walls—this avoids compression under baseboard.
3. Start the first row with a staggered cut
Measure your room width and subtract ¾" for expansion gap. Cut your first plank to that length. Then cut the second plank to ⅔ the length of the first—this ensures end joints are at least 6" apart in adjacent rows. Place spacers along the wall before laying any plank. Tap planks together gently with a tapping block; never hammer directly on the tongue.
4. Lock rows with consistent force—and check alignment every 3 rows
After clicking the first 3 planks of Row 2, place a 4-ft level across their surface. If the row bows up, back out and reseat—forcing misaligned planks causes edge separation later. Use the pull bar for final locks: hook it behind the last plank, brace against the installed row, and pull horizontally—not downward—to avoid lifting the front edge.
Pro Tips
Season your planks for 48 hours in the room where they’ll be installed—this prevents post-installation gapping or crowning. Keep a scrap pile of cutoffs: you’ll need them for the last row and around doorways. And never walk on newly installed laminate for 24 hours—it needs time for interlocking joints to settle.
"More than 68% of laminate floor failures stem from skipped expansion gaps or moisture-related subfloor prep—not poor installation technique," says flooring engineer Lena Cho in the Flooring Contractor Journal (2023).
- Always acclimate planks in the room for 48 hours before opening boxes
- Label each box with its row number to maintain consistent grain direction
- If cutting near door jambs, undercut the jamb with a jamb saw instead of removing it
How do I handle transitions to other flooring types?
Use T-molding for height-matched floors (e.g., laminate to vinyl), reducer strips for lower floors (e.g., laminate to tile), and threshold bars for exterior doors. Secure transition pieces only to the subfloor—not the laminate—with finish nails spaced 8" apart. For doorways wider than 36", add a center support screw to prevent flexing.
Can I install laminate over existing carpet?
No. Carpet padding compresses unevenly and traps moisture, causing planks to buckle or delaminate within months. Remove carpet, pad, and tack strips completely. If glued-down carpet remains, scrape residue until the subfloor feels uniformly smooth and solid. Vacuum twice—carpet fibers clog underlayment seams.
What’s the best way to cut laminate without chipping?
Score the decorative side with a utility knife first, then cut from the backside using a fine-tooth jigsaw blade (80+ TPI) or a laminate-specific scoring tool. Clamp a straightedge guide and cut slowly—rushing causes tear-out. Sand cut edges lightly with 120-grit paper to remove splinters before locking.
Do I need underlayment if my laminate has it pre-attached?
Yes—if installing over concrete, per the U.S. EPA’s moisture mitigation guidelines (2022). Pre-attached underlayment lacks sufficient vapor resistance. Add a separate 6-mil polyethylene sheet beneath the factory pad, sealed at seams with tuck tape. Over wood subfloors? Pre-attached is usually sufficient—but verify with the manufacturer’s warranty terms.
How do I fix a plank that won’t lock fully?
First, check for debris in the groove—use compressed air or a soft brush. Next, inspect the tongue for nicks or bends; sand or file minor imperfections. If still stubborn, slightly bevel the leading edge of the tongue with a utility knife (15° angle, 1/32" deep). Never force it—the joint will fail prematurely.
Why does my laminate floor click when I walk on it?
A hollow sound usually means underlayment shifted or wasn’t taped at seams. A sharp *pop* suggests an unsecured plank edge—lift the affected board and re-lock it with the tapping block. Persistent noise after 48 hours points to subfloor deflection; reinforce joists underneath or add plywood stiffening.
Installing laminate isn’t about speed—it’s about rhythm, repetition, and respect for the material’s limits. Once you’ve nailed the first 3 rows, the rest flows naturally. You’ll save $1,200+ versus hiring a pro, and you’ll know exactly how that warm, quiet floor beneath your feet was built. For next steps, see our guide on how to cut laminate flooring cleanly and how to fix gaps in laminate flooring.