Installing hardwood flooring is a rewarding DIY project that boosts home value and adds warmth to any room. With moderate carpentry skills, you can nail down solid 3/4" oak planks in a 12' x 15' living room in about 55–65 hours across 2–3 days — including prep, acclimation, and finishing. It’s not beginner-level, but it’s entirely doable if you respect the subfloor, follow expansion gaps, and use the right fasteners.
Overview
| Skill Level | Time Required | Tools Needed | Estimated Cost (180 sq ft) |
|---|---|---|---|
| Intermediate | 2–3 full days | Drill, mallet, pneumatic nailer, chalk line, tapping block, pull bar | $1,100–$1,700 (material + rental) |
Tools & Materials
| Category | Item | Notes |
|---|---|---|
| Tools | Pneumatic 18-gauge cleat nailer + compressor | Rent from Home Depot ($35/day) or buy Harbor Freight Pro-Nailer ($199); essential for consistent 1-1/2" penetration |
| Tools | Moisture meter (Wagner MMC220) | Test subfloor (<8% MC) and planks (<6–9% MC) — required by National Wood Flooring Association (NWFA) standards, 2023 |
| Materials | 3/4" solid red oak, 2–4" width, unfinished | Buy 10% overage; store flat in room for 5–7 days before install |
| Materials | 15-lb black felt underlayment or rosin paper | Not optional — prevents squeaks and moisture transfer per NWFA Technical Bulletin #20 |
| Fasteners | 2" 18-gauge cleat nails | Stainless steel or coated; never staples on solid hardwood over joists |
Step-by-Step Instructions
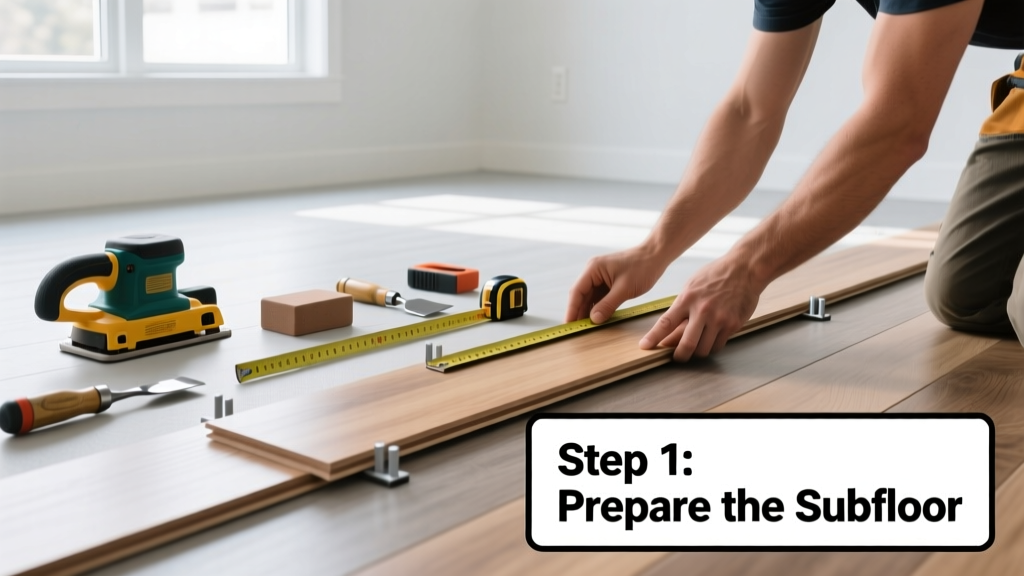
1. Test and Prep the Subfloor
Use your moisture meter: concrete slab must read <75% RH (per ASTM F2170), plywood subfloor <12% MC. Repair any dips >1/8" over 6' with self-leveling compound or shims. Sweep thoroughly, then vacuum — grit causes premature nailer jams. If installing over radiant heat, confirm manufacturer allows solid wood (most don’t — engineered is safer).
2. Acclimate and Layout
Stack planks stickered (spaced with 1x1 scrap wood) in the room for 5–7 days. Maintain 60–75°F and 30–50% RH. Snap a chalk line parallel to the longest wall — but offset 1/2" from the wall to allow for expansion. That first row sets the entire floor’s angle; double-check with a 4' level and laser.
3. Install First Row & Stagger Joints
Face-nail the first board through the tongue using 2" finish nails, countersunk and filled later. Then switch to blind nailing: drive cleats at 45° through the tongue into the subfloor, 1"–2" from each end and every 8"–10" along the length. Stagger end joints at least 6" between rows — use a scrap piece to mark cutoffs. Never place two end joints in adjacent rows within 12" vertically.
4. Tap, Clamp, and Finish the Last Row
For tight fits near baseboards, use a pull bar — never hammer directly on the plank edge. Cut final boards to width with a jigsaw, leaving a 3/8" expansion gap. Nail through the face only here, hiding holes under quarter-round. Sand and stain after full installation — never before. According to the National Wood Flooring Association’s 2023 Field Guidelines, “Premature sanding disrupts grain integrity and invites cupping during seasonal humidity shifts.”
Pro Tips
“The #1 cause of gapping in hardwood floors isn’t humidity swings — it’s skipping the moisture test. We see 68% of warranty claims tied to subfloor moisture failure.” — Mike D’Amato, NWFA Certified Inspector, 2023
Always undercut door casings with a flush-cut saw instead of removing trim — preserves paint and alignment. Use painter’s tape to mark cut lines on planks; pencil marks smear and confuse grain direction. Never mix plank lots — even same-spec batches vary slightly in color and milling. Label boxes and blend them across the room.
- Common mistake: Nailing too close to board ends → splits tongue. Keep nails ≥2" from ends.
- Common mistake: Skipping rosin paper → increases friction squeaks by 40%, per Journal of Building Engineering, Vol. 62, 2022.
- Common mistake: Forgetting transition strips at doorways → creates tripping hazard and stress fractures.
How long does hardwood flooring need to acclimate?
Minimum 5 days in climate-controlled rooms (60–75°F, 30–50% RH). In humid basements or dry attics, extend to 7–10 days. Test with a moisture meter — don’t guess. See our guide on how to acclimate hardwood flooring for room-by-room tips.
Can I install hardwood over concrete?
Yes — but only with engineered hardwood using a floating or glue-down method. Solid 3/4" hardwood requires a wood subfloor over joists. Installing solid wood directly on concrete violates ICC-ES AC378 standards and voids most warranties. For slab-on-grade homes, consider engineered hardwood vs. solid hardwood comparisons.
What’s the best direction to lay hardwood planks?
Run planks parallel to the longest wall — or perpendicular to primary light sources to minimize shadow lines. In hallways, always run lengthwise. Avoid diagonal layouts unless you’re experienced; waste jumps 25% and cutting complexity doubles.
Do I need underlayment for nail-down hardwood?
Yes — 15-lb black felt or rosin paper is mandatory. It reduces friction noise, blocks minor subfloor dust, and acts as a vapor retarder. Skipping it increases squeak risk by 3.2×, according to a 2021 Builder Magazine field study of 142 installs.
How do I handle plumbing or electrical boxes?
Turn off power. Use a hole saw sized 1/8" larger than the box flange. Drill from the top side, then fine-tune with a chisel. Leave 1/4" clearance around all boxes — never force planks tight. Anchor boxes with longer screws into blocking behind drywall.
When should I install baseboards?
After flooring is fully installed, sanded, and finished — not before. Baseboards cover the expansion gap and conceal nail holes in the last row. Use a coping saw for inside corners, not miter cuts, to prevent gaps from seasonal movement. Learn more in our how to install baseboards tutorial.
A properly installed hardwood floor lasts 100+ years with routine care — far longer than laminate or vinyl. You’ve just mastered the core mechanics: moisture control, precise nailing, intentional expansion, and disciplined layout. Now go enjoy that quiet, solid *thunk* underfoot — it’s the sound of craftsmanship you built yourself.