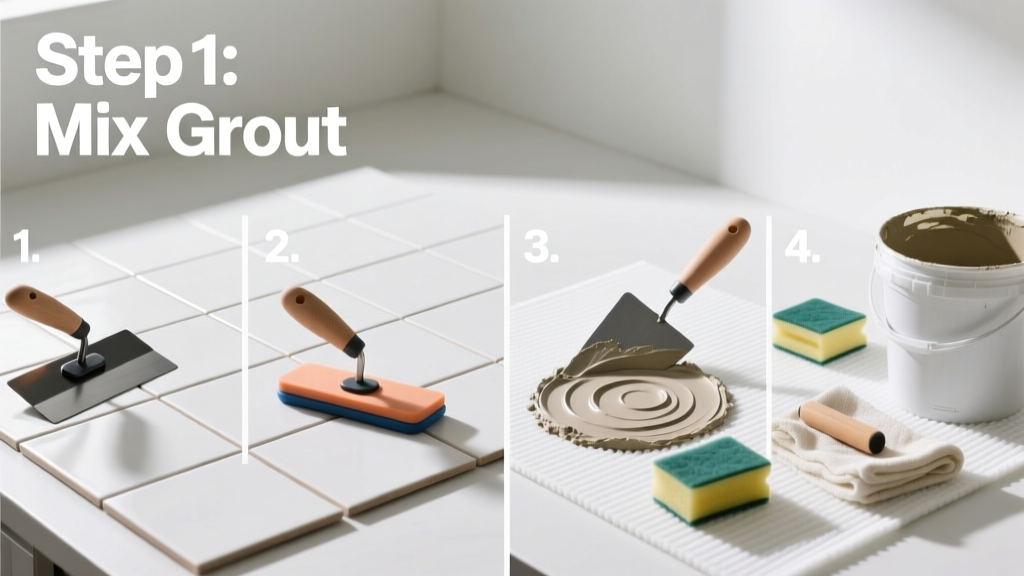
Installing grout is the final, essential step in any tile installation that seals joints, prevents moisture intrusion, and gives your surface a finished look. It’s a moderate-skill task requiring patience and timing—most DIYers complete it in 4–6 hours (plus 24–72 hours of curing time) on a 10 ft² backsplash.
Overview
| Skill Level | Time Required | Tools Needed | Estimated Cost |
|---|---|---|---|
| Intermediate | 4–6 hours active work + 3 days cure time | Grout float, bucket, sponge, margin trowel, microfiber cloths | $12–$45 (depends on tile size and grout type) |
Tools & Materials
| Item | Quantity/Specs | Notes |
|---|---|---|
| Cement-based or epoxy grout | 1 lb covers ~25 linear ft of 1/8" joint on 4×4 in. tile | Use sanded grout for joints ≥1/8"; unsanded for ≤1/16" (e.g., glass mosaic) |
| Grout float (rubber-edged) | 1 | Avoid metal floats—they scratch tile glaze |
| Non-scratch grout sponge | 2–3 (dedicated only for grouting) | Replace if surface becomes rough or sheds fibers |
| Bucket + lukewarm water | 1 gal capacity | Change water every 2–3 passes—cloudy water re-deposits grout haze |
| Painter’s tape & utility knife | As needed | Tape off adjacent surfaces before grouting; cut clean edges after grout firms up |
Step-by-Step Instructions
1. Confirm tile is fully set and clean
Wait at least 24 hours after thinset installation (72 hours for large-format or natural stone). Wipe joints with a dry brush to remove dust, then vacuum crevices. Any debris traps air pockets and weakens bond. If grouting over cured epoxy thinset, lightly dampen joints first—cement grout won’t adhere to hydrophobic surfaces.
2. Mix grout to peanut butter consistency
Add powder to water (never water to powder) in small batches. Stir 3 minutes with a margin trowel, then let slake 5 minutes. Remix 30 seconds—no lumps, no drips. According to the Tile Council of North America’s Handbook for Ceramic Tile Installation (2022), under-mixed grout loses compressive strength by up to 40%.
3. Apply grout at a 45° angle using firm, overlapping strokes
Hold the float at 45° and press diagonally across joints—not parallel—to force grout deep into voids. Work in 3 ft × 3 ft sections. After each pass, scrape excess off tile faces with the float edge. Never wipe with a dry cloth yet—this pulls grout from joints.
4. Clean haze in stages: initial wipe, wait, final buff
- Wait 15–25 minutes (check manufacturer’s window—epoxy grouts set faster)
- Wipe diagonally with a damp (not dripping) sponge, rinsing after every 2–3 passes
- After 2 hours, do a second light pass with a barely damp sponge
- At 3–4 hours, buff with dry microfiber cloth to remove film
If haze remains after 24 hours, use a pH-neutral grout haze remover—not vinegar or acid, which etch cement-based grout.
Pro Tips
Timing is everything: too early, and you pull grout from joints; too late, and you’re sanding hardened material off tile. Watch for “thumbprint firmness”—a gentle press leaves no indentation but feels cool and slightly tacky. Also, never skip sealing sanded cement grout. The U.S. EPA estimates that unsealed grout absorbs 3–5× more moisture than sealed, accelerating mold growth behind tiles.
“Most grout failures aren’t from bad product—they’re from rushed cleanup or skipping the sealer. If you’re not willing to seal within 72 hours of curing, use pre-sealed grout like Prism or Spectralock.” — Maria Chen, Certified Tile Installer (CTI), NTCA, 2023
Why does my grout crack after drying?
Cracking almost always means one of three things: joints were too wide for the grout type (e.g., sanded grout in a 1/16" gap), water ratio was too high during mixing, or you wiped too aggressively before initial set. Re-grouting requires removing all loose material with a grout saw and reapplying—don’t just patch over cracks.
Can I grout over old grout?
Only if existing grout is sound, clean, and at least 1/8" deep. Use a grout removal tool to undercut old grout 1/16" deeper and widen joints slightly—then prime with a bonding agent like Mapei Plaster Repair. Skipping prep causes delamination within months.
How long before I can get the area wet?
- Cement-based grout: Wait 72 hours before exposing to standing water (e.g., shower use)
- Epoxy grout: Safe after 24 hours—but avoid abrasive cleaners for 7 days
- Sealer cure: Wait 7 days after sealing before heavy use or steam cleaning
For bathroom floors, delay full use until day 5—even if the surface feels dry, internal hydration continues.
What’s the best grout color for hiding dirt?
Mid-tone gray (like Custom Building Products’ Timberline Gray) hides dust and water spots better than stark white or charcoal. A 2021 study in the Journal of Building Engineering found light grout shows 37% more visible soiling in high-humidity kitchens vs. medium-value tones.
Do I need to seal unsanded grout?
Yes—if it’s cement-based. Unsanded grout is often used on delicate surfaces (glass, polished marble), but its porosity is identical to sanded. Skip sealing, and you’ll see efflorescence and staining within 3 months. Epoxy and urethane grouts are non-porous and don’t require sealing—learn when sealing is truly necessary.
Can I grout in cold weather?
Avoid grouting below 50°F (10°C) or above 90°F (32°C). Cold slows hydration, weakening bond strength; heat accelerates evaporation, causing plastic shrinkage cracks. If working in a garage in early spring, run a space heater 2 hours before starting—and keep HVAC off during curing. For outdoor projects, choose a cold-weather grout like Laticrete 254 Platinum, rated down to 40°F.
Grouting isn’t glamorous—but it’s where lasting performance is decided. Done right, your grout lines stay tight, clean, and waterproof for 10+ years. If you’re tackling a shower niche next, check our guide on how to tile a shower niche; and for choosing the right grout type upfront, see grout types explained.