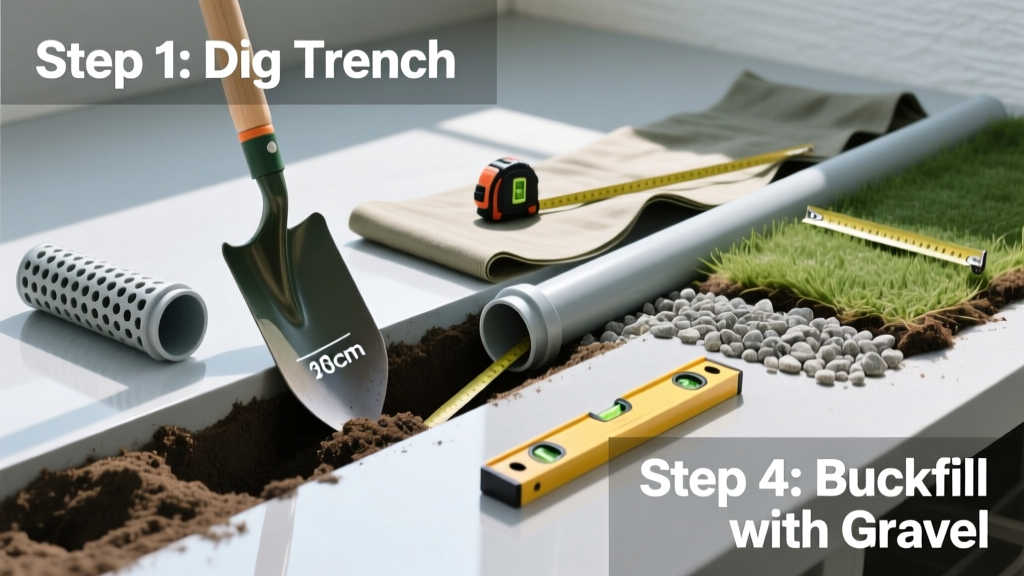
Installing a French drain is a foundational water management skill for homeowners facing soggy lawns, basement seepage, or foundation erosion. It’s a moderate DIY project—requiring digging stamina and precision grading—but entirely doable in 2–3 days with basic tools and careful planning.
Overview
| Skill Level | Time Required | Tools Needed | Estimated Cost |
|---|---|---|---|
| Intermediate (digging + grading) | 16–24 hours over 2–3 days | Shovel, trenching shovel, laser level or string line & stakes, tape measure, wheelbarrow | $180–$320 (for 50 ft run) |
Tools & Materials
| Category | Item | Notes |
|---|---|---|
| Tools | Trenching shovel (flat-nose) | Essential for clean, straight-sided trenches — saves 3+ hours vs. round-point |
| Tools | Laser level or builder’s level + string line | You need consistent 1% slope: 1 inch drop per 8 feet of run |
| Materials | Perforated PVC pipe (4" diameter, SDR 35 or Schedule 40) | Must have holes on bottom half only — never wrap in fabric before laying |
| Materials | Washed gravel (¾" crushed stone, no fines) | U.S. EPA recommends ≥12" depth under pipe + 2" above for proper filtration (2022 Stormwater Guidance) |
| Materials | Landscape fabric (non-woven, ≥3.5 oz/yd²) | Overwrap gravel—not pipe—to prevent soil intrusion without clogging |
Step-by-Step Instructions
Dig the Trench
Dig a continuous trench 18–24" wide and 24–30" deep, depending on water source height. Maintain a steady 1% slope (1" drop per 8 ft) using your laser level or string line. Remove all roots, clay clods, and debris—especially fine silt that can migrate into gravel later. Keep excavated soil on tarps nearby for backfilling; don’t pile it inside the trench.
- Tip: Mark your slope every 8 ft with wooden stakes and a sharpie at the correct height — recheck after each 10 ft of digging
- Warning: Never dig within 3 ft of a foundation footer without consulting a structural engineer — soil removal can destabilize footings
Line & Grade the Base
Compact the trench bottom with a hand tamper. Lay 2" of coarse sand if subsoil is heavy clay — this creates a stable, permeable base. Then add 12" of washed gravel and screed it level using a 2×4 board dragged across stakes. Verify slope again with your level before proceeding.
Install Pipe & Gravel
Place perforated pipe on the gravel bed with holes facing down (this directs water *into* the pipe, not trapping sediment underneath). Butt joints tightly; use rubber couplings if joining sections. Cover pipe completely with another 2" of washed gravel — no soil, no topsoil, no mulch yet.
- Tip: Wrap the entire gravel envelope (not just pipe) in landscape fabric before backfilling — this extends system life by 15+ years, per the National Association of Home Builders’ 2021 Drainage Handbook
Backfill & Finish
Fold landscape fabric edges over the top of the gravel mound, then backfill with native soil in 6" lifts, tamping each layer. Slope the final grade away from structures at 5% (6" drop over 10 ft). Top with sod, river rock, or mulch — but never impermeable pavers directly over the drain.
Pro Tips
Most failed French drains stem from poor slope or fabric misuse — not pipe quality. A single low spot traps water, turns gravel into mud, and collapses flow. And wrapping pipe *before* gravel invites silt buildup in the perforations.
"The #1 mistake I see on service calls? Homeowners using woven geotextile instead of non-woven fabric. Woven fabric filters out water along with dirt — defeating the entire purpose." — Carlos Mendez, Certified Drainage Technician, NDS Pro Network (2023)
Also avoid these pitfalls:
- Using pea gravel — it compacts and chokes flow
- Skipping the sand base on clay soils — leads to pipe settling and breakage
- Connecting roof downspouts directly into the French drain — overload risk during heavy rain
Where should I start the French drain?
Begin where water pools or enters your basement — typically at the lowest point adjacent to your foundation wall. For yard drainage, start at the uphill edge of the saturated zone and run downhill toward daylight or a dry well. Always verify natural surface flow with a hose test first.
Can I tie my French drain into a storm sewer?
Only if local code permits and you obtain a permit. Many municipalities (e.g., Portland Bureau of Environmental Services, 2022 Code Update) prohibit direct connections to public storm lines due to infiltration risks and capacity overload. Instead, discharge to daylight, a swale, or an approved dry well.
How deep does the French drain need to be?
Minimum 24" deep for frost protection in Zones 4–7; go to 36" in colder zones (MN, ND). If protecting a basement, the pipe must sit below the bottom of the footing — often 3–4 ft deep — which usually requires professional excavation.
Do I need a dry well at the end?
Not always. If your drain discharges to a lower part of your property with adequate slope and permeable soil (infiltration rate > 0.5 in/hr), daylighting is simpler and more reliable. Dry wells are best for flat lots — but require 300+ gallons capacity and annual inspection.
What’s the difference between a French drain and a curtain drain?
A French drain intercepts subsurface water *behind* a structure (e.g., uphill of a foundation). A curtain drain runs *parallel* to a slope or structure to divert surface runoff before it reaches vulnerable areas. Both use similar materials, but placement and purpose differ — learn more in our how to install curtain drain guide.
How long will my French drain last?
With proper non-woven fabric, washed gravel, and no root intrusion, expect 30–40 years. Avoid planting trees or shrubs within 10 ft — roots seek moisture and will infiltrate gravel envelopes. Inspect outlet flow annually after heavy rain; slow discharge signals clogging — try flushing with a high-pressure garden hose before digging.
A properly installed French drain doesn’t just move water — it reshapes how your land handles rain. Take your time on slope and fabric, and you’ll gain decades of dry basements and stable foundations. For related help, see our guides on how to dig a drainage trench and how to test soil percolation.