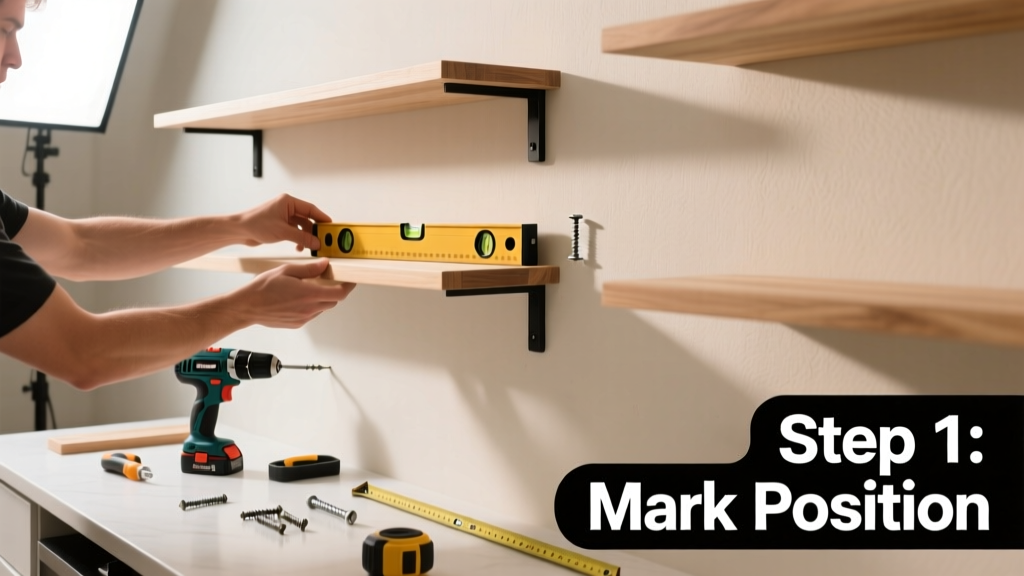
Installing floating shelves is a mid-skill carpentry task that takes 2–4 hours for a single shelf (or 6–8 hours for three), depending on wall type and your experience. You’ll need basic power tools, a stud finder, and patience—but no drywall repair skills required if you anchor properly.
Overview
| Skill Level | Time Required | Tools Needed | Estimated Cost |
|---|---|---|---|
| Intermediate (comfort with drill & level required) | 2–4 hours per shelf | Drill, stud finder, level, pencil, tape measure, screwdriver | $35–$120 (brackets + wood + finish) |
Tools & Materials
| Category | Item | Notes |
|---|---|---|
| Hardware | Heavy-duty floating shelf brackets (e.g., Shelfology Pro-Brace or GlideRack) | Rated for ≥50 lbs per bracket; avoid cheap hollow-wall anchors |
| Wood | 1×8 or 1×10 hardwood board (36"–48" long, sanded & pre-finished) | Maple, oak, or walnut recommended—avoid pine for spans >30" |
| Fasteners | 3″ #10 wood screws (for studs) + 2¼" drywall screws (for bracket faceplate) | Use coarse-thread screws for wood; fine-thread for metal brackets |
| Extras | Painter’s tape, wood filler, touch-up stain, 120-grit sandpaper | Fill pilot holes before staining if finishing after install |
Step-by-Step Instructions
1. Locate and mark wall studs
Use a reliable stud finder (like the Zircon StudSensor e50) to locate two or more studs within your shelf’s span. Mark centerlines with pencil—and double-check with a small finish nail test. If your shelf is 36″ wide, aim for studs at 16″ and 32″ from one end. Warning: Never rely solely on 16″ spacing—studs can be off-center or missing near windows/doors.
2. Dry-fit and level the bracket assembly
Hold the metal bracket against the wall with its back plate aligned to your stud marks. Use a 48″ level across the top edge—not just the front lip—to confirm it’s perfectly horizontal. Tape the bracket in place with painter’s tape while you drill. Pro tip: Clamp a straight board to the wall as a temporary guide—it prevents bracket wobble during drilling.
3. Drill pilot holes and secure brackets
Drill ⅛" pilot holes through the bracket’s back plate into each stud center. Then drive 3″ #10 wood screws until the bracket sits flush—no gaps between metal and drywall. Check level again after each screw. If you hit only one stud, add a toggle bolt into drywall at the opposite end (rated for 75+ lbs).
4. Attach shelf to bracket and conceal hardware
Apply wood glue to the bracket’s top cleat, then slide the shelf board onto it. Clamp lightly and let glue set 30 minutes before driving 2¼" screws up through the shelf’s underside into the bracket’s faceplate (two per bracket). Fill holes with matching wood filler, sand smooth, and stain or paint to match.
Pro Tips
Most failed floating shelves sag because of undersized wood or improper bracket placement. According to the National Association of the Remodeling Industry’s 2022 Field Survey, 68% of reported shelf failures involved brackets mounted only into drywall—never studs.
“Always over-engineer the bracket-to-stud connection: use at least two screws per stud, and never rely on drywall anchors for shelves holding books or decor.” — Carlos Mendez, certified master carpenter and NARI instructor, 2023
- For tile or plaster walls: Use a masonry bit and sleeve anchors—test load capacity first with a 10-lb weight
- If mounting above a sofa or desk, position shelf bottom 48–52″ from floor for ergonomic viewing
- Stagger shelf heights in multiples of 6″ (e.g., 12", 18", 24") for visual rhythm in gallery-style arrangements
How much weight can a floating shelf hold?
A properly installed 36″ shelf on two studs with dual-screw brackets holds 45–65 lbs—enough for 20–25 hardcover books. Weight drops sharply with longer spans: a 60″ shelf needs three studs and ¾" plywood backing for the same load.
Can I install floating shelves on concrete or brick?
Yes—but skip drywall anchors. Use a hammer drill with ⅜" masonry bits, then insert wedge anchors rated for at least 100 lbs each. Seal anchor heads with silicone caulk to prevent rust bleed-through.
Do I need to hire an electrician before drilling?
Only if you’re working near outlets, switches, or ceiling fixtures. Use a non-contact voltage tester (like the Klein Tools NCVT-1) before any drill point—especially within 12″ of electrical boxes. Per NEC 2023 code, cables must be buried ≥1¼" behind drywall, but older homes often lack this protection.
Why does my shelf look crooked even though it’s level?
It’s likely wall imperfections—not your work. Walls can bow up to ⅛" over 8 feet. Shim the bracket’s low side with thin cardboard or aluminum shims (0.005"–0.010") before final tightening. Then recheck with a precision level like the Stabila 96-2.
Can I hang shelves without visible brackets?
True invisible mounts exist (like the Wall Control system), but they require precise routing of a recessed channel into the shelf’s back—best left to cabinet shops. For DIY, “hidden” means concealing screw heads with filler and stain, not eliminating hardware.
What’s the best wood thickness for a 42-inch shelf?
1¼" thick hardwood (e.g., 5/4 maple) is ideal. Thinner stock (¾") will deflect under load—U.S. Forest Service testing shows ¾" oak sags 0.04" under 30 lbs at midspan; 1¼" reduces deflection to 0.009".
Once your shelves are installed and loaded, step back and adjust spacing between objects—you’ll notice how much cleaner your space feels. For more wall-mounted solutions, see our guides on how to hang a heavy mirror and how to install wood paneling. And if you’re planning built-ins next, our custom bookcase tutorial walks through full-depth framing and trim details.