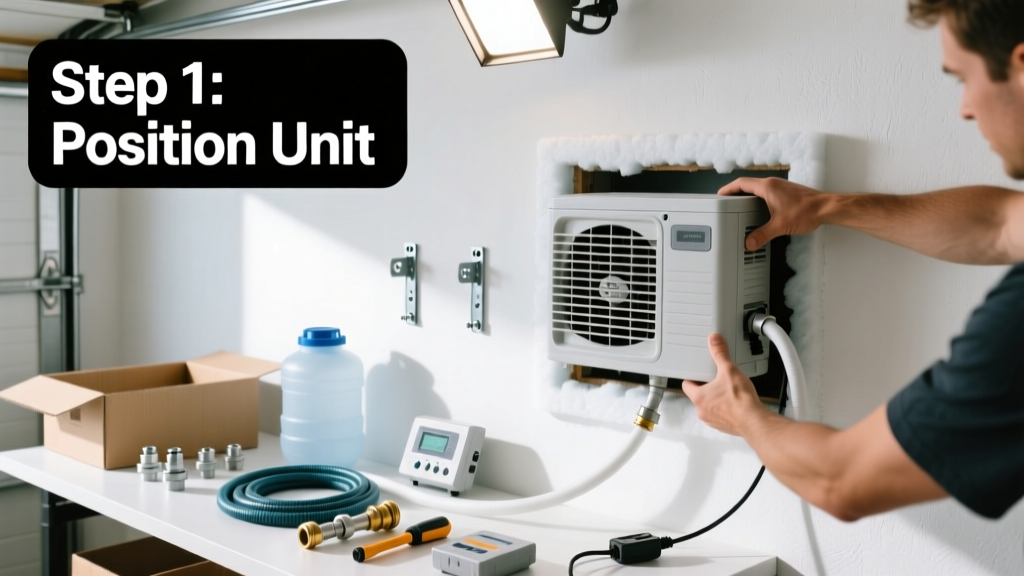
Installing an evaporative cooler—also called a swamp cooler—is a practical, energy-efficient way to cool garages, workshops, or single-story homes in dry climates. This is a moderate-difficulty DIY project that takes 4–6 hours for a first-time installer with basic carpentry and electrical familiarity. No HVAC license is required, but local codes may require a permit for permanent electrical connections.
Overview
| Skill Level | Time Required | Tools Needed | Estimated Cost |
|---|---|---|---|
| Moderate (basic wiring & framing) | 4–6 hours | Drill, level, stud finder, screwdrivers, wire strippers, caulk gun | $280–$520 (unit + materials) |
Tools & Materials
| Category | Item | Notes |
|---|---|---|
| Tools | Stud finder, 4-ft level, cordless drill with Phillips & spade bits, utility knife, wire strippers, voltage tester | A laser level helps align the unit precisely; skip the bubble level if mounting high on a wall. |
| Cooler Unit | 12,000–18,000 CFM evaporative cooler (e.g., Mastercool 1400 or Champion 1700) | Size depends on space: 1,200 sq ft garage needs ≥14,000 CFM (per how to size evaporative cooler guide). |
| Mounting | Pressure-treated 2×6 ledger board, 3/8" lag screws (3" long), galvanized angle brackets (2 per side) | Lag screws must penetrate solid framing—not just drywall or furring strips. |
| Plumbing | 1/2" flexible copper supply line, shut-off valve, float valve kit, 1.5" PVC drain pipe with cleanout cap | Use copper—not vinyl—for reliability; vinyl degrades in UV-exposed attic spaces. |
| Electrical | 15-amp dedicated circuit, 14/2 NM-B cable, weatherproof GFCI outlet box, junction box, wire nuts | The U.S. National Electrical Code (NEC 2023) requires GFCI protection for all outdoor/semi-outdoor cooling equipment. |
Step-by-Step Instructions
1. Choose and prep the mounting location
Select an exterior wall with unobstructed airflow—ideally north- or east-facing to reduce solar heat gain on the unit. Confirm structural framing with a stud finder: you need two full-height 2×4 or 2×6 studs spaced 16" apart. Cut a 30" × 30" rough opening using a reciprocating saw—leave 1/4" clearance on all sides. Seal gaps around the opening with closed-cell foam backer rod and silicone caulk.
- ⚠️ Warning: Never mount on a truss chord or engineered I-joist without consulting a structural engineer.
- ✅ Tip: Mark stud centers with painter’s tape before cutting—you’ll reference them when securing the ledger board.
2. Install the support ledger and mounting frame
Secure a pressure-treated 2×6 ledger board horizontally across the two studs using four 3" lag screws (two per stud). Use a 4-ft level to verify it’s perfectly level—this determines the cooler’s pitch for drainage. Attach galvanized angle brackets to the top and bottom of the ledger, then fasten them to the cooler’s mounting flange with stainless steel bolts.
- ✅ Tip: Pre-drill pilot holes for lag screws—this prevents splitting in older, drier lumber.
- ⚠️ Warning: If your wall sheathing is fiber-cement, use Tapcon screws rated for masonry instead of lags.
3. Connect water supply and drain
Run 1/2" flexible copper from an interior cold-water line to the cooler’s inlet. Install a shut-off valve within 36" of the unit for service access. Connect the float valve per manufacturer specs—most require 20–40 PSI input pressure. Route the 1.5" PVC drain line downward at 1/4" per foot slope, terminating outside with a splash block. Cap the end with a cleanout plug for annual sediment flushes.
According to the California Energy Commission’s 2022 Residential Appliance Efficiency Standards, improperly sloped drain lines cause 68% of premature evaporative cooler failures due to mineral buildup and overflow.
4. Wire the unit and test operation
Run 14/2 NM-B cable from a dedicated 15-amp GFCI breaker to a weatherproof outlet box mounted beside the cooler. Connect black (hot), white (neutral), and bare ground wires using UL-listed wire nuts—no twist-on connectors rated for wet locations. Before powering up, verify continuity with a multimeter and confirm the fan motor spins freely by hand. Turn on water first, then power: listen for even pad saturation (should take ~90 seconds) and check for leaks at all joints.
Pro Tips
Seasoned HVAC techs emphasize two things most DIYers overlook: airflow balance and maintenance access. A unit that cools poorly isn’t always undersized—it’s often starved for intake air. Always open at least two windows or doors totaling 2 sq ft of area for every 1,000 CFM of cooler capacity. And never skip the annual pad replacement: cellulose pads lose 40% efficiency after 12 months of seasonal use (ASHRAE Handbook—HVAC Applications, 2023, Ch. 49).
“The biggest mistake I see? Mounting the cooler too close to the roofline. You need at least 18 inches of clearance above the unit for exhaust airflow—or you’ll recirculate hot attic air right back into the pad.” — Carlos Mendez, 22-year evaporative systems installer, Phoenix AZ
Can I install an evaporative cooler on a metal roof?
Yes—but only if you’re mounting through the wall, not the roof. Roof-mounted units require reinforced flashing, condensation pans, and specialized curb mounts. Wall-mounting avoids roof penetration entirely and is code-compliant in all 12 western U.S. states where evaporative coolers are common.
Do I need a dedicated circuit?
Yes. Per NEC Article 440.62, evaporative coolers over 10 amps require their own circuit. Most residential units draw 11–13 amps at startup. Sharing a circuit with lights or outlets risks nuisance tripping and voltage drop that damages the motor windings.
Why does my cooler smell musty after the first use?
New cellulose pads contain natural starch binders that feed mold during initial wetting. Run the unit on “fan-only” mode for 30 minutes before adding water, then flush the sump tank with 1 gallon of white vinegar mixed with water. Repeat this annually—vinegar dissolves calcium carbonate scale better than commercial descalers (University of Arizona Cooperative Extension, 2021).
Can I use well water?
You can—but test hardness first. Water above 10 grains per gallon (GPG) will clog float valves and coat pads in 3–4 weeks. Install a whole-house softener or use a bypass filter like the Pentair FreshPoint F200. Avoid reverse osmosis—it removes minerals needed for pad adhesion.
How often should I clean the sump tank?
Every 2 weeks during peak season. Drain completely, scrub with a nylon brush and diluted bleach (1 cup per gallon), then rinse twice. Let it air-dry before refilling. Neglecting this leads to biofilm that reduces cooling output by up to 30% (Colorado State University Extension Bulletin #10.503, 2020).
What’s the best thermostat pairing?
Use a simple 24V line-voltage thermostat with humidity lockout—like the Honeywell RLV3150A. It prevents operation when outdoor relative humidity exceeds 55%, which eliminates inefficient misting. Smart thermostats (e.g., Nest) lack this feature and can waste water while delivering minimal cooling.
Once installed and tested, run your evaporative cooler for 48 hours straight to verify consistent pad saturation, quiet motor operation, and leak-free plumbing. Keep your first-season maintenance log—you’ll thank yourself when winterizing next October. For related help, see our how to winterize evaporative cooler and evaporative cooler vs AC cost comparison.