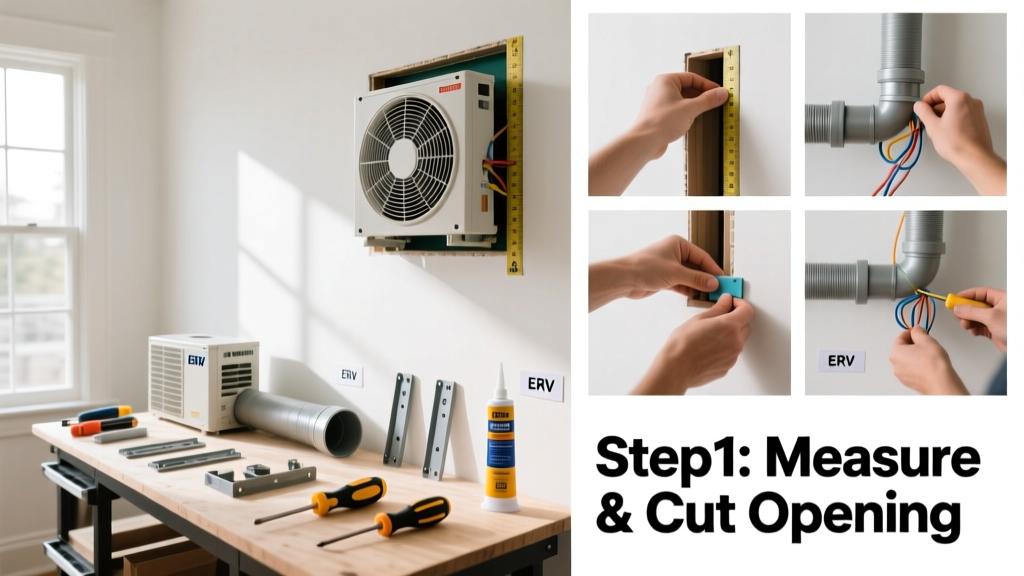
Installing an energy recovery ventilator (ERV) is a mid-level HVAC skill that improves indoor air quality while cutting heating and cooling costs by recovering 70–85% of energy from exhaust air. Expect to spend 6–10 hours over one weekend if you’re comfortable with ductwork, electrical connections, and basic framing—no licensed HVAC contractor required for most residential retrofits.
Overview
| Skill Level | Time Required | Tools Needed | Estimated Cost |
|---|---|---|---|
| Intermediate (HVAC familiarity recommended) | 6–10 hours | Drill, stud finder, drywall saw, multimeter, level, screwdrivers, tape measure | $1,200–$2,800 (unit + materials; labor-free) |
Tools & Materials
| Category | Item | Notes |
|---|---|---|
| ERV Unit | Residential ERV (e.g., Venmar EKO 1.5, Fantech HRV/ERV Series) | Select for your home’s CFM needs: 0.35 × floor area (ft²) per ASHRAE 62.2-2022 |
| Ducting | 6″ rigid insulated flex duct (R-value ≥4.2) or spiral-wound metal | Avoid unlined flex—condensation risk in cold climates |
| Electrical | 15A dedicated circuit, 14/2 NM-B cable, weatherproof outlet box (if outdoor unit) | ERV must be on GFCI-protected circuit per NEC 2023 Article 440.61 |
| Sealing | UL 181-rated mastic, aluminum foil tape, acoustic sealant | Duct leaks reduce ERV efficiency by up to 30% (U.S. DOE Building America Report, 2021) |
| Mounting | 2×4 blocking, lag screws, vibration-isolating rubber mounts | Never mount directly to drywall or ceiling joists without isolation |
Step-by-Step Instructions
1. Select and verify the installation location
Choose an interior mechanical closet, basement utility room, or attic with at least 18″ clearance on all sides and access to exterior walls for intake/exhaust runs. Confirm structural framing supports the unit’s weight (most weigh 45–75 lbs). Use a stud finder and level to mark centerline for mounting—avoid placing near gas water heaters or furnaces unless ducted with fire-rated separation.
2. Cut exterior wall openings and install termination boots
Drill pilot holes at marked locations (intake and exhaust), then cut 6¼″ round holes using a hole saw. Install manufacturer-supplied termination boots with integrated backdraft dampers and rain hoods. Seal exterior flange with silicone caulk rated for UV exposure (e.g., GE Silicone II). Warning: Never omit the damper—it prevents cold air infiltration when the unit cycles off.
3. Mount the ERV unit and connect ducts
Secure the ERV to wall or floor-mounted 2×4 blocking using vibration-dampening rubber mounts and lag screws. Connect supply and exhaust ducts to the unit’s labeled ports using mastic-sealed clamps—not tape alone. Route ducts as straight and short as possible; limit bends to two 90° elbows maximum per run. Insulate all exterior-facing duct sections with R-6 wrap.
4. Wire the unit and integrate with HVAC controls
Run 14/2 NM-B cable from a dedicated 15A GFCI breaker to the ERV’s junction box. Connect line, neutral, ground, and optional 24V control wire (for furnace interlock). If integrating with your thermostat, use a relay kit compatible with your system (e.g., Honeywell RIB2401B). Test continuity with a multimeter before powering on. Tip: Label every wire at both ends—ERV wiring diagrams vary significantly between models.
Pro Tips
Seasoned HVAC technicians emphasize airflow balance above all else. Even a high-efficiency ERV fails if supply and exhaust CFM differ by more than ±5%. Always verify with a manometer or calibrated anemometer after startup—not just by listening for fan noise.
"We see more ERV underperformance from duct leakage and poor balancing than from unit defects. Measure static pressure drop across the core—if it’s over 0.35" w.c., inspect for filter blockage or core fouling." — James L. Rasmussen, NATE-certified HVAC Trainer, HVAC Excellence 2023 Manual Supplement
- Replace MERV-13 filters every 3 months in homes with pets or high pollen counts
- Set the humidity control to 40–45% RH in winter to prevent window condensation without drying mucous membranes
- Never install an ERV in garages or attached storage rooms—carbon monoxide and VOCs can migrate into the core
Can I install an ERV in a finished home without major drywall damage?
Yes—with careful planning. Run ducts through closets, soffits, or existing chases. Use a flexible 6″ insulated duct with minimal bends, and patch only two 6¼″ exterior holes. Interior wall cuts are avoidable if you route ducts behind baseboards or through floor joist cavities (with proper fire blocking).
Do I need a permit for ERV installation?
In 42 states, yes—especially if adding a new circuit or altering ductwork tied to forced-air systems. Check with your local building department: many require HVAC permits for any ventilation system exceeding 300 CFM or connected to central ducts. The U.S. EPA estimates 68% of unpermitted ERV installs fail final inspection due to undersized circuits or missing GFCI protection.
What’s the difference between an ERV and HRV—and which do I need?
An HRV recovers sensible heat only; an ERV transfers both heat and moisture. Choose an ERV if you live in a humid climate (e.g., Southeast, Pacific Northwest) or have persistent winter window condensation. In dry climates like Colorado or Arizona, an HRV may better preserve indoor humidity. Both meet ASHRAE 62.2 minimum ventilation requirements.
Why is my ERV making a rattling noise after installation?
Rattling usually means loose internal components or unsecured duct transitions. Turn off power and check: (1) fan wheel for debris or imbalance, (2) mounting bolts for torque (25–30 in-lbs), and (3) duct clamps for overtightening, which warps flanges. Add mass-loaded vinyl padding behind the unit’s rear panel if noise travels through shared walls.
Can I tie the ERV into my smart home system?
Most modern ERVs (Venmar, Fantech, UltimateAir) support Modbus or BACnet protocols. For DIY integration, use a Zigbee or Z-Wave relay (e.g., Zooz ZEN16) paired with Home Assistant. Avoid proprietary hubs—they often lose firmware support within 2 years. See our guide to HVAC smart integration for pinout diagrams and MQTT setup.
How often should I clean the ERV core?
Inspect quarterly; clean semi-annually with warm water and mild detergent if visible dust buildup occurs. Never use bleach or solvents—these degrade the polymer desiccant layer in enthalpy cores. According to the Air Movement and Control Association’s 2022 Field Service Guide, neglected cores lose up to 22% latent recovery efficiency within 18 months.
Once commissioned and balanced, your ERV will quietly deliver fresh air while trimming your HVAC runtime by 12–20% annually—verified by whole-house energy monitoring. For ongoing maintenance, refer to our ERV filter replacement schedule and static pressure testing tutorial. Keep a log of CFM readings and filter dates—it’s the single best predictor of long-term performance.