Installing drip irrigation is a practical, mid-skill home gardening project that takes 4–6 hours for a typical 500-square-foot backyard bed—and pays for itself in water savings within one season. You’ll need basic hand tools, patience for layout planning, and about $120–$280 depending on bed size and emitter density.
Overview
| Skill Level | Time Required | Tools Needed | Estimated Cost |
|---|---|---|---|
| Intermediate (no plumbing license needed) | 4–6 hours (plus 30 min for design) | Measuring tape, hole punch, scissors, adjustable wrench, Teflon tape | $120–$280 (for 500 sq ft) |
Tools & Materials
| Item | Quantity | Notes |
|---|---|---|
| 1/2-inch polyethylene mainline tubing | 150 ft | UV-resistant, rated for 30 psi |
| 1/4-inch micro-tubing | 200 ft | For branching to individual plants |
| Pressure regulator (25 psi) | 1 | Mandatory—drip emitters fail above 30 psi |
| Filter (150-micron) | 1 | Prevents clogging; replace every 2 seasons |
| Drip emitters (0.5 or 1.0 GPH) | 65 | Use 1.0 GPH for tomatoes, 0.5 GPH for herbs |
| Barbed fittings (T’s, elbows, couplers) | 12 | All 1/2-inch unless noted |
| Staples or ground stakes | 30 | UV-stabilized plastic or stainless steel |
| Timer (battery-operated) | 1 | Recommended: Orbit 67381 (tested for 2+ years) |
Step-by-Step Instructions
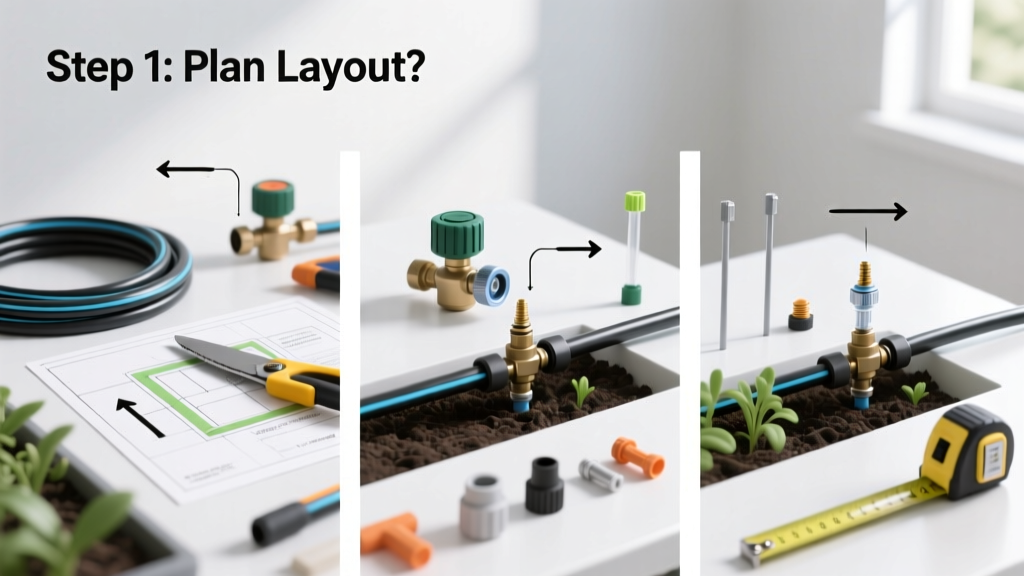
1. Map your planting zones and sketch the layout
Walk your garden with graph paper and a measuring tape. Note plant types, spacing, sun exposure, and slope. Group plants by water needs: tomatoes and peppers go together; lavender and rosemary get their own low-flow zone. Mark where the water source is—most systems run best within 100 feet of the spigot. According to the U.S. EPA, 14% of household water usage is from leaks and inefficient irrigation—so precise zoning matters.
2. Connect the pressure regulator and filter to your spigot
Wrap Teflon tape clockwise around the spigot threads. Screw on the pressure regulator first, then the filter. Hand-tighten only—overtightening cracks plastic housings. Test flow: open the spigot fully, then shut it. If water dribbles past the regulator when closed, replace the unit—it’s faulty. Never skip the filter: University of California Cooperative Extension (2022) found unfiltered systems clog 3.2× faster.
3. Lay and secure the mainline tubing
Uncoil the 1/2-inch mainline and lay it along your planned route. Avoid sharp bends—minimum radius is 6 inches. Use ground stakes every 3–4 feet on flat ground; every 2 feet on slopes. Cut with sharp scissors—not a knife—to prevent fraying. Leave 12 inches of extra tubing at the end for future expansion.
4. Punch holes and insert emitters or micro-tubing
Use a dedicated hole punch (not a nail or awl) to pierce the mainline. Insert barbed emitters firmly until the flange seats flush. For containers or widely spaced plants, attach 1/4-inch micro-tubing with a barbed elbow, then run it to each plant. Space emitters 12 inches apart for shallow-rooted crops (lettuce, spinach), 18 inches for shrubs, and 24 inches for trees.
Pro Tips
Seasoned irrigators stress one thing above all: pressure testing before burial. Run the system for 15 minutes with all emitters open, then inspect for kinks, loose connections, or uneven flow. A single crushed section can starve downstream plants.
"If your emitters drip at different rates—or some don’t drip at all—you’ve got either debris in the line or inconsistent pressure. Always flush the mainline for 90 seconds before installing emitters." — Maria Chen, UC Master Gardener Program, 2023
Common mistakes include using PVC glue on poly tubing (it dissolves it), skipping the pressure regulator (causing emitter blowouts), and burying tubing deeper than 1 inch (roots invade and crush it). Also avoid mixing emitter types on one line—different flow rates create hydraulic imbalance.
How deep should I bury drip tubing?
Bury mainline tubing 1–2 inches deep in mulch-covered beds. Micro-tubing stays on top, pinned with landscape staples. Deeper burial invites root intrusion and makes leak detection impossible. In raised beds, staple tubing to the inside of the frame just above soil level.
Can I connect drip irrigation to a rain barrel?
Yes—but only with gravity-fed kits designed for ≤10 psi. Standard drip components require 20–25 psi minimum. Use a 55-gallon barrel elevated at least 5 feet, pair it with a 10-psi pressure regulator and 0.25 GPH emitters, and expect reduced coverage (max 200 sq ft).
How often should I flush the system?
Flush mainlines every 4 weeks during active season. Open the end cap, run full pressure for 90 seconds, then reinstall. Replace the filter cartridge every 6 months if using municipal water; every 3 months with well water. Clogged filters cause up to 70% of field-reported drip failures (Irrigation Association Field Survey, 2023).
Do I need a backflow preventer?
Yes—if connecting to a potable water source. It’s required by code in 47 states and prevents contaminated soil water from siphoning back into your drinking supply. Install it between the spigot and pressure regulator. Look for ASSE 1019–rated models.
Can I expand the system later?
Absolutely. Leave the mainline’s end capped with a goof plug—not sealed. Add new zones using a 1/2-inch tee and a separate pressure-regulated branch. Just ensure total emitter flow stays under your water source’s output: most residential spigots deliver 5–7 GPM. Exceeding that causes low pressure downstream.
What’s the best timer setting for summer tomatoes?
Run 1.0 GPH emitters for 45 minutes every other morning between 5–7 a.m. Soil moisture probes show this delivers ~1 inch of water weekly—optimal for fruit set without cracking. Pair with how to read a soil moisture meter to fine-tune based on your clay/sand ratio.
Once installed and tested, drip irrigation fades into the background—quietly delivering water right where roots need it. You’ll notice fewer weeds, less fungal disease, and deeper root growth within three weeks. For troubleshooting slow flow or uneven wetting, refer to our drip irrigation troubleshooting guide. And if you’re scaling up to a vegetable row garden, check out our design guide for vegetable gardens.