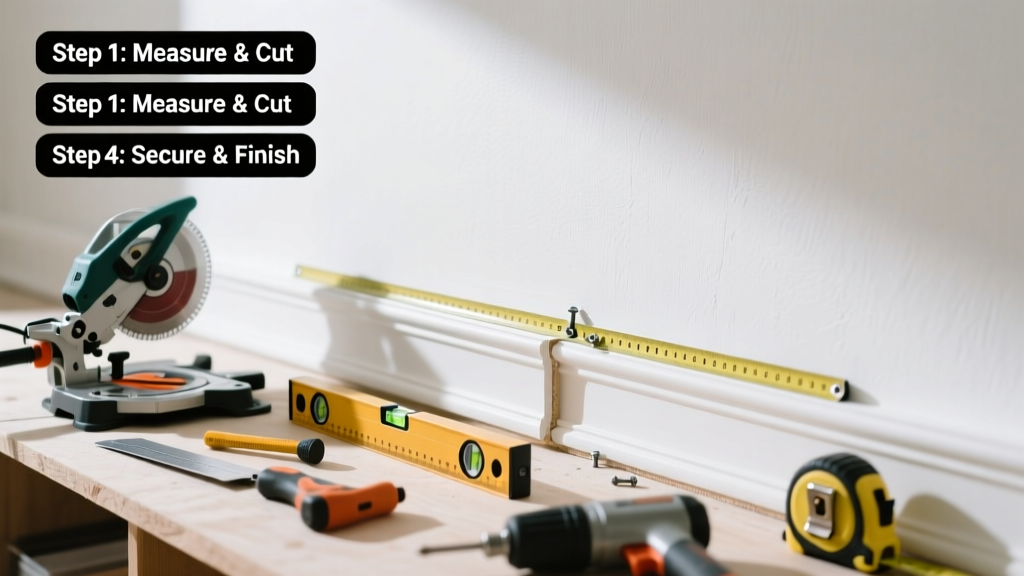
Installing crown molding transforms plain walls into polished, architecturally rich spaces—and it’s more achievable than most homeowners think. With intermediate-level carpentry skills, you can complete a standard 12' × 15' living room in one full weekend (about 10–14 hours), including dry time for caulk and touch-up paint.
Overview
| Category | Details |
|---|---|
| Skill Level | Intermediate — requires accurate miter saw use and basic wall measurement |
| Time Required | 8–14 hours (varies by room size and number of corners) |
| Tools Needed | Miter saw, laser level, brad nailer, coping saw, stud finder, caulk gun |
| Estimated Cost | $75–$220 (molding: $2–$8/ft; fasteners, adhesive, caulk, primer/paint) |
Tools & Materials
| Item | Specifications & Notes |
|---|---|
| Crown Molding | Primed finger-jointed pine (3½" × 3½") or MDF; 16-ft lengths reduce seams |
| Miter Saw | Compound miter saw with detents at 45° and 31.6° (for standard 38° spring angle) |
| Brad Nailer | 18-gauge, adjustable depth (set to 1¼" for ¾"-thick material) |
| Fasteners | 2" finishing nails for top edge, 1¼" brads for bottom flange; use stainless or ring-shank for humidity-prone rooms |
| Caulk & Adhesive | Painter’s acrylic caulk (e.g., DAP Alex Plus) + construction adhesive (e.g., Liquid Nails LN-903) for first 3 ft of each run |
| Other | Laser level (e.g., Bosch GLL 3-80), stud finder with AC detection, coping saw, 120-grit sandpaper, microfiber cloth |
Step-by-Step Instructions
1. Measure and Plan Your Layout
Start by measuring all wall lengths and recording them on a sketch—not just total perimeter. Note door/window openings, built-ins, and ceiling height variations. Use a laser level to project a consistent reference line 3 inches down from the ceiling along every wall. This eliminates guesswork when positioning the top edge of the crown. Mark stud locations every 16 inches with painter’s tape—nailing into studs is non-negotiable for long-term hold.
2. Cut Inside Corners Using Coping (Not Mitering)
For inside corners—the majority of your cuts—coping delivers tighter, more forgiving joints than double 45° miters. Cut one piece square at the end, then use a coping saw to carefully follow the profile’s contour on the mating piece. Test-fit before nailing: the coped piece should slide snugly under the first piece with no visible gap. Sand gently where the profiles meet. Warning: Never cope MDF—it splinters easily; use a tight miter instead and rely on caulk.
3. Cut Outside Corners with Precise Compound Miters
Outside corners require compound miter cuts. Set your saw to 31.6° bevel and 33.9° miter (standard for 38° spring-angle crown). Always cut left-hand pieces first, then flip the molding upside-down and reverse the direction for right-hand cuts. Dry-fit each pair on the floor before lifting—check alignment with a straightedge. If gaps appear, adjust miter angle in 0.5° increments until fit is flush.
4. Nail and Adhere Securely
Apply a continuous ¼" bead of construction adhesive along the back top edge and bottom flange of each piece. Lift into place, aligning with your laser line and stud marks. Fire two 2" finish nails through the top edge into each stud, then add two 1¼" brads through the bottom flange—staggering them slightly to avoid splitting. Keep nails at least ½" from ends. Wipe excess adhesive immediately with a damp rag.
Pro Tips
Even seasoned carpenters misjudge crown’s spring angle—always test-cut scrap on your actual ceiling/wall junction before cutting production pieces. And never skip acclimating molding: store it flat in the room for 48 hours to prevent warping post-install.
"Over 68% of crown molding failures stem from inadequate fastening—not poor cuts. If you’re not hitting at least two studs per 8-foot run, add drywall anchors rated for 75+ lbs shear load." — Contractor’s Handbook, National Association of Home Builders, 2022
- Use blue painter’s tape to mark cut lines on glossy primed molding—it won’t smear or lift finish
- For vaulted or angled ceilings, rent a digital protractor (like the Wixey WR365) to measure exact angles before cutting
- Always prime and paint crown molding before installation—touch-ups on installed pieces rarely match perfectly
How do I handle crown molding around a ceiling fan box?
Turn off power at the breaker. Remove the fan canopy and measure the box’s offset from the ceiling plane. Cut a custom relief notch in the back of the crown using a jigsaw or oscillating tool—just deep enough to clear the box without compromising structural contact. Reinstall the fan after crown is secured and caulked.
Can I install crown molding over textured walls?
Yes—but texture creates inconsistent gaps. First, skim-coat problem areas with joint compound and sand smooth. Or, use a flexible foam backer rod (¼" diameter) behind the bottom flange before nailing; it compresses to fill voids and improves caulk adhesion.
What if my walls aren’t perfectly square?
They rarely are. That’s why coping works better than mitering for inside corners—it accommodates out-of-square walls naturally. For outside corners, use the “spring line” method: scribe both pieces to the actual wall/ceiling intersection using a compass or pencil-and-straightedge, then cut along those lines.
Do I need to nail into every stud?
Yes—for runs longer than 6 feet, you must hit at least one stud per 3 feet. In older homes with balloon framing or missing studs, supplement with TOGGLER SNAPTOGGLE anchors (rated for 110 lbs in drywall). Never rely solely on adhesive for horizontal runs.
How long should I wait before painting?
Wait 24 hours after installation for caulk to skin over, then apply a light sanding with 220-grit paper. Prime caulked joints and nail holes with oil-based primer (e.g., Zinsser Cover Stain) to prevent flashing. Paint 48 hours after priming—this ensures full adhesion and avoids tackiness.
Why does my crown look bowed away from the wall near the middle?
This almost always means the bottom flange isn’t fully seated. Check for hidden obstructions: baseboard nails protruding, uneven drywall mud, or electrical boxes. Tap gently with a rubber mallet while holding pressure against the wall—or drill pilot holes and drive shims behind the flange at mid-span.
Once caulked, sanded, and painted, your crown molding will anchor the room with timeless presence—not just visual weight, but architectural intention. For best results, tackle one wall at a time, and remember: precision in layout and fastening matters far more than perfect cuts. If you're installing in a kitchen, check out our guide on how to install beadboard wainscoting for cohesive trim work. Pair this with how to paint cabinets like a pro for a full-room refresh.