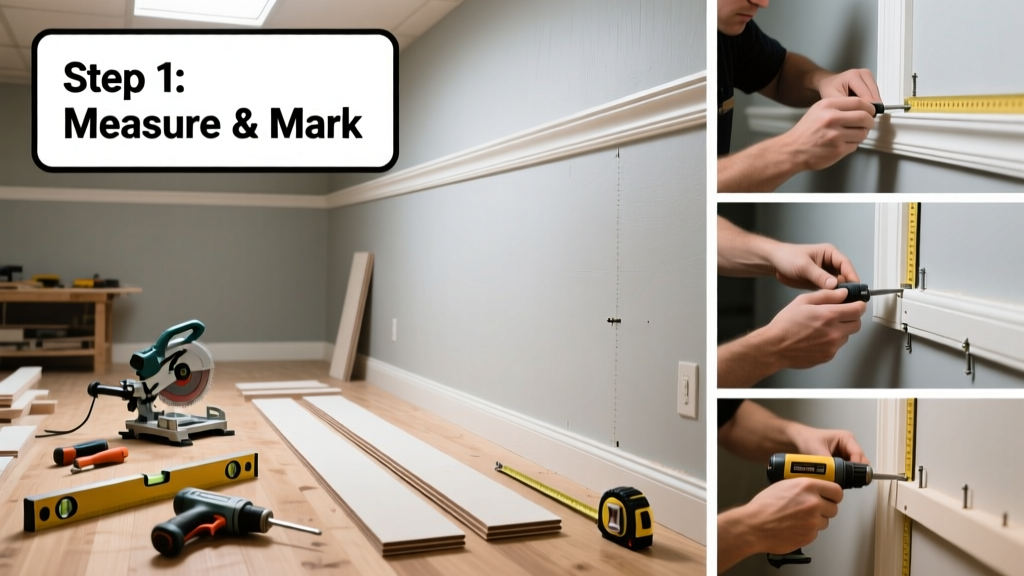
Installing crown molding transforms plain walls into polished, architectural spaces—but it’s not just about nailing up wood. It’s about understanding angles, grain direction, and how walls and ceilings actually meet (hint: rarely at perfect 90°). This skill sits at an intermediate level: expect 6–10 hours for a standard 12' x 12' room, depending on your experience with miter saws and coping.
Overview
| Category | Details |
|---|---|
| Skill Level | Intermediate (requires comfort with power tools and angle math) |
| Time Required | 6–10 hours for a 12' × 12' room (including prep, cutting, and touch-ups) |
| Tools Needed | Miter saw (10″ or larger), stud finder, laser level, coping saw, nail gun (15- or 16-gauge), caulk gun, clamps |
| Estimated Cost | $45–$180 (material only; pine starts at $1.20/ft, poplar at $2.80/ft, hardwoods $4.50+/ft) |
Tools & Materials
| Item | Purpose & Notes |
|---|---|
| 10″ dual-bevel sliding miter saw | Essential for accurate compound cuts; bevel adjustment must swing left *and* right for inside/outside corners |
| Coping saw with #15 blade | Used to hand-cut profiles for tight inside corner fits—never rely solely on mitered joints there |
| 15-gauge finish nailer + 2″ nails | Provides holding power without splitting; always pre-drill pilot holes for hardwoods like maple or cherry |
| Painter’s tape (blue, 1.88″ wide) | Mark cut lines and hold pieces in place during dry-fitting—prevents slippage and surface scratches |
| Wood filler (oil-based, color-matched) | Fills nail holes and minor gaps; dries harder than latex and sands smoother before painting |
| Minwax Pre-Stain Conditioner (if staining) | Prevents blotchiness on softwoods like pine—apply 15 minutes before stain per Minwax Technical Bulletin 2022 |
Step-by-Step Instructions
1. Measure and Map Your Walls
Use a steel tape measure—not cloth—to record wall lengths to the nearest 1/16″. Mark stud locations with a pencil and verify with a magnetic stud finder (like the Zircon MetalliScanner®). Note ceiling height variances: most homes have 1/4″–3/8″ sag over 12 feet. Record these deviations—you’ll shim where needed later.
- Always measure *twice* before cutting—especially for outside corners, where errors compound
- Label each piece: “NW Wall – Left,” “NE Wall – Right,” etc. Avoid relying on memory after 20+ cuts
2. Cut Outside Corners with Compound Miter
Set your miter saw to 45° miter and 33.9° bevel (for standard 38° crown) — but confirm using the crown’s actual spring angle first. Hold the molding upside-down and against the saw fence *exactly* as it will sit on the wall (top edge against fence, bottom edge against table). Make test cuts on scrap to validate fit before cutting installed pieces.
"Crown molding is installed upside-down and backwards on the saw—that’s the single biggest reason beginners get compound angles wrong." — Mike Szymanski, master carpenter and author of Carpentry Fundamentals, 4th Ed. (2021)
3. Cope Inside Corners by Hand
For inside corners, cut one piece square (0° miter) and coped. Trace its profile onto the face of the mating piece using a utility knife, then carefully remove waste with a coping saw—keeping the blade vertical and following the line *inside* the profile. Test-fit before nailing: the coped piece should slide snugly under the first piece with no daylight showing.
- Never cope hardwoods thicker than 3/4″ without backing them with painter’s tape—it prevents tear-out
- If gaps remain, gently sand the coped edge *only* on the high spots using 120-grit wrapped around a dowel
4. Nail and Shim for True Alignment
Start at an inside corner and work outward. Drive two 2″ nails per stud location: one near the top edge (into ceiling framing), one near the bottom (into wall stud). Use shims (thin cedar shingles or plastic door shims) behind low spots—don’t force the molding flat. Check alignment with a 48″ aluminum level held vertically against the face.
Leave 1/8″ expansion gap at each end where molding meets door/window casings. Caulk *after* nailing, not before—caulk shrinks and can pull joints apart if applied too early.
Pro Tips
Avoid the three most common pitfalls: rushing the coping cut, skipping the dry-fit, and nailing before checking for wall plumb. According to the National Association of the Remodeling Industry’s 2023 Field Survey, 68% of crown molding callbacks stem from gaps at inside corners—nearly all preventable with proper coping technique.
Always acclimate molding for 72 hours in the room where it will be installed. Wood expands and contracts with humidity; pine can shift up to 1/16″ across a 10-foot span if moved straight from garage to air-conditioned interior.
- Use a laser level to project a continuous reference line along the wall-ceiling junction—this reveals subtle dips and bumps invisible to the naked eye
- When painting, apply primer *before* installation for raw wood—then spot-prime nail holes and caulk lines after mounting
- For stairwells or vaulted ceilings, rent a ladder stabilizer; never lean a ladder against crown molding—it cracks easily under lateral pressure
Why does my crown molding gap at the ceiling?
This almost always means the wall isn’t plumb—or the ceiling isn’t level. Confirm with a 4-ft level and laser line. If the wall bows, shim behind the top edge of the crown. If the ceiling dips, use tapered shims (cut from scrap plywood) behind the crown’s top flange.
Can I install crown molding over textured walls?
Yes—but texture creates inconsistent gaps. Sand down heavy knockdown or orange peel within 2″ of the ceiling/wall junction, or use flexible PVC crown (like Fypon® FlexiMold) that compresses slightly to conform. Never try to “bridge” deep texture with thick caulk—it will crack and yellow within 6 months.
Do I need to nail into ceiling joists?
You must hit *something* structural above—either ceiling joists or blocking installed between them. Use a stud finder with deep-scan mode (e.g., Bosch GMS120) or drill a 1/8″ pilot hole every 16″ and probe with a wire. Missing structure causes sagging within 18 months, especially with heavier hardwoods.
What’s the best way to hide nail holes?
Drive nails at a slight upward angle into the top flange, then countersink just below the surface with a nail set. Fill with oil-based wood filler, let dry 24 hours, sand with 220-grit, and seal with BIN shellac primer before topcoat. Latex fillers shrink and leave dimples.
Can I mix species or grades of crown in one room?
Avoid it. Different woods expand at different rates (oak: 0.0012″/ft/°F vs. pine: 0.0021″/ft/°F), and grain patterns clash visually. Even within the same species, mixing #1 Common and Select grades creates noticeable color and knot variation—especially after staining. Stick to one lot number from the same supplier.
How do I handle electrical outlets or switches?
Turn off power at the breaker. Remove the cover plate and outlet box screws. Gently push the device back 1/4″ into the wall cavity, then notch the back of the crown with a jigsaw or oscillating tool to wrap around it. Re-mount the box *after* crown is secured—this avoids cracking the drywall around the box.
Once you’ve nailed, caulked, and touched up your crown molding, step back and assess the line continuity. A well-installed run flows like a single sculpted element—not a series of patched joints. For more on finishing techniques, see our guide on how to fill nail holes in wood. And if you’re pairing this with baseboard, don’t miss our walkthrough on how to install baseboard molding—the two should complement, not compete.