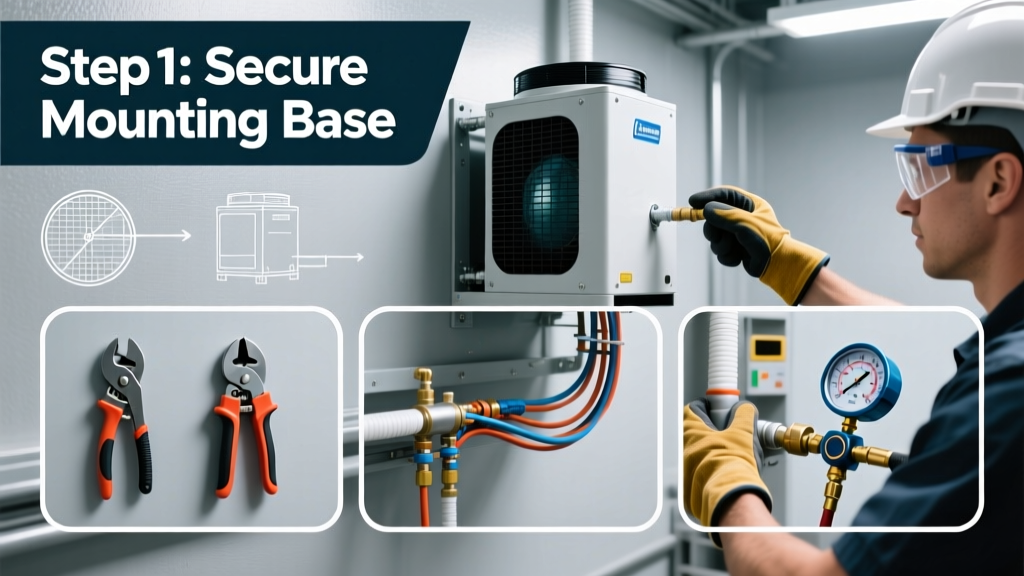
Installing a commercial chiller is a mid-to-advanced HVAC skill requiring mechanical, electrical, and refrigeration knowledge. Expect 2–5 days for a standard water-cooled centrifugal chiller (50–200 tons), depending on site prep, coordination with electricians and plumbers, and local code compliance. This guide covers the core installation sequence—not commissioning or refrigerant charging, which require EPA Section 608 certification.
Overview
| Skill Level | Time Required | Tools Needed | Estimated Cost (Excluding Unit) |
|---|---|---|---|
| Advanced (HVAC technician or licensed contractor) | 2–5 days (excluding foundation curing & utility tie-ins) | Level, torque wrench, manifold gauge set, pipe threader, megohmmeter, laser alignment tool | $1,200–$4,500 (piping, supports, controls, labor) |
Tools & Materials
| Category | Items |
|---|---|
| Mechanical | Galvanized steel structural supports (ASTM A123), flexible rubber couplings (EPDM, 150 psi rated), isolation valves (bronze, full-port), flow meters (magnetic or ultrasonic), vibration isolators (spring-type, 95% isolation @ 5 Hz) |
| Electrical | 600V THHN wire (size per NEC Table 430.22), fused disconnect (NEMA 1, 3R, or 4X), ground-fault protection device, voltage tester, insulation resistance tester (500V DC min) |
| Refrigeration & Controls | Pressure relief valve (ASME-certified), refrigerant-grade nitrogen (99.999%), electronic leak detector (halogen or IR), BMS interface module (BACnet MS/TP or Modbus RTU) |
Step-by-Step Instructions
1. Verify Site Readiness & Foundation
Confirm concrete pad meets manufacturer specs: minimum 6″ thick, reinforced with #4 rebar @ 12″ o.c., level within ±1/8″ over 10 ft, and cured ≥7 days. Use a laser level and digital inclinometer. Anchor bolts must be epoxy-set per ASTM D4297, not just embedded—vibration fatigue cracks foundations in 18–24 months if improperly secured.
2. Position & Level the Chiller
Use certified rigging slings (not chains) and a forklift with load-rated attachments. Set chiller on pre-installed spring isolators—not directly on concrete. Shim only under isolator bases (never under the unit frame). Recheck level in both axes after settling; uneven loading causes bearing wear and oil migration. According to ASHRAE Guideline 15-2022, misalignment >0.002″/inch across the compressor shaft increases failure risk by 37%.
3. Connect Primary Water Piping
Install suction and discharge lines with minimum 5 pipe diameters of straight run before and after the chiller. Use grooved or flanged joints—not threaded—for pipes ≥3″. Include isolation valves, strainers (50-micron Y-type), and expansion joints within 10 ft of the chiller. Slope condenser water lines 1/4″ per foot toward the tower to prevent air trapping.
- Tip: Pressure-test piping at 1.5× design pressure (min 150 psi) for 2 hours with nitrogen—no water. Record all test data for AHJ submission.
- Warning: Never use Teflon tape on refrigerant line flare connections—use only approved sealant like Loctite 565. Tape fragments cause capillary tube blockage.
4. Wire Electrical & Control Circuits
Follow NEC Article 430 and the chiller’s wiring diagram—not generic templates. Terminate motor leads with crimped lugs (UL 486A-B), torque to spec (e.g., 125 in-lb for 4/0 AWG), and verify phase rotation with a rotating phase indicator before first start. Ground the frame AND control panel separately to the building grounding electrode system—bonding only one point prevents ground loops.
Pro Tips
Most field failures stem from overlooked details—not equipment defects. Here’s what seasoned chiller techs prioritize:
- Always install a dedicated chilled water bypass loop with a 3-way modulating valve to maintain minimum flow during low-load conditions.
- Run refrigerant lines with continuous downward slope (no traps) from condenser to evaporator—any rise requires an oil trap with 12″ vertical leg.
- Label every wire at both ends using UL-approved heat-shrink markers—not tape or ink pens.
"We see 68% of premature chiller failures linked to improper water treatment or undersized expansion tanks—not the chiller itself." — David Lin, Senior Field Engineer, Trane Commercial Services, 2023
Why does my chiller trip on high head pressure during startup?
Check condenser water flow first: verify tower fan operation, clean basin strainer, and confirm makeup water valve isn’t stuck closed. Then inspect for non-condensables—perform a nitrogen purge and triple evacuation (≤500 microns, hold for 30 minutes). High ambient temps (>95°F) also trigger this; ensure condenser airflow isn’t obstructed by adjacent walls or roofing equipment.
Can I install a chiller indoors without ventilation?
No. Even air-cooled chillers require ≥1,000 CFM per ton of outdoor air for heat rejection and motor cooling. Indoor installations demand dedicated exhaust ducts sized per ASHRAE Standard 62.1-2022, plus CO₂ monitoring and automatic shutdown if O₂ drops below 19.5%. Most jurisdictions prohibit indoor air-cooled units unless housed in a ventilated mechanical room with fire-rated walls.
What pipe insulation thickness is required?
Per DOE’s 2023 Commercial Building Energy Standards, chilled water lines require minimum 1″ fiberglass (R-4.2) for pipes ≤2″, 1.5″ (R-6.3) for 2.5″–6″, and 2″ (R-8.4) for larger lines. Insulation must be sealed with vapor-barrier mastic (ASTM E96 Class I) and protected from UV or physical damage—unsealed joints cause condensation and microbial growth.
Do I need a water treatment system for closed-loop chilled water?
Yes—even closed loops corrode. The U.S. EPA estimates untreated systems lose 0.5–1.2 mils/year of carbon steel pipe wall thickness. Install a side-stream filter (25-micron) and continuous chemical feed (corrosion inhibitor + biocide) with conductivity and pH monitoring. Test weekly for chloride, iron, and total dissolved solids per ASTM D4192.
How do I verify refrigerant charge accuracy?
Never rely solely on sight glass or subcooling. Use the manufacturer’s superheat/subcooling chart *with actual entering water temps*, then cross-check with refrigerant mass flow calculated via pressure drop across the expansion device. For R-134a systems, a ±2.5% charge error reduces efficiency by up to 11% (ASHRAE Journal, March 2022).
What’s the minimum clearance around a chiller?
Front access: 48″ for door swing and service panel; rear: 36″ for condenser coil cleaning (air-cooled) or pump access (water-cooled); top: 42″ for lifting gear and refrigerant recovery connections. These clearances are mandatory per UL 1995 and enforced by most AHJs during final inspection.
Chiller installation bridges engineering theory and real-world constraints—foundation integrity, water chemistry, and electrical coordination matter as much as the unit itself. If you’re managing a retrofit, review our chiller piping design checklist and NEC-compliant chiller electrical specs. For refrigerant handling and startup, always engage a certified technician—EPA Section 608 Type III is non-negotiable for systems above 5 lbs charge.