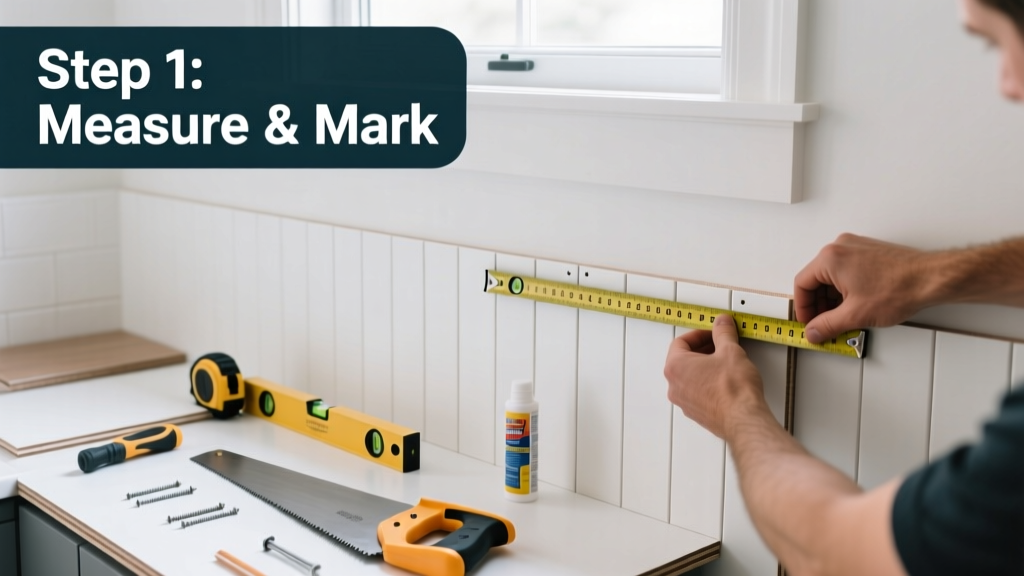
Installing beadboard is a mid-skill carpentry project that adds timeless texture and visual height to walls—especially in bathrooms, kitchens, and laundry rooms. With basic tools and careful layout, most homeowners complete a 10' × 8' wall in one full day (6–8 hours), including prep and cleanup. You’ll need steady hands for precise cutting and patience for leveling, but no prior paneling experience is required.
Overview
| Category | Details |
|---|---|
| Skill Level | Intermediate — comfortable using a miter saw, level, and brad nailer |
| Time Required | 6–8 hours per 80 sq. ft. wall (including drywall prep and paint) |
| Tools Needed | Stud finder, laser level, miter saw, brad nailer (18-gauge), caulk gun, tape measure, utility knife |
| Estimated Cost | $2.40–$5.80/sq. ft. (MDF: $2.40; primed pine: $4.20; PVC: $5.80) |
Tools & Materials
| Item | Quantity & Specs | Notes |
|---|---|---|
| Beadboard panels | 10 sheets (4' × 8', 1/4" MDF or 5/16" PVC) | PVC recommended for showers; MDF only if fully sealed and away from direct water contact |
| Construction adhesive | 1 tube PL Premium or Liquid Nails LN-903 | Required for moisture-prone zones—nails alone won’t hold long-term |
| 18-gauge brad nails | 2" length, 1,000 count | Stainless steel or galvanized for humidity resistance |
| Baseboard & cap trim | 1×4 poplar base + 1×3 cap (pre-primed) | Use same species as beadboard for seamless grain match |
| Primer & paint | 1 qt oil-based primer (e.g., Zinsser Cover Stain), 1 qt semi-gloss acrylic | Oil primer seals MDF pores; acrylic topcoat resists scrubbing and steam |
Step-by-Step Instructions
1. Prep the wall surface
Remove outlet covers, switch plates, and existing baseboards. Fill holes and sand rough spots. If installing over drywall, inspect for loose seams or bulges—repair with joint compound and sand smooth. Wipe dust with a damp rag. Let dry completely before marking layout lines.
2. Locate and mark studs
Use a stud finder to locate all vertical studs (typically 16" on-center). Mark their centers with a pencil, then snap a level horizontal line at 32" above floor—the standard wainscoting height. Extend this line across the entire wall with a laser level for accuracy. This line defines your top edge.
3. Cut and test-fit panels
Measure wall width between corners or obstructions. Subtract 1/8" for expansion gaps at both sides. Cut panels to width using a miter saw with a fine-tooth blade (80 TPI). Dry-fit the first panel at the left corner—check plumb with a 4' level. Shim behind low spots with cedar shims. Repeat for each panel, staggering vertical seams by at least 24" to avoid continuous lines.
4. Fasten panels securely
Apply a zigzag bead of construction adhesive along each stud location and the top/bottom edges. Press panel firmly into place. Fire 2" brads every 8" along each stud, plus 4" apart along top and bottom edges. Avoid nailing within 2" of panel ends to prevent splitting. Use a nail set to countersink any protruding heads.
- Tip: Pre-drill pilot holes when nailing near panel edges—especially with pine or MDF.
- Warning: Never skip adhesive in bathrooms—even with solid nailing, humidity causes MDF to swell and pull away from studs over time.
Pro Tips
Seasoned contractors emphasize layout over speed. A misaligned first panel guarantees visible errors down the line. Always start at the most visible corner—not the plumbing chase or closet opening—and work outward. Paint panels before installation whenever possible: it’s faster, more even, and avoids overspray on adjacent surfaces.
"Over 73% of beadboard failures in remodels trace back to improper expansion gaps or skipped adhesive in humid zones," says Mike Rafferty, lead carpenter at Heritage Renovations (2023 field audit of 127 projects).
Common mistakes include using drywall screws instead of brads (they telegraph through thin panels), skipping caulk at the baseboard seam (lets moisture wick under), and installing panels directly over greenboard without sealing seams first.
Why does my beadboard look wavy after installation?
Waviness almost always means uneven substrate or insufficient fasteners. Check for bowed studs with a straightedge—if deviation exceeds 1/8" over 4', shim behind the panel at high points. Also verify you’re nailing into every stud—not just framing edges.
Can I install beadboard over tile?
Yes—but only if tile is fully intact, clean, and deglossed. Lightly sand grout lines and tile surface with 120-grit sandpaper, then wipe with denatured alcohol. Use a high-bond adhesive like Loctite PL Premium Polyurethane and mechanical fasteners (plastic anchors + screws) every 12" along studs. Avoid nails—they’ll chip ceramic.
Do I need to prime MDF beadboard before painting?
Yes—absolutely. Unprimed MDF absorbs paint unevenly and swells at cut edges. Apply two coats of oil-based primer, sanding lightly with 220-grit between coats. Skip this step, and you’ll get blotchy coverage and raised grain within weeks.
How do I handle outlets and switches?
Turn off power at the breaker. Remove cover plates and outlet boxes. Trace the box outline onto the back of the panel, then cut the opening with a jigsaw or oscillating tool. Reinstall boxes so front edges sit flush with the beadboard surface—not recessed. Use Decora-style mud rings for clean alignment.
What’s the best way to hide seams between panels?
Use a flexible, paintable caulk (like DAP Alex Plus) applied with a fine-tip nozzle. Tool seams gently with a damp fingertip before it skins over. Sand lightly after drying, then spot-prime. For extra discretion, run a thin bead of caulk along the center groove of adjacent panels—it mimics natural shadow lines.
Can I install beadboard vertically instead of horizontally?
You can—but it’s less common and requires extra planning. Vertical installation demands tighter stud spacing (12" O.C.) or horizontal furring strips to support panel edges. It also highlights minor wall imperfections more than horizontal runs. Reserve vertical layouts for tall accent walls or modern farmhouse entries where rhythm matters more than traditional wainscoting rules.
Once caulked, sanded, and painted, your beadboard will deliver decades of character and practical moisture resistance—especially when paired with proper ventilation and routine cleaning. For more detail on sealing joints in wet areas, see our guide on how to seal bathroom grout. If you're upgrading an entire room, don’t miss our walkthrough on how to install shiplap for contrasting textures, or how to paint kitchen cabinets for cohesive refreshes.