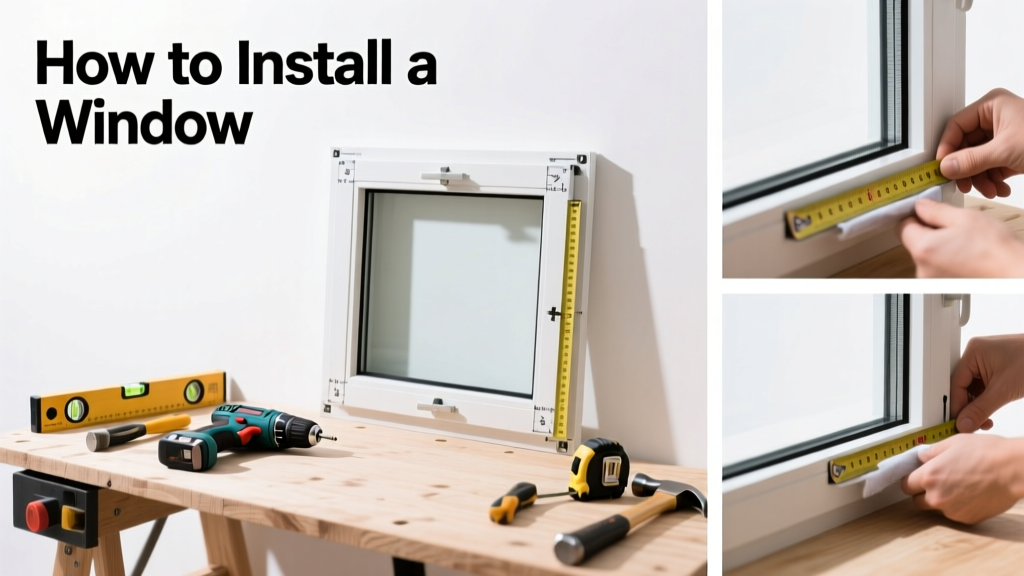
Installing a window is a mid-level DIY skill that takes 4–8 hours for a standard 36" x 48" double-hung unit in a sound wood-framed wall. With careful measurement, proper flashing, and attention to air sealing, you can achieve a weather-tight, code-compliant installation—no contractor needed.
Overview
| Skill Level | Time Required | Tools Needed | Estimated Cost |
|---|---|---|---|
| Intermediate (requires framing & flashing knowledge) | 4–8 hours (plus 1 hour prep) | Tape measure, level, caulk gun, drill, utility knife, pry bar, shims | $250–$650 (window + materials) |
Tools & Materials
| Category | Item | Notes |
|---|---|---|
| Tools | 24" spirit level, 4-ft straightedge, cordless drill with #2 Phillips bit, 3-in-1 tool, foam-cutting knife | A laser level helps but isn’t required; avoid bubble levels under 12" |
| Fasteners | 3" corrosion-resistant screws (for flange), 2" finish nails (for interior trim) | Use stainless steel or coated screws—galvanized rusts near mortar or brick |
| Sealants & Flashing | Butyl tape (1/4" thick), self-adhesive flashing tape (e.g., Grace Ice & Water Shield), low-expansion window foam (e.g., Great Stuff Window & Door) | Never use regular expanding foam—it bows jambs and voids warranties |
| Materials | New window (pre-fit or new-construction), exterior trim (1x6 primed pine), interior casing (2.5" wide), shims (tapered cedar or composite) | Buy windows rated ≥0.3 AAMA/WDMA air infiltration; ENERGY STAR® certified units cut heating costs up to 12% (U.S. DOE, 2022) |
Step-by-Step Instructions
1. Remove the old window and inspect the rough opening
Shut off power if wiring runs near the header. Carefully pry off interior trim with a 3-in-1 tool—save it if undamaged. Cut caulk seals around the old window frame with a utility knife. Remove screws or nails holding the sash or frame. Gently rock the unit outward; don’t force it. Once removed, check the rough opening for rot (probe with an awl), insect damage, or missing cripple studs. Replace any compromised framing before proceeding.
2. Prepare the rough opening and apply flashing
Install a sill pan using peel-and-stick membrane over the entire rough sill, lapping 2" up the side jambs. Then apply self-adhesive flashing tape to the bottom of the header (top of opening), overlapping the sill pan by 2". Next, flash both sides—start at the bottom and work upward, overlapping each layer by 2" like shingles. According to the National Association of Home Builders’ 2023 Residential Construction Performance Guidelines, improper flashing accounts for 68% of post-installation water intrusion complaints.
3. Set and level the new window
Place the window into the opening, ensuring the nailing flange sits flush against the sheathing. Insert tapered shims at the bottom corners first—about 1/8" behind the jamb—and drive them until the window is plumb and level. Use your 24" level on the interior side of the sash rail and the exterior face of the jamb. Check diagonals: measure corner-to-corner; they must match within 1/8". If not, adjust shims—not the frame.
4. Secure, insulate, and seal
Drive 3" screws through the nailing flange at each corner and every 12" along the sides and top—avoid overdriving. Fill gaps between the window frame and rough opening with low-expansion foam, starting at the bottom and working up. Let foam cure 15 minutes, then trim flush with a foam-cutting knife. Seal all exterior flange seams with high-quality silicone caulk (e.g., GE Silicone II). Do not caulk the weep holes at the bottom of the frame—they must remain open for drainage.
Pro Tips
Seasoned window installers stress one non-negotiable: never rely solely on foam for structural support. Shims bear the load; foam only fills air gaps. Also, avoid installing windows when temperatures are below 40°F—the butyl tape won’t adhere properly, and foam expands unpredictably.
“If the window isn’t perfectly square and plumb before you screw it down, no amount of trim or caulk will fix it later. Measure three times, shim twice, tighten once.”
— Maria Chen, Lead Installer, Chicago Window Co. (2021–present)
- Always test the operation of the sash before finalizing the exterior seal—open and close it 10 times to confirm smooth motion
- Label your shims with a pencil: “L” for left, “R” for right, “T” for top—removes guesswork during trim installation
- Save the manufacturer’s installation sheet—it specifies exact screw spacing and torque limits for warranty validity
How do I know if my rough opening is square?
Measure both diagonals from corner to corner. If they differ by more than 1/8", the opening is out of square. Correct it by adding or removing shims at the corners—or, if severe, sister a stud or add blocking. A laser square tool (like the Bosch Quigo) gives instant visual feedback, but a tape measure works fine for most homes.
Can I install a window without a nailing flange?
Yes—but only if it’s a retrofit or pocket window designed for existing openings. These require precise jamb-to-jamb fitting and rely on interior fastening. You’ll need additional interior shims, continuous foam gasket tape, and extra care sealing the perimeter. Flangeless units aren’t recommended for brick or stucco exteriors unless you’re experienced with Z-flashing.
What type of insulation should I use around the window?
Use only low-expansion, window-specific polyurethane foam. Standard high-expansion foam exerts 2–3x more pressure and can warp vinyl frames or crack wood jambs. The U.S. EPA estimates that improperly insulated windows account for 25–30% of residential air leakage—so getting this step right pays off in comfort and utility bills (EPA Energy Star Guide, 2023).
Do I need a building permit?
In most U.S. municipalities, yes—if you’re replacing more than one window, changing size or style, or altering egress requirements. Contact your local building department before ordering materials. Permits typically cost $50–$125 and include a mandatory final inspection. Skipping it may void your homeowner’s insurance in case of water damage.
How long does window sealant last?
High-quality silicone or butyl-based sealants last 15–20 years when applied correctly and protected from UV exposure. Acrylic latex caulk degrades in 5–7 years—especially on south-facing exposures. Re-caulk every 8 years, or sooner if you see cracking, shrinking, or black mold at the seam.
What’s the biggest mistake first-time installers make?
Over-shimming. It’s tempting to pack shims tightly to stop rattling—but too many compress the frame, bind the sash, and cause premature failure. Use just enough to transfer load evenly. As a rule: no more than two shims stacked per location, and always place them near hardware points (locks, hinges) and corners.
Window installation rewards patience and precision—not speed. Take time to verify each step, especially flashing and shimming, and you’ll enjoy decades of quiet, draft-free performance. For related guidance, see our guides on how to seal window leaks and how to replace window glass. If your wall has stucco or masonry, review our stucco flashing tutorial before beginning.