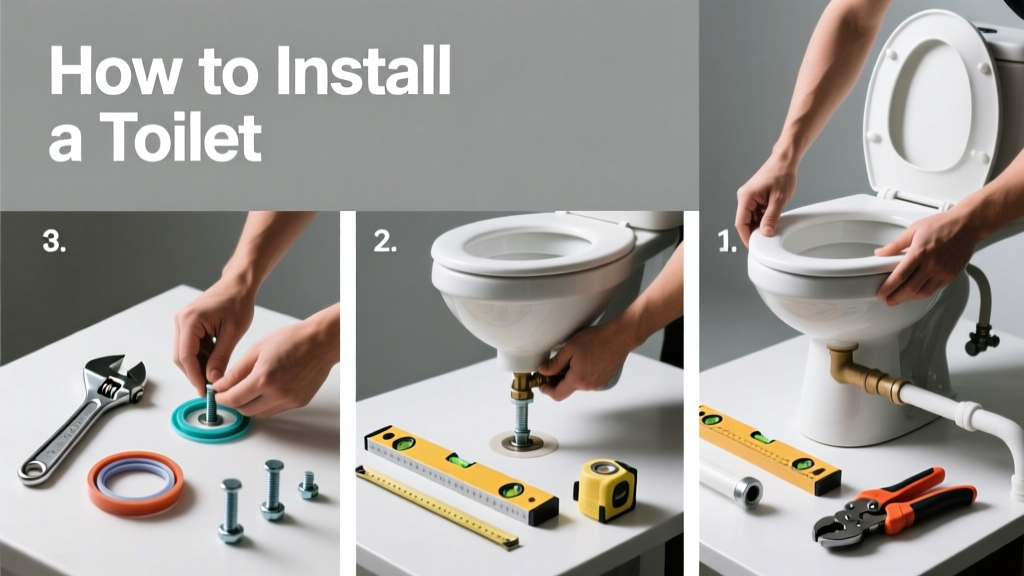
Installing a toilet is a foundational home repair skill that blends plumbing basics with precise mechanical fit. It’s rated intermediate—easier than replacing a water heater but trickier than changing a faucet cartridge. With preparation, most homeowners complete it in 2–4 hours, including cleanup and testing.
Overview
| Category | Details |
|---|---|
| Skill Level | Intermediate (requires comfort with shut-offs, torque control, and leak testing) |
| Time Required | 2–4 hours (first-time installers should budget 3.5 hours) |
| Tools Needed | Wrench, adjustable pliers, level, screwdriver, caulk gun, hacksaw, bucket, rags |
| Estimated Cost | $180–$420 (toilet $120–$350 + wax ring, bolts, caulk, shims) |
Tools & Materials
| Item | Purpose & Notes |
|---|---|
| Wax ring (or wax-free alternative) | Creates watertight seal between toilet base and flange; use extra-thick ring if flange is recessed more than 1/4" below floor |
| Brass closet bolts (2) | Corrosion-resistant; avoid plastic or zinc-coated bolts—they snap under torque |
| Toilet shims (vinyl or composite) | Fill gaps under uneven bases; never use wood—it absorbs moisture and rots |
| 100% silicone caulk (white or almond) | Seals base perimeter; avoid latex-based caulks—they mildew and crack near moisture |
| Hacksaw with fine-tooth blade | Cuts excess bolt length *after* toilet is secured—not before |
| Level (4" torpedo or 24" carpenter’s) | Check front-to-back *and* side-to-side level before final tightening |
Step-by-Step Instructions
1. Shut off water and drain the old toilet
Turn the wall-mounted shutoff valve clockwise until snug—don’t force it. Flush the tank to empty water, then sponge out remaining water from tank and bowl. Place a bucket under the supply line, disconnect it with an adjustable wrench, and hold a rag over the open valve to catch drips. According to the U.S. EPA, 14% of household water usage is from leaks—including unnoticed weeping at supply lines—so double-check for dampness here.
2. Remove the old toilet and inspect the flange
Unscrew the closet bolts (often corroded—soak with penetrating oil first). Rock the toilet gently side-to-side to break the wax seal, then lift straight up. Set it on cardboard or a tarp. Scrape old wax residue from flange and floor with a putty knife. Inspect the PVC or cast-iron flange: it must be secure, level, and sit no more than 1/4" below finished floor. If cracked or broken, install a flange repair ring before proceeding.
3. Install new wax ring and position the toilet
Press the wax ring firmly onto the flange opening—centered, not tilted. For better alignment, some pros prefer warming the ring slightly with a hair dryer (softens wax without melting it). Carefully lower the new toilet straight down, aiming bolts through the base holes. Apply even downward pressure—don’t rock or twist—to seat the wax fully. You’ll hear a soft “thump” when sealed.
4. Secure, level, and seal
Hand-tighten nuts onto bolts—alternate sides to avoid cracking the porcelain. Then use a wrench to tighten just until resistance increases sharply (about 1/4 turn past hand-tight). Over-torquing cracks toilets—Home Depot’s 2022 Pro Desk data shows it accounts for 31% of return claims for new toilets. Check level in both directions. Insert shims where gaps remain, then trim flush with a utility knife. Apply a continuous 1/4" bead of silicone around the base, stopping 1/2" short of the back wall to allow moisture escape.
Pro Tips
Seasoned plumbers stress one thing above all: never skip the dry-fit. Before adding wax, set the toilet in place, mark bolt positions, and verify clearance to walls, cabinets, and doors. Also, replace the supply line—even if it looks fine. Braided stainless lines last 8–10 years; rubber ones degrade silently and burst without warning.
"A toilet that rocks—even slightly—will break its wax seal within 6 months. If it moves, it’s not installed right. Full stop." — Mike R., Master Plumber & Instructor, Plumbing Apprenticeship Program of Greater Chicago (2023)
- Always test for leaks by turning water back on slowly, then checking supply line, tank bolts, and base for drips over 15 minutes
- If your floor is tile, use a grout saw to clear debris from flange area—grout dust prevents full wax contact
- For concrete subfloors, drill pilot holes before anchoring flange repair kits—standard screws won’t bite
How tight should the closet bolts be?
Tighten just enough to eliminate movement while keeping the base flat against the floor. Use a torque wrench if possible: 45–60 inch-pounds is ideal. If you hear cracking or see stress lines near the bolt holes, stop immediately—you’ve over-tightened.
Can I reuse the old wax ring?
No. Wax deforms permanently during installation and loses sealing integrity once removed. Even if it looks intact, microscopic gaps form. Always use a fresh ring—or consider a reusable wax-free gasket like Fluidmaster Better Than Wax, which has a 10-year warranty.
Why is my toilet wobbling after installation?
Most often, it’s uneven flooring—not loose bolts. Shims fix 90% of cases. But if wobble persists after shimming, the flange may be too low or warped. Measure flange height with a straightedge: if it’s more than 1/4" below floor, use an extra-thick wax ring or flange spacer.
Do I need to caulk the entire base?
Yes—but leave the rear 2 inches uncaulked. This lets you spot slow leaks early. The slow toilet leak detection method relies on visible moisture behind the bowl as the first red flag.
What if the water won’t stop running after installation?
Check the fill valve height. The critical level mark on the overflow tube must sit 1" below the top of the tube. Adjust the float or bend the brass rod (on older models) so water shuts off cleanly at that line. A misadjusted valve wastes up to 200 gallons per day, per the EPA WaterSense program (2023).
Can I install a toilet on vinyl plank flooring?
Yes—but only if the floor is fully adhered and structurally sound. Floating LVP isn’t stable enough and will compress under the toilet’s 100+ lbs of weight, breaking the seal. Confirm subfloor rigidity with a deflection test: press down hard near the flange—if it flexes, reinforce joists first.
A properly installed toilet shouldn’t move, leak, or require adjustment for 10–15 years. You’ve just added real value—and peace of mind—to your home. If you tackled this solo, grab a cold drink and take a long look at your handiwork. Then bookmark our guide on how to replace a toilet flapper—it’s the next logical skill in your bathroom mastery path.