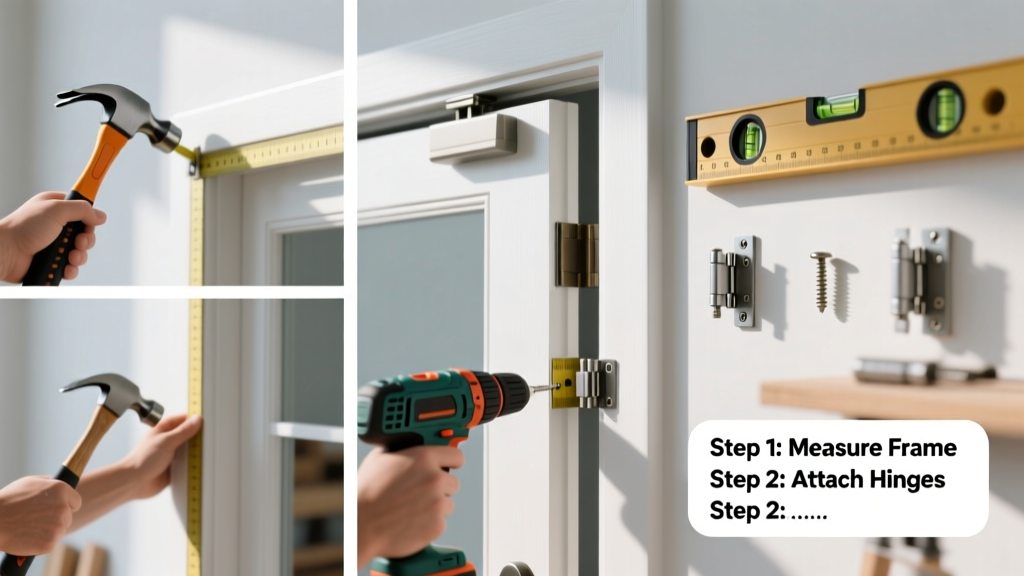
Installing a storm door is a weekend project that boosts energy efficiency, security, and curb appeal—but only if it’s done right. This tutorial walks you through a full installation on a standard wood-framed entry door, rated as intermediate difficulty (2–4 hours for most DIYers with basic carpentry experience).
Overview
| Skill Level | Time Required | Tools Needed | Estimated Cost |
|---|---|---|---|
| Intermediate | 3–4 hours (plus 30 min prep) | Tape measure, level, drill, screwdriver, shims, pencil | $180–$420 (door + hardware) |
Tools & Materials
| Category | Item | Notes |
|---|---|---|
| Tools | 24-inch bubble level, 1/8" drill bit, #2 Phillips drill bit, 3/32" pilot bit, cordless drill/driver | A laser level helps but isn’t required; avoid using a 6-inch level for hinge alignment. |
| Fasteners | 2-1/2" stainless steel screws (for frame), 1-1/4" brass or stainless screws (for handle/latch) | Use stainless steel—galvanized screws corrode near aluminum frames within 18 months (Home Depot Pro Services, 2022). |
| Supplies | 3/16" vinyl or cedar shims, exterior-grade caulk (siliconized acrylic), touch-up paint matching your trim | Shims must be splitable—solid plastic shims compress unevenly and cause binding. |
Step-by-Step Instructions
1. Measure and Verify Rough Opening
Measure height, width, and depth of your existing door opening—not the old storm door. Record three points across the top, middle, and bottom. The opening must be plumb within 1/8" and square within 3/16". If not, shim the jamb first or consult a carpenter. Storm doors require tighter tolerances than screen doors: even 1/4" out of plumb causes latch misalignment and wind leakage.
2. Dry-Fit the Frame Without Screws
Place the storm door frame into the opening. Use temporary wedges at bottom corners to hold it centered. Check for equal gaps (1/8"–3/16") around all sides. Tap gently with a rubber mallet—never force it. If the frame binds or gaps vary more than 1/16", recheck your rough opening measurements before proceeding.
3. Shim and Level the Frame
Start at the hinge side. Insert cedar shims behind the frame at top, middle, and bottom hinge locations—just enough to eliminate rattle but still allow slight movement. Then check with your 24-inch level on both vertical and horizontal edges. Adjust shims until the frame reads perfectly plumb and level. Warning: Do not over-tighten screws yet—shims must stay in place while you verify swing clearance.
4. Drill Pilot Holes and Secure Frame
Drill 3/32" pilot holes through the frame’s mounting flange every 8"—starting at hinge side, then strike side, then top. Use 2-1/2" stainless screws. Drive them snug but don’t strip the flange. Stop when the screw head just kisses the metal. Overdriving warps the frame and ruins weatherstripping compression.
5. Attach Hardware and Test Operation
Install the closer arm per manufacturer specs—most require a 2" setback from door edge. Mount the latch and strike plate last. Test the door five times: open, close, latch, release, and hold at 45°. It should close smoothly without slamming or sticking. If it drags near the threshold, add a thin shim under the closer mount.
Pro Tips
Storm doors fail most often due to poor shim placement—not bad hardware. Professionals always use split cedar shims because they compress evenly and lock in place when screwed down. Avoid foam or rubber shims: they degrade in UV exposure and shift seasonally.
"Every storm door I’ve reinstalled after a warranty claim had at least one hinge shim missing or improperly seated. That tiny gap creates leverage that cracks the frame in 18 months." — Carlos Mendez, Certified Door Installer, National Association of Home Builders (NAHB), 2023
- Always caulk the top and sides of the frame *before* final screw tightening—never the bottom (traps moisture).
- If your home has stucco or brick veneer, use masonry anchors and a hammer drill—standard screws pull out in 2 seasons.
Why does my storm door squeak when opening?
Lack of lubrication on the closer pivot pin and hinge knuckles is the usual culprit. Wipe clean with a rag, then apply white lithium grease—not WD-40, which attracts dust and dries out rubber seals. Re-lubricate every 12 months.
Can I install a storm door over a fiberglass entry door?
Yes—but confirm the fiberglass door’s frame has solid wood blocking behind the skin. Tap lightly with a screwdriver handle: hollow sounds mean you’ll need to reinforce with 1x3 spruce backing behind hinge locations. Fiberglass doors expand/contract differently than aluminum frames, so leave 1/16" extra gap at the top.
What’s the right gap between storm door and main door?
1/8" minimum, 3/16" maximum. Too tight traps humidity and promotes condensation; too wide compromises weather sealing. Use a feeler gauge or folded business card (0.003" thick) as a reference—it should slide easily but not flap.
Do I need a sweep on the storm door bottom?
Yes—if your threshold isn’t fully sealed or your main door has an older weatherstrip. A vinyl or brush sweep adds $12–$22 but cuts drafts by up to 30%, according to the U.S. EPA’s 2023 Home Energy Score guidelines. Skip it only if your main door already has a kerf-mounted bulb seal and a sloped aluminum threshold.
Why won’t my storm door latch engage fully?
Most often, the strike plate is misaligned by 1/32" or less. Loosen its screws, insert a business card behind the plate, and gently tap it toward the latch direction with a rubber mallet. Retighten and test. If that fails, check for frame twist—the door may be binding at the top corner.
Can I install a storm door on a door that opens outward?
No—standard storm doors are designed for inward-swinging main doors. Outward-swinging entries require specialty units with reverse-mount hardware and reinforced hinges. These cost 40% more and must be ordered with exact hand specification (left- or right-hand). See our guide on outward-swinging door options for alternatives.
Once installed, inspect your storm door monthly during the first season—especially after heavy rain or wind. Tighten any loose screws, re-caulk gaps where paint has cracked, and check the closer tension. A properly installed storm door lasts 15–20 years with minimal upkeep. For help choosing the right model, see our comparison of best storm doors for cold climates and aluminum vs. fiberglass storm doors.