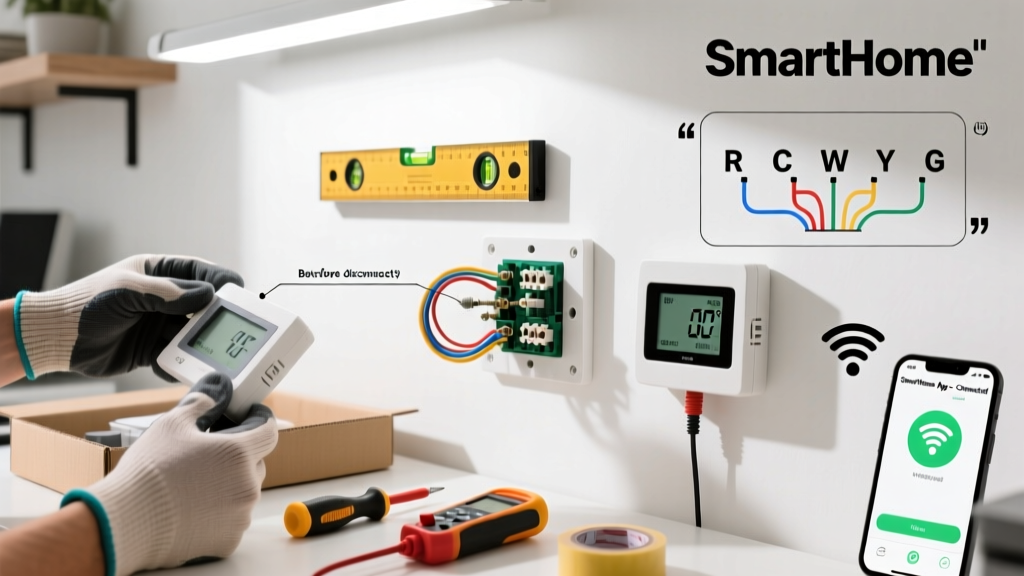
Installing a smart thermostat is a mid-skill DIY project that takes 45–90 minutes and requires basic electrical awareness—not an electrician’s license. You’ll replace your old wall-mounted thermostat with a Wi-Fi-enabled unit that learns your habits, integrates with voice assistants, and cuts heating/cooling costs by up to 12% annually (U.S. Department of Energy, 2022).
Overview
| Skill Level | Time Required | Tools Needed | Estimated Cost |
|---|---|---|---|
| Intermediate (basic wiring comfort required) | 45–90 minutes | Screwdriver, level, smartphone, optional multimeter | $129–$299 (thermostat only; no labor) |
Tools & Materials
| Item | Details | Notes |
|---|---|---|
| Smart thermostat | Nest Learning Thermostat (4th gen), Ecobee SmartThermostat Premium, or Honeywell T9 | Verify compatibility with your HVAC system using our compatibility checker |
| Mounting plate & screws | Included with thermostat | Some older walls require drywall anchors—check package contents |
| Wire labels or masking tape + marker | Essential for identifying wires | Never skip labeling—even if wires are color-coded; colors aren’t standardized across brands |
| Phone or tablet | With Wi-Fi and manufacturer’s app installed | Download the app *before* starting—e.g., Google Home, Ecobee app, or Total Connect Comfort |
| Optional: Low-voltage multimeter | For confirming C-wire presence or voltage | Not required but highly recommended if your system lacks a labeled C-wire |
Step-by-Step Instructions
1. Turn off power to your HVAC system
Go to your home’s main electrical panel and switch off the breaker labeled “HVAC,” “Furnace,” or “Air Handler.” Verify it’s dead using a non-contact voltage tester near the thermostat wires—or simply wait 5 minutes after shutting off power. Skipping this risks damaging the thermostat or giving yourself a mild shock.
2. Remove the old thermostat faceplate and base
Gently pull the display unit away from its wall plate—most snap off with light pressure. Unscrew the mounting plate from the wall. Take a photo of the wire connections *before* disconnecting anything. Then label each wire with tape: R, W, Y, G, C, O/B, etc. If a wire isn’t connected or is coiled behind the plate, label it “spare” and leave it undisturbed.
3. Check for a C-wire—and add one if missing
A common installation roadblock: 72% of homes built before 2010 lack a dedicated C-wire (common wire) for continuous power (C-wire explained). Look for an unused blue or black wire tucked behind the plate. If none exists, you have two options: use a power extender kit (like the Nest Power Connector or Ecobee Power Extender Kit), or repurpose the O/B wire if your heat pump uses a different configuration. Never connect R to C directly—that will short your transformer.
4. Mount the new base plate and connect wires
Align the new base plate over the wall holes (use a level). Secure with screws—don’t overtighten into plaster or tile. Insert each labeled wire into its matching terminal on the new base (R → R, W → W, etc.). Push firmly until you hear a soft click or feel resistance. Double-check that no bare copper is exposed beyond the terminal—exposed strands can cause shorts.
5. Attach the display and restore power
Click the smart thermostat face onto the base until it locks. Return to your electrical panel and turn the HVAC breaker back on. The display should power up within 10 seconds. If it doesn’t, recheck wire seating and breaker status. Then follow the on-screen prompts to connect to Wi-Fi and name your system (e.g., “Upstairs Heat Pump”).
Pro Tips
Most failed installations stem from misidentified wires or skipped compatibility checks—not technical complexity. Always cross-reference your furnace’s wiring diagram (usually inside the blower compartment door) with the thermostat’s manual. And never assume your old thermostat’s wiring matches standard conventions—especially in homes with multi-stage heat pumps or humidifiers.
“If your system has more than six wires, don’t guess—pull the furnace access panel and trace each wire back to its terminal block. One misconnected O/B wire can reverse your heat pump’s cooling cycle.” — HVAC Technician Marco Lin, certified NATE instructor since 2011
- Test fan operation first: After setup, go to Settings > Equipment > Fan and run it for 60 seconds. If it doesn’t start, check G-wire connection and furnace door safety switch.
- Enable geofencing only after verifying your phone’s location services are precise—false “away” triggers waste energy.
- Set a manual hold for 24 hours after install to confirm temperature accuracy before enabling auto-scheduling.
What if my thermostat displays “No Power” after installation?
This almost always means either the C-wire isn’t connected (or isn’t live) or the R and Rc terminals were swapped on dual-transformer systems. Use a multimeter to test voltage between R and C—it should read 24–28 VAC. If it reads zero, your C-wire may be disconnected at the furnace or not wired at all.
Can I install a smart thermostat with a boiler system?
Yes—but verify relay compatibility. Most modern smart thermostats support millivolt and 24V systems, including gas boilers with zone valves. The Ecobee SmartThermostat Premium includes a built-in 24V relay, while Nest requires an external relay (like the Fast-Stat Common Maker) for certain hydronic setups.
Why does my AC short-cycle after installing the new thermostat?
Short-cycling usually points to incorrect O/B wire configuration or a missing delay setting. Heat pumps need a 5-minute compressor delay between cycles. In your thermostat’s installer settings (often hidden under “Advanced” or “Equipment”), enable “Compressor Protection Delay” and set it to 5 minutes.
Do I need a professional if I have a dual-fuel system?
Not necessarily—but proceed cautiously. Dual-fuel (heat pump + gas furnace) systems require correct O/B, AUX, and emergency heat logic. The Honeywell T9 and Ecobee both support dual-fuel out of the box, but you must configure the “Heat Source” and “Auxiliary Heat Lockout” temps correctly. Misconfiguration can force expensive gas backup during mild weather.
Will my smart thermostat work during a power outage?
Only the display and Wi-Fi will drop—the internal battery preserves settings for 2–4 hours. However, your HVAC won’t run without grid power unless you have a whole-home generator or UPS sized for your furnace’s 120V blower motor (typically 3–5 amps). Battery backup does *not* power the furnace itself.
How do I dispose of my old thermostat responsibly?
Many older thermostats contain mercury (in the tilt-switch type, common pre-2006). Don’t toss it in the trash. Use Earth911’s recycling locator to find a hazardous waste drop-off site—most municipal centers accept them free of charge.
Once your thermostat completes its initial learning period (about 7 days), review the energy history dashboard to spot anomalies—like unexpected overnight heating spikes that might indicate a drafty window or failing duct insulation. You’ve just upgraded your home’s brain—and with it, your comfort, control, and long-term utility bills. For help optimizing schedules or integrating with other smart devices, our automation setup guide walks through next-level routines.