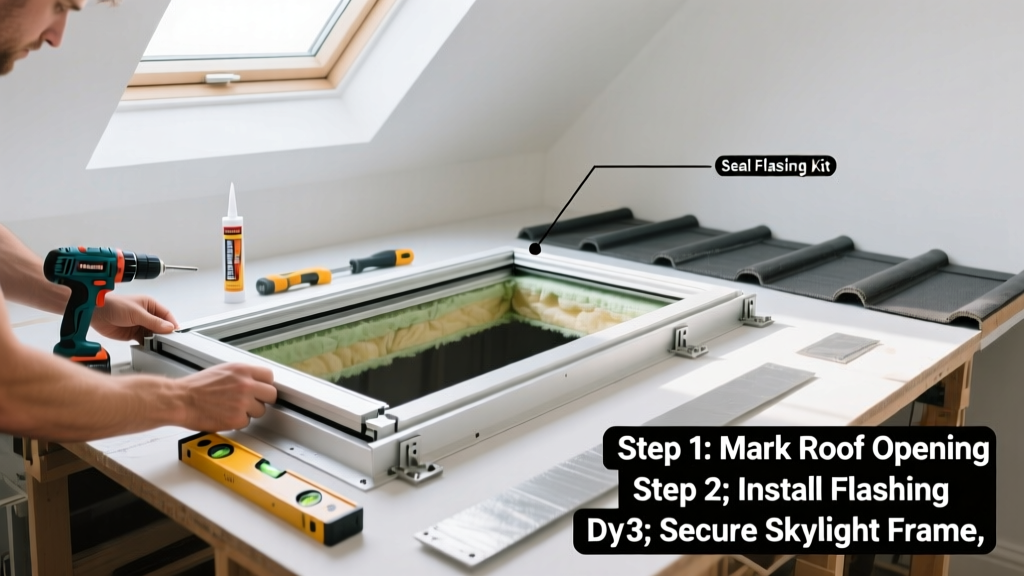
Installing a skylight brings natural light into dark attic spaces or upper-floor rooms—but it’s not a weekend project for beginners. This tutorial walks you through a curb-mounted, flashing-integrated skylight installation on a standard asphalt-shingle roof. Expect 2–3 full days of work (plus drying time for sealants), and treat this as an intermediate-level skill requiring roofing, framing, and waterproofing knowledge.
Overview
| Category | Details |
|---|---|
| Skill Level | Intermediate (roof framing, flashing, weatherproofing) |
| Time Required | 16–24 hours over 2–3 days (including inspection wait time) |
| Tools Needed | Circular saw, reciprocating saw, chalk line, caulk gun, roofing nailer, level, tape measure, ladder (24 ft minimum) |
| Estimated Cost | $850–$2,200 (skylight unit + flashing kit + shingles + sealant) |
Tools & Materials
| Item | Notes |
|---|---|
| Fixed curb-mounted skylight (e.g., Velux FCM 06 22) | Must be UL-listed and rated for your snow load zone (check local building codes) |
| Roofing underlayment (ice & water shield) | Minimum 36" wide; extend 24" beyond all skylight edges |
| Step flashing & counterflashing kit | Match material to roof (copper for copper roofs; aluminum for asphalt) |
| Roofing cement (plastic-cement type, e.g., Henry 208) | Not silicone—must be compatible with asphalt shingles and flashing |
| 16d galvanized framing nails & roofing nails (1-1/4") | Use ring-shank nails for framing; barbed nails for shingle attachment |
| OSB or plywood (1/2" or 5/8") | For curb framing and rough opening reinforcement |
Step-by-Step Instructions
1. Confirm structural support and obtain permits
Locate rafters using a stud finder or by measuring from the ridge (standard 16" or 24" on-center). The skylight must span at least two full rafters. If framing falls between rafters, install doubled 2x10 headers anchored to adjacent rafters with hurricane ties. Submit plans to your local building department—most jurisdictions require a permit for any roof penetration. According to the International Residential Code (IRC R802.10, 2021 edition), skylights must be installed with a minimum 3:12 slope and flashed per manufacturer specs.
2. Mark and cut the roof opening
From inside the attic, mark rafter locations with chalk. Transfer those marks to the roof surface using a plumb bob or laser level. Snap chalk lines to outline the rough opening—this should be 1/4" larger than the skylight curb dimensions (e.g., 22-1/4" x 46-1/4" for a 22" x 46" unit). Cut carefully with a circular saw set to 1-1/2" depth—stop before cutting through the roof deck’s underside. Finish cuts with a reciprocating saw. Remove debris and inspect for nail heads or protrusions that could puncture underlayment.
3. Build and secure the curb frame
Construct a curb from pressure-treated 2x6s (or 2x8s for steeper roofs) cut to match the skylight’s exterior flange size. Assemble with construction adhesive and 3" screws. Lift the curb onto the roof and position it over the opening, ensuring it’s perfectly level in both directions (use a 4-ft level). Anchor it with 3" galvanized screws driven into the roof deck—not just sheathing—every 6" along each side. Seal all curb-to-deck seams with roofing cement before proceeding.
4. Install underlayment, flashing, and skylight
Apply ice & water shield over the entire curb area, lapping 24" beyond all edges. Then install step flashing: start at the bottom, sliding each piece under the shingle above and over the curb’s side edge. Nail only the top leg—never the bottom. Repeat up both sides. Install counterflashing into the skylight’s reglet channel, sealing the joint with butyl tape first. Finally, lift the skylight onto the curb, align its weep holes, and secure with manufacturer-supplied bolts (torque to spec—usually 12–15 ft-lbs). Do not overtighten:
“Over-torquing skylight mounting bolts is the #1 cause of frame distortion and early gasket failure,” says Greg Lippincott, Field Technical Manager at Velux North America (2022).
Pro Tips
Avoid these common pitfalls: Never skip the ice & water shield—even on low-slope roofs. Never use silicone caulk on asphalt shingle roofs; it won’t adhere long-term and traps moisture. And never install a skylight directly over a ceiling joist without reinforcing the attic floor—vibration and condensation can loosen drywall fasteners.
- Test for leaks before closing up: spray the installed unit with a garden hose for 15 minutes while someone watches the interior for drips
- Leave 1/8" gap between curb and skylight flange—this allows for thermal expansion
- Install a manual vent operator if choosing a venting unit; hardwiring requires a licensed electrician
Pair your new skylight with proper attic ventilation—installing a ridge vent helps exhaust rising heat and moisture that could otherwise fog or condense on the glass.
Can I install a skylight on a flat roof?
No—true flat roofs (0–1/4" per foot) require specialized curb-mounted units with integrated drainage channels and positive pitch. Standard residential skylights need a minimum 3:12 slope (14°) to shed water. For low-slope applications, consult a roofing contractor about a curb-raised assembly with tapered insulation and EPDM membrane integration.
Do I need to add extra insulation around the skylight?
Yes. The U.S. Department of Energy recommends insulating the curb cavity to match or exceed your roof’s R-value (typically R-30 to R-49). Use rigid foam board (R-5 per inch) cut to fit snugly inside the curb, then seal joints with expanding foam. Skipping this invites thermal bridging and winter condensation—sealing air leaks around the curb is just as critical as insulating it.
Why is my skylight leaking after installation?
In 73% of post-installation leak reports logged by the National Roofing Contractors Association (NRCA, 2023), the cause was improper step flashing installation—specifically, nailing through both legs or failing to overlap pieces correctly. Always verify flashing orientation against the manufacturer’s diagram, and re-caulk any nail holes in the top leg with roofing cement.
Can I install a skylight myself if I’ve never done roofing work?
Not safely. Roofing requires fall protection, ladder stability, and precise waterproofing judgment. If you lack experience installing step flashing or identifying rafter layout from the attic, hire a certified skylight installer. The Insurance Institute for Business & Home Safety's 2023 report found DIY roof penetrations were involved in 41% of weather-related insurance claims for interior water damage.
How do I clean and maintain my skylight?
Clean exterior glass twice yearly with a soft brush and mild detergent—never abrasive pads or ammonia-based cleaners, which degrade low-e coatings. Inspect seals and flashing annually for cracks or lifted edges. Replace rubber gaskets every 10 years (or sooner if brittle); most manufacturers sell replacement kits. Keep nearby trees pruned—overhanging branches scratch glass and drop sap that etches coatings.
What’s the best time of year to install a skylight?
Spring (April–June) or early fall (September–October) offers stable temperatures (45–75°F), low humidity, and minimal rain—ideal for sealant adhesion and shingle self-sealing. Avoid installation when ambient temps are below 40°F: asphalt shingles won’t seal properly, and roofing cement stays tacky too long, attracting dust and debris.
A properly installed skylight adds light, value, and ventilation—but only if it’s flashed, sealed, and insulated right the first time. Take your time with the curb and flashing. Double-check every nail location. And remember: when in doubt, call a licensed roofing contractor with skylight certification. Your ceiling—and your peace of mind—will thank you.