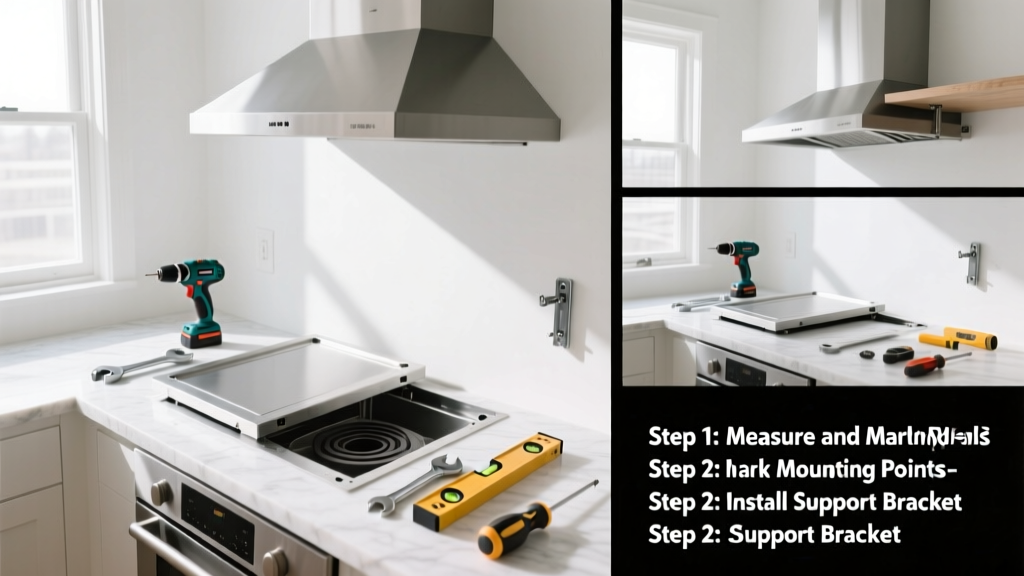
Installing a range hood improves air quality, removes cooking odors and grease, and protects cabinetry from heat and moisture damage. This is a moderate-difficulty DIY project that takes 4–6 hours for most homeowners with prior experience using a drill, stud finder, and voltage tester.
Overview
| Category | Details |
|---|---|
| Skill Level | Intermediate (requires basic electrical and carpentry knowledge) |
| Time Required | 4–6 hours (plus 30 minutes for ductwork prep if retrofitting) |
| Tools Needed | Stud finder, drill/driver, screwdrivers, level, tape measure, voltage tester, wire stripper, reciprocating saw (if cutting drywall or duct) |
| Estimated Cost | $150–$450 (hood unit + parts; excludes professional duct installation) |
Tools & Materials
| Item | Notes |
|---|---|
| Range hood unit | Ducted (preferred) or ductless model; verify CFM rating matches your cooktop size (e.g., 400 CFM for 30" gas range — per AHAM Standard HU-1-2022) |
| Mounting hardware | Usually included; verify compatibility with your wall/ceiling type (wood studs vs. concrete) |
| Electrical supplies | 14/2 NM-B cable (if running new circuit), UL-listed junction box, wire nuts, mounting strap |
| Ductwork | 6" rigid aluminum duct (recommended over flexible); 90° elbows with smooth interior radius to reduce airflow resistance |
| Sealant & fasteners | High-temp silicone sealant (UL 181B-FX rated), #8 x 2" wood screws, toggle bolts (for hollow walls) |
Step-by-Step Instructions
1. Turn Off Power & Confirm Circuit Requirements
Shut off power at the main panel and verify no voltage at the existing outlet or junction box using a non-contact voltage tester. Most range hoods require a dedicated 15-amp, 120V circuit — check your local code and the manufacturer’s spec sheet. If adding a new circuit, consult a licensed electrician or pull a permit.
2. Locate & Mark Studs, Then Mount the Bracket
Use a stud finder to locate two adjacent wall studs (or ceiling joists for island mounts). Mark their centers and outline the mounting bracket. Drill pilot holes, then secure the bracket with #10 x 3" lag screws into solid wood — never just drywall anchors. Double-check level before tightening fully.
- Tip: Hold the hood up temporarily to confirm clearance above your cooktop (minimum 24" for electric, 30" for gas per UL 867 standards).
- Warning: Do not mount directly over a gas line or recessed lighting without verifying safe distances per your local mechanical code.
3. Run Ductwork (Ducted Models Only)
From the hood’s exhaust port, run rigid 6" duct upward or sideways toward your exterior wall or roof. Use minimal bends — no more than two 90° turns total. Seal all joints with UL 181B-FX foil tape (not duct mastic or HVAC tape). Cut the exterior termination hole with a hole saw; install a damper-equipped wall cap rated for kitchen exhaust.
According to the U.S. EPA, properly sealed and sized ductwork improves capture efficiency by up to 35% compared to leaky or undersized systems (EPA Indoor Air Quality Tools for Schools, 2021).
4. Wire the Hood & Secure It
Run NM-B cable from your junction box to the hood’s wiring compartment. Strip ½" insulation, connect black-to-black, white-to-white, and ground-to-ground with UL-listed wire nuts. Tuck wires neatly, mount the hood onto the bracket, and secure with provided screws. Install filters and light bulbs per manual.
- Tip: Test fan and lights before final tightening — some units have a “test mode” accessible via control panel.
- Warning: Never bypass the internal thermal cutoff switch or disable the auto-shutoff feature.
Pro Tips
Even experienced installers miss key details that cause long-term issues. Here’s what pros watch for:
"The biggest mistake I see is oversizing the duct run — every foot beyond 25 linear feet of duct reduces effective CFM by ~1%. Always measure total length *including* elbows, and downsize the hood’s rated CFM by 15% for every 90° turn." — Carlos Mendez, HVAC Technician since 1998, certified by NATE (North American Technician Excellence)
Avoid these common pitfalls:
- Using flexible duct inside walls (fire hazard and airflow killer)
- Mounting too high — reduces grease capture by up to 50% (per ASHRAE Handbook, Fundamentals Volume, 2023)
- Skipping the backdraft damper on exterior caps (lets cold air infiltrate in winter)
- Ignoring make-up air requirements for hoods over 400 CFM (required by IRC M1503.4 in most jurisdictions)
How high should my range hood be mounted?
Follow manufacturer specs first — but general guidelines are 24–30" above the cooktop surface for wall-mount units. Measure from the cooktop’s highest point (e.g., burner grate), not the countertop. For island mounts, aim for 30–36" clearance. Lower heights improve capture but risk hitting pots; higher heights reduce efficiency.
Can I install a range hood without ducting?
Yes — ductless (recirculating) models filter air through charcoal and metal mesh filters, then return it to the kitchen. They’re easier to install but less effective: they remove odors but not heat or humidity. Only choose this option if ducting isn’t possible, and replace charcoal filters every 6 months. See our range hood ductless vs. ducted comparison for performance data.
Do I need an electrician for the wiring?
You can wire it yourself if you’re comfortable splicing circuits and following NEC Article 422.11(E). But if your home lacks a dedicated circuit, or if the hood requires hardwiring (no plug-in cord), hiring a licensed electrician ensures compliance with local codes and avoids voiding the warranty. Most manufacturers require certified installation for full coverage.
Why is my new range hood noisy?
Noise often stems from poor duct design — kinks, sharp bends, or undersized ducts force the motor to work harder. Check for loose mounting screws, unsecured duct sections, or missing vibration isolators. Clean grease filters weekly; clogged filters increase static pressure and decibel output by 8–12 dB (per Broan-NuTone Lab Testing, 2022).
What size duct do I need for my range hood?
Match duct diameter to the hood’s exhaust port — 6" is standard for residential units up to 600 CFM. Avoid reducing size (e.g., 6" hood → 4" duct), which increases noise and cuts airflow by ~40%. For hoods over 600 CFM, use 7" or 8" duct and consult a mechanical engineer — especially for commercial-grade installations. Review our kitchen exhaust duct sizing guide for exact calculations.
How often should I clean the range hood filters?
Metal mesh filters should be washed monthly in hot, soapy water or dishwasher-safe (check manual). Charcoal filters in ductless models must be replaced every 6 months — they don’t clean, only absorb. Grease buildup on baffles or interior surfaces reduces efficiency and creates fire hazards. Inspect quarterly and wipe with degreaser — never use abrasive pads on stainless steel housings.
A properly installed range hood pays for itself in extended appliance life, lower AC load during cooking, and healthier indoor air. Take your time with alignment and sealing — those small details prevent the most common callbacks. Once it’s up and running, test it with a lit candle near the cooktop edge: flame should tilt steadily toward the hood, not flutter erratically. Ready for your next upgrade? Explore our how to wire a GFCI outlet or how to install a kitchen backsplash for complementary projects.