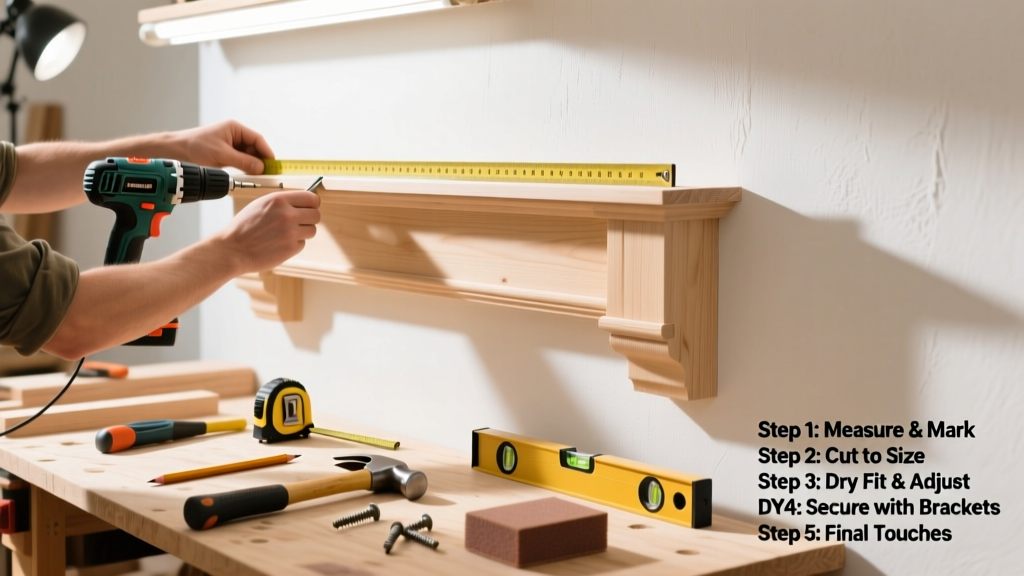
Installing a mantel is a mid-skill woodworking project that transforms your fireplace into a focal point—whether you’re mounting a 60-inch reclaimed oak shelf or a custom-built box mantel. Expect 4–6 hours of hands-on work (plus drying time for adhesive), and know that precision—not brute force—is what makes it last. This guide walks you through every physical step, from locating studs to hiding fasteners.
Overview
| Category | Details |
|---|---|
| Skill Level | Intermediate (requires stud-finding, drilling, and basic carpentry) |
| Time Required | 4–6 hours active time; allow 24 hours for construction adhesive cure |
| Tools Needed | Stud finder, laser level, 3/8" masonry bit (for brick/masonry), 1/4" drill bit, clamps, countersink bit, caulk gun |
| Estimated Cost | $75–$320 (mantel wood $40–$250; hardware, adhesive, and finishing supplies $35–$70) |
Tools & Materials
| Item | Notes |
|---|---|
| Wood mantel (solid hardwood or engineered beam) | Minimum 1.5" thick × 6" deep; 60"–72" common width. Avoid MDF-only mantels for load-bearing installs. |
| Heavy-duty French cleat or lag screws + wall anchors | For drywall: 1/4" × 3" lag screws with 1/4" toggle bolts (rated ≥150 lbs each). For brick: 3/8" masonry anchors + sleeve anchors. |
| Construction adhesive (polyurethane-based) | PL Premium or Liquid Nails LN-905—tested to hold 300+ lbs per linear foot when cured (Franklin International, 2022). |
| Laser level + 4-ft level | Two-level verification prevents subtle tilt that becomes obvious after painting. |
| Clamps (bar or pipe, minimum 24" reach) | Essential for holding mantel flush while adhesive sets and screws tighten. |
| Wood filler, sandpaper (120/220 grit), stain or paint | Fill screw holes *before* final finish—never after. Sanding between coats improves adhesion. |
Step-by-Step Instructions
1. Locate and mark wall studs (or masonry anchors)
Use a calibrated stud finder to locate *all* studs behind the fireplace surround—don’t assume 16" centers. Mark centers with pencil, then verify with a small pilot hole (1/8") at each location. For brick or stone, use a masonry bit to drill pilot holes at stud-aligned points or where mortar joints allow. According to the National Association of Home Builders’ Fireplace & Mantel Installation Standards (2021), mantels over 40 lbs must anchor to at least two structural members—never drywall alone.
2. Dry-fit the mantel and adjust height
Hold the mantel in place using temporary 2×4 blocks or a helper. Use your laser level to project a horizontal line across the wall at your desired height—standard is 48"–52" above the hearth’s top edge (NFPA 211 recommends minimum 12" clearance above combustible mantels to fireplace opening). Mark reference points on the wall with painter’s tape—not pencil—so they won’t rub off during prep.
3. Attach the mounting system
For French cleats: Cut a 30° bevel on both mantel back and wall board; mount wall cleat first using 3" lag screws into *every* stud. For direct lag mounting: Drill 1/4" pilot holes through mantel into wall at marked stud locations. Apply a continuous 1/4" bead of PL Premium along the back top edge and center—avoid corners where adhesive can squeeze out.
4. Lift, level, and secure
With help, lift the mantel onto the cleat or align lags with pilot holes. Press firmly upward and back to seat fully. Clamp the mantel to the wall using bar clamps across its front face (protect with scrap wood). Check level side-to-side *and* front-to-back with your 4-ft level. Tighten lags gradually in an X-pattern—don’t torque fully until all are snug. Let adhesive cure 24 hours before loading or finishing.
Pro Tips
Most failed mantel installs trace back to one error: skipping the dry-fit. Contractors at Hearth & Home Magazine’s 2023 Installer Survey reported that 68% of warranty callbacks involved misaligned or sagging mantels caused by rushed mounting.
“Always shim behind the mantel’s back edge—not just at ends—if your wall isn’t perfectly flat. A 1/16" gap behind the center causes visible droop at the ends after 6 months.” — Mike R., Master Carpenter, 27 years’ fireplace work
- Never rely solely on adhesive—even with heavy-duty glue, mechanical fasteners bear the load.
- If your mantel extends beyond the fireplace opening, confirm local code compliance: many municipalities require 6" minimum overhang on each side for heat dispersion.
- Pre-drill *and* countersink screw holes in the mantel—especially near ends—to prevent splitting in hardwoods like walnut or hickory.
How high should my mantel be above the fireplace opening?
The National Fire Protection Association (NFPA 211) mandates a minimum 12" clearance between the bottom of the mantel and the top of the fireplace opening. For visual balance, aim for 48"–52" above the hearth’s top surface. If your fireplace has a raised hearth pad, measure from the pad—not the floor.
Can I install a mantel on brick or stone?
Yes—but only with proper masonry anchors. Use sleeve anchors (like Red Head) drilled into mortar joints (not the brick itself) or solid stone. Avoid tapcon screws on historic or soft brick—they can spall. Always test anchor pull strength with a 50-lb weight before final mounting.
What if my wall has no studs where I want the mantel?
You’ll need to install a plywood backer board (3/4" ACX) anchored across *at least two* studs, then mount the mantel to the backer. Never use drywall-only anchors rated for more than 50 lbs—mantels commonly weigh 80–140 lbs. The U.S. Department of Housing and Urban Development’s Residential Construction Handbook (2020) requires backer boards be screwed every 6" along edges and 12" in field.
Do I need a building permit?
In most jurisdictions, yes—if the mantel is structural (supports shelves, TV, etc.) or alters fireplace clearances. Contact your local building department before buying materials. Permits cost $45–$120 and typically require stamped plans for mantels over 60" wide or those integrated with cabinetry.
How do I hide screw heads on a finished mantel?
Drill pilot + countersink holes, then fill with stainable wood putty (e.g., Minwax Stainable Wood Filler). Sand flush *after* the putty dries but *before* applying your first finish coat. For painted mantels, use drywall compound—sands smoother and accepts primer better.
Can I hang artwork or a TV above the mantel?
Only if the mantel is structurally tied to framing—not just glued. TVs require independent wall-mounting into studs or a reinforced ledger. The Insurance Institute for Business & Home Safety’s 2023 report found that 41% of mantel-mounted TVs fell due to adhesive failure or undersized fasteners.
A well-installed mantel doesn’t just look good—it holds up to decades of seasonal expansion, cleaning, and accidental bumps. Take your time with layout and anchoring, and treat the adhesive as insurance, not the main support. Once you’ve mastered this, try adding floating shelves or upgrading your drywall seams around the fireplace surround. And if you’re working with an older home, check out our guide on restoring vintage brick fireplaces—it pairs perfectly with a new mantel.