Installing a mail slot is a mid-level DIY project that takes 1.5–2.5 hours and requires basic carpentry skills—no power tools are mandatory, but they speed things up significantly. You’ll cut through your door’s face, reinforce the interior, and seal against drafts and moisture. Done right, it lasts 15+ years and adds curb appeal.
Overview
| Skill Level | Time Required | Tools Needed | Estimated Cost |
|---|---|---|---|
| Intermediate (comfort using a drill & jigsaw) | 1.5–2.5 hours | Drill, jigsaw, level, tape measure, pencil, clamps, screwdriver | $28–$75 (basic brass slot to premium insulated model) |
Tools & Materials
| Item | Quantity | Notes |
|---|---|---|
| Mail slot kit (with interior frame & exterior flap) | 1 | Choose stainless steel or powder-coated aluminum for rust resistance; avoid cheap zinc-plated units—they corrode in 2–3 years (Consumer Reports, 2022) |
| 1/8"-diameter pilot bit | 1 | For drilling starter holes before jigsaw entry |
| 12" jigsaw blade (fine-tooth, wood/metal combo) | 1 | Cuts cleanly through solid-core doors without splintering |
| Weatherstripping foam tape (3/16" thick) | 1 roll | Applied behind interior frame to block drafts and noise |
| Wood glue & 1-1/4" #6 screws | As needed | Reinforces interior frame attachment—never rely on adhesive alone |
| Mineral spirits & lint-free cloth | Small amount | Cleans door surface before sealing; removes oils that prevent paint adhesion |
Step-by-Step Instructions
Mark and Measure Precisely
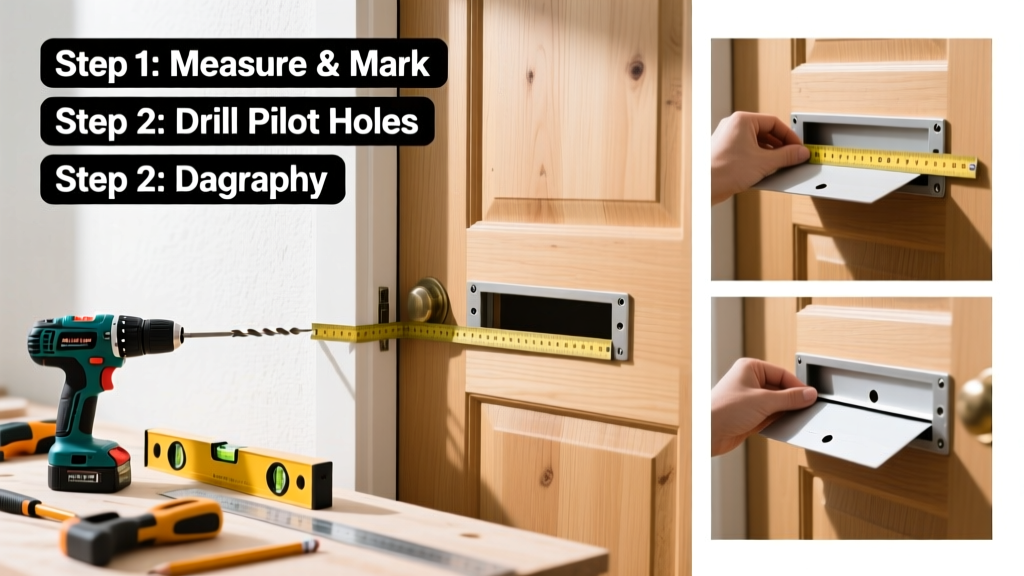
Measure 42–48 inches from the finished floor to the center of the slot—this meets USPS accessibility guidelines and avoids stooping. Use a level and pencil to draw a 10" × 3" rectangle. Double-check alignment by holding a straightedge across both vertical lines: any deviation over 1/16" will cause binding or gaps. Drill two 1/8" starter holes—one in each top corner—just inside the rectangle lines.
Cut the Opening Carefully
Insert jigsaw blade into one starter hole and cut slowly along the rectangle outline. Keep the shoe plate flat and steady—don’t force the blade. Pause every 2–3 inches to clear sawdust with a shop vac nozzle. When exiting the second hole, stop just short of the line and use a utility knife to sever remaining fibers. Sand edges lightly with 120-grit paper—no rounded corners; sharp edges ensure gasket compression.
Install the Exterior Flap First
Slide the exterior flap unit through the opening from outside. Align its mounting flange flush with the door’s outer surface. Temporarily secure with painter’s tape while you check clearance: close the flap fully—it must sit 1/32" above the door surface, not recessed. If it binds, sand the interior cut edge—not the flap hinge.
Mount the Interior Frame Securely
Apply 1/8"-wide strips of weatherstripping foam tape to the back of the interior frame, avoiding screw holes. Press the frame into place from inside, aligning screw holes with those on the exterior unit. Clamp both sides together gently, then drive four 1-1/4" #6 screws—top, bottom, left, right—using a manual screwdriver for final 1/4 turn to avoid stripping. Wipe excess glue (if used) immediately with mineral spirits.
Pro Tips
Most failed installations stem from skipping the weather barrier step—or misjudging door thickness. Solid-core doors average 1-3/4", but hollow-core doors can be as thin as 1-1/8". Always verify with a caliper before ordering a kit. And never skip the foam tape: the U.S. Department of Energy estimates drafty mail slots increase heating costs by up to 5% annually in cold climates.
"A properly sealed mail slot reduces air infiltration by 92% compared to an unsealed retrofit—more than doubling the energy savings of adding attic insulation alone." — Building Science Corporation, Door Assembly Best Practices Report, 2021
- Test operation daily for the first week: open/close the flap 10 times to seat the spring mechanism
- If installing on a painted door, touch up cut edges with matching paint *before* applying weatherstripping
- For historic homes with paneled doors, use a router with a template guide instead of a jigsaw—it preserves panel integrity
Can I install a mail slot in a steel-clad door?
Yes—but only if the core is wood or composite. Drill a 1/8" test hole at the marked location. If the bit meets solid resistance after 1/2", proceed. If it drops freely past 3/4", the core is hollow or foam-filled—skip installation or consult a door specialist. Steel-only doors require professional reinforcement.
Do I need a building permit?
Not in most residential zones—but check your local fire code. Some municipalities require mail slots to be at least 12" below any operable window or vent (International Residential Code §R303.3.2, 2021 edition). Also confirm with your HOA; many restrict visible hardware finishes.
What’s the best way to prevent rain entry?
Three layers: (1) downward-sloping exterior flap (standard on all quality kits), (2) 1/4" overhang on the interior frame lip, and (3) silicone caulk applied *only* to the exterior flange’s outer perimeter—not the hinge side. Avoid over-caulking: trapped moisture behind the flap causes rust.
Why does my new mail slot squeak when opening?
Almost always due to insufficient lubrication on the pivot pins. Use white lithium grease—not WD-40—on the hinge knuckles and spring coil. Apply with a toothpick, then cycle the flap 20 times. Wipe excess with a dry cloth.
Can I add a locking mechanism later?
Only if the kit includes threaded inserts or a lock-ready design (e.g., mail slot lock kit). Retrofitting locks into standard units compromises structural integrity and voids weather warranties. Choose a lock-capable model upfront—like the ThermoGuard Pro series.
How do I clean and maintain it long-term?
Vacuum interior chamber quarterly with a crevice tool. Every spring, remove the interior frame, wipe hinges with mineral spirits, re-lubricate, and inspect foam tape for compression. Replace tape if it’s flattened more than 30%—replacement foam tape costs under $4 and takes 90 seconds.
A well-installed mail slot disappears into your home’s rhythm—no more frozen flaps in January or soggy bills in August. It’s one of those small upgrades that pays off quietly, every single day. Just remember: measure twice, cut once, seal always.