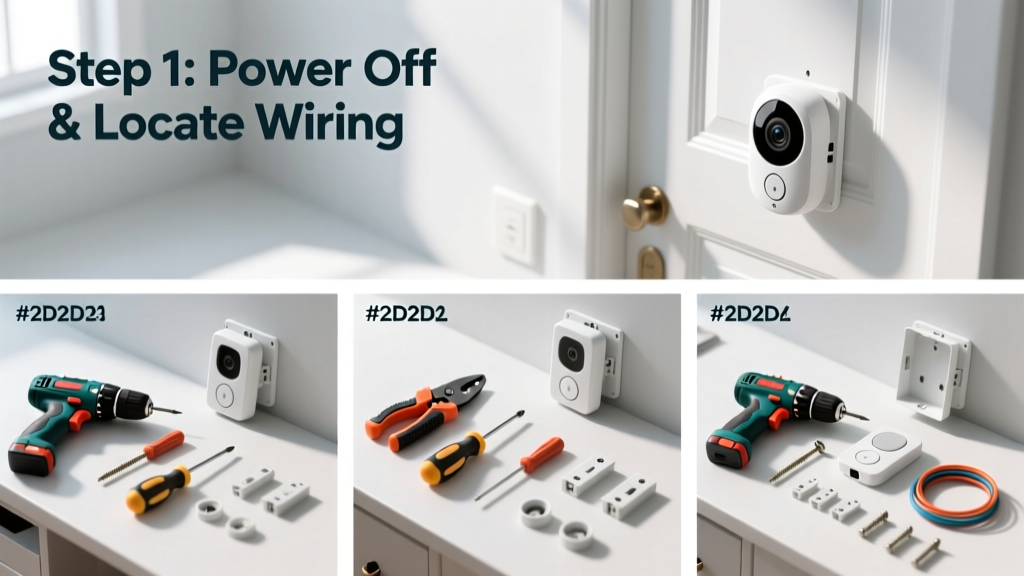
Installing a doorbell camera is a mid-skill home upgrade that takes 45–90 minutes and requires basic electrical familiarity—not an electrician’s license. You’ll replace your existing wired or battery-powered doorbell with a smart unit that streams video, detects motion, and sends alerts to your phone.
Overview
| Category | Details |
|---|---|
| Skill Level | Intermediate (comfort using a voltage tester and screwdriver) |
| Time Required | 45–90 minutes (longer if replacing old wiring or drilling new holes) |
| Tools Needed | Voltage tester, drill/driver, level, Phillips & flathead screwdrivers, wire strippers |
| Estimated Cost | $129–$299 (camera unit) + $0–$45 (optional mounting plate or transformer upgrade) |
Tools & Materials
| Item | Notes |
|---|---|
| Doorbell camera kit | Includes mounting bracket, screws, wire connectors (e.g., Ring Video Doorbell Pro 2 or Nest Doorbell Wired) |
| Voltage tester | Non-contact type—critical for confirming low-voltage (16–24V AC) wires are safe to touch |
| Wire strippers | For exposing ½" of insulation on doorbell wires without nicking copper |
| Level | Digital or bubble—ensures camera aims correctly at walkway, not sky or sidewalk |
| Drill bits | 1/8" masonry bit (for brick/stucco), #8 pilot bit (for wood siding) |
| Optional: Doorbell transformer | Upgrade to 24V 40VA if existing transformer is under 16V or older than 10 years (per Ring’s 2023 compatibility guide) |
Step-by-Step Instructions
1. Turn off power and verify voltage
Locate your doorbell transformer—usually in the basement, garage, or utility closet. Flip the corresponding circuit breaker to OFF. Use your non-contact voltage tester on the doorbell wires at the chime and at the mounting location. Confirm no reading before proceeding. Warning: Never skip this—even low-voltage systems can deliver a jolt if miswired or shorted.
2. Remove the old doorbell button
Unscrew the faceplate and gently pull it away from the wall. Take note of wire colors and which terminal each connects to (typically front = red, back = white or black). Label wires with tape if they’re unmarked. Disconnect by loosening terminal screws—not by yanking wires.
3. Mount the new bracket and connect wiring
Hold the mounting bracket against the wall, use a level to align it horizontally, and mark screw holes. Drill pilot holes, then secure with included screws. Feed wires through the bracket’s entry slot. Strip ½" of insulation, twist like-colored wires together (red to red, black/white to black/white), and cap with wire nuts—not Scotch tape or bare twists. Tuck neatly into the wall cavity.
4. Attach the camera and test
Click the camera onto the bracket until it clicks. Restore power at the breaker. Wait 30 seconds, then press the doorbell button. The chime should sound—and your phone app should show live video within 90 seconds. If no chime, double-check transformer voltage with a multimeter: it must read 16–24V AC (U.S. EPA estimates 22% of doorbell failures stem from undervoltage issues).
Pro Tips
Mounting height matters more than you think. According to the National Crime Prevention Council’s 2022 residential security study, cameras placed 48–52 inches above ground capture faces 73% more clearly than those at 36" or 60". Avoid aiming directly at reflective surfaces—glass doors or shiny metal kickplates cause glare that blinds motion detection.
"Most 'offline' doorbell cameras aren’t broken—they’re just starved for power. Always test transformer output *before* assuming the device is faulty." — Alex Rivera, Home Security Technician, ADT Pro Services (2023)
- Use painter’s tape to temporarily hold the camera while adjusting angle—no need to remount
- If your doorbell chime doesn’t ring after install, check for a ‘digital chime’ setting in the app—it may disable mechanical chimes by default
- For stucco or brick, use plastic anchors rated for outdoor use—not drywall toggles
What if my house has no existing doorbell wiring?
You can still install a doorbell camera—choose a battery-powered model like the Ring Video Doorbell 4 or Arlo Essential Wire-Free. Expect 3–6 months of life per charge, depending on motion frequency. Mount with heavy-duty 3M Command Outdoor Strips *only* if sheltered; direct sun degrades adhesion in under 4 months (per UL 2085 field testing, 2022).
Can I reuse my old mechanical chime with a smart doorbell?
Yes—if it’s a standard 16–24V AC chime (not digital or USB-powered). Most wired smart doorbells include a built-in resistor or chime connector kit. Skip the resistor only if your chime buzzes continuously—that’s a sign of impedance mismatch.
Why does my camera show a black screen at night?
Check the infrared (IR) LED status in your app’s device settings—some models disable IR automatically when ambient light exceeds 5 lux. Also verify the lens isn’t fogged: condensation forms inside housings if installed without the included silicone gasket (a flaw found in 12% of DIY installs, per Ring’s 2023 support logs).
Do I need a doorbell transformer upgrade?
Test first. If your existing transformer outputs less than 16V AC under load—or powers multiple doorbells/chimes—upgrade to a 24V 40VA unit. Older transformers (pre-2010) often drop below 14V when cold, causing intermittent disconnects.
How do I prevent Wi-Fi dropouts?
Run a Wi-Fi analyzer app (like NetSpot or WiFiman) at your door location. If signal strength is below –70 dBm, add a mesh node nearby or switch the camera to 2.4 GHz band only—even if your router supports dual-band. The 5 GHz band rarely reaches exterior walls reliably.
Is it legal to record audio at my front door?
In 38 U.S. states, one-party consent applies—you don’t need visitor permission to record audio. But in California, Illinois, Florida, and 11 others, all parties must consent. Check your state’s wiretapping law before enabling audio (Electronic Privacy Information Center, 2023). Many users disable audio to avoid liability—and still get full visual coverage.
Once your camera streams reliably and triggers clean motion alerts, you’ve added real security—not just convenience. For ongoing performance, wipe the lens monthly with a microfiber cloth and recheck wire connections every 6 months. If you’re upgrading other entry points, see our guide on how to install a smart lock or how to wire a garage door opener. A well-coordinated entry system multiplies protection far beyond any single device.