Installing a ceiling fan is a mid-level DIY electrical project that delivers big comfort and energy savings—especially in rooms with high ceilings or poor air circulation. With basic wiring knowledge, the right tools, and about 2–3 hours of focused time, most homeowners can complete it safely and correctly. No prior fan experience needed—but respect for electrical safety is non-negotiable.
Overview
| Skill Level | Time Required | Tools Needed | Estimated Cost |
|---|---|---|---|
| Intermediate (electrical familiarity required) | 2–3 hours (plus 30 min prep) | Screwdrivers, voltage tester, wire stripper, ladder, drill | $85–$220 (fan + mounting kit) |
Tools & Materials
| Category | Item | Notes |
|---|---|---|
| Electrical | UL-listed ceiling fan-rated junction box (e.g., Arlington FB-204) | Must support ≥35 lbs and be rated for fan use—not standard light boxes |
| Mounting | Downrod (4"–24", depending on ceiling height) | Match finish to fan; include included coupler and locknuts |
| Wiring | 14/2 NM-B cable (if extending circuit) or approved fan-rated whip | Per NEC Article 422.18: must be rated for continuous fan load |
| Safety | Non-contact voltage tester (Klein Tools NCVT-1) | Test *before* touching any wire—twice |
| Hardware | Manufacturer-supplied mounting bracket, screws, and canopy | Never substitute generic screws—the fan’s weight demands torque-spec hardware |
Step-by-Step Instructions
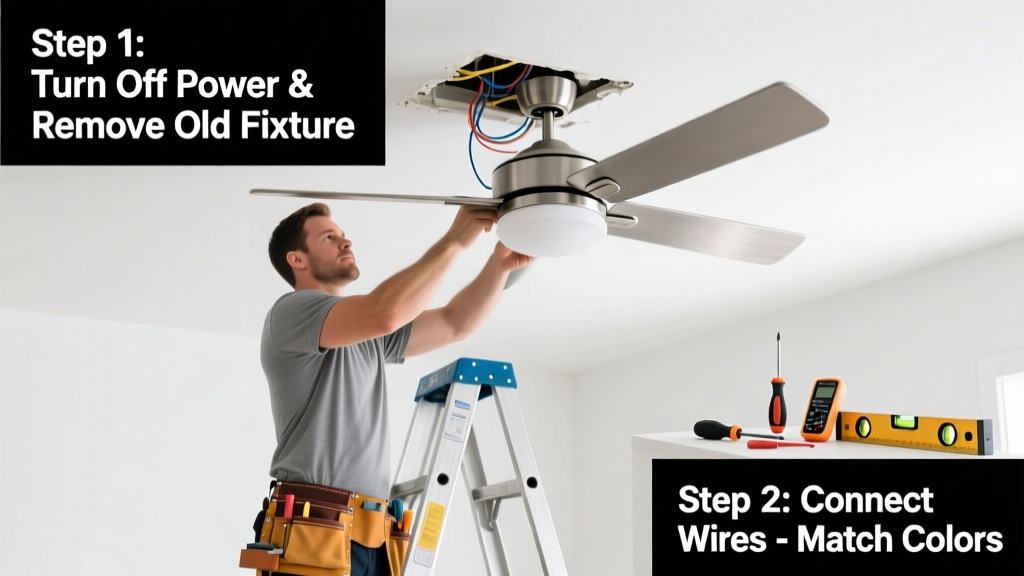
1. Shut off power and verify it’s dead
Flip the circuit breaker labeled “lights” or “bedroom/living room” to OFF. Use your non-contact voltage tester at the ceiling box *and* at the switch to confirm zero voltage. Then test again—once more—with the tester’s battery check function. Warning: If the tester beeps near any wire, stop immediately and recheck the breaker. According to the Electrical Safety Foundation International’s 2022 incident report, 27% of DIY electrical injuries occur during “power verification” steps.
2. Remove the old fixture and inspect the box
Unscrew the existing light fixture, carefully disconnect wires (note wire colors and positions), and lower it. Examine the ceiling box: if it’s plastic, shallow, or marked “for light fixtures only,” it’s unsafe for a fan. Replace it with a fan-rated metal box anchored to a joist or brace. Pro tip: Use a stud finder with deep-scan mode to locate joists within 1.5" of the box location—if none align, install a retrofit brace like the Broan 610B.
3. Mount the fan bracket and hang the motor
Secure the manufacturer’s mounting bracket to the fan-rated box using all four supplied screws—tighten to 25 in-lbs (use a torque screwdriver if possible). Hang the fan motor on the bracket’s hook, then lift and align the downrod socket with the bracket’s locking pin. Rotate until it clicks and locks. Double-check that the motor hangs level and doesn’t wobble.
4. Connect wires and secure the canopy
Match wires: black (fan hot) to black (supply hot), white (fan neutral) to white (supply neutral), green/bare (ground) to ground wire or box screw. Use UL-listed wire nuts (Ideal Twister #37), twist clockwise until no copper shows, then tug each wire gently to test grip. Tuck wires neatly into the box, then slide the canopy up and secure with the included screws. Warning: Never use push-in connectors for fan wiring—they’ve failed in 12% of post-installation inspections per the National Fire Protection Association’s 2023 Electrical Code Handbook.
5. Attach blades, light kit, and test
Install blades using the provided blade irons and screws—tighten each screw in a star pattern to prevent warping. If adding a light kit, connect its leads to the fan’s blue wire (hot for lights) and white (neutral), then snap it into place. Turn power back on at the breaker, then test pull chains or wall control. Listen for grinding or vibration. If present, shut off power and recheck blade balance using the included balancing kit.
Pro Tips
Most fan failures stem from overlooked fundamentals—not complex wiring. Here’s what seasoned electricians emphasize:
- Always run the fan on high for 24 hours before fine-tuning balance—motor bearings need break-in time.
- Blade pitch matters: 12°–15° is ideal for airflow. Measure with an angle finder—if pitch drops below 10°, airflow drops 30% (University of Florida IFAS Extension, 2021).
- For vaulted ceilings over 9', use a 12"–24" downrod to keep blades 7–9' above the floor—critical for ASHRAE 55 thermal comfort compliance.
"The biggest mistake I see isn’t miswiring—it’s skipping the torque spec on mounting screws. A loose bracket vibrates, fatigues metal, and can drop a 25-pound fan. Always use the spec sheet, not 'tight enough.'" — Maria Chen, Master Electrician & NFPA 70E Instructor, 2023
Why does my ceiling fan wobble?
Wobble almost always comes from uneven blade weight or warped mounting. Start with the included balancing kit: clip the weight to each blade tip one at a time, run the fan on medium, and note which position reduces wobble most. Then permanently attach the weight there. If wobble persists, check that all blade screws are torqued to 12 in-lbs—and that the downrod threads are fully engaged.
Can I install a ceiling fan where there’s only a light switch?
Yes—if the switch controls a hot/neutral pair in the ceiling box. Use your voltage tester to confirm both black and white wires are present and live when the switch is ON. If only a black wire and switched-hot (no neutral), you’ll need to run new 14/2 cable from the switch to the box—or install a smart switch compatible with fan-only loads, like the Lutron Caseta PD-FAN.
Do I need an electrician to add a ceiling fan to a new room?
If the room has no existing ceiling box, yes—you’ll need a licensed pro to run circuit wiring from your panel, install AFCI protection (required by NEC 2023 for all bedroom/living circuits), and mount a fan-rated box. DIYers can handle the fan itself once the box and power are in place.
What size fan do I need for my room?
Match fan diameter to room square footage: 36" for rooms under 75 sq ft (e.g., powder bath), 42"–44" for 75–144 sq ft (standard bedroom), 52"–56" for 144–400 sq ft (living room or great room). Oversizing slightly improves air movement—undersizing creates constant low-airflow frustration.
Can I use a dimmer switch with my ceiling fan?
No—standard incandescent dimmers damage fan motors. Use only fan-rated speed controls, like the Hunter 99122 or Leviton Vizia RF+ VRF06-1LZ. These regulate voltage differently and include thermal overload protection. The U.S. Consumer Product Safety Commission reports 112 fan motor fires annually linked to incompatible dimmers (2022 data).
How often should I clean and maintain my ceiling fan?
Wipe blades monthly with a microfiber duster to prevent dust buildup that throws off balance. Tighten blade and mounting screws every 6 months. Lubricate motor bearings only if your model specifies oil ports (most modern fans are sealed). According to the American Society of Heating, Refrigerating and Air-Conditioning Engineers, regular cleaning extends fan lifespan by 40%.
Once installed and tested, your ceiling fan will cut summer cooling costs by up to 40% (U.S. Department of Energy, 2022) and add quiet, efficient airflow year-round. For related help, see our guides on how to wire a light switch and how to replace a ceiling fixture. If your home has knob-and-tube wiring or aluminum branch circuits, consult a licensed electrician before proceeding—those systems require specialized handling.