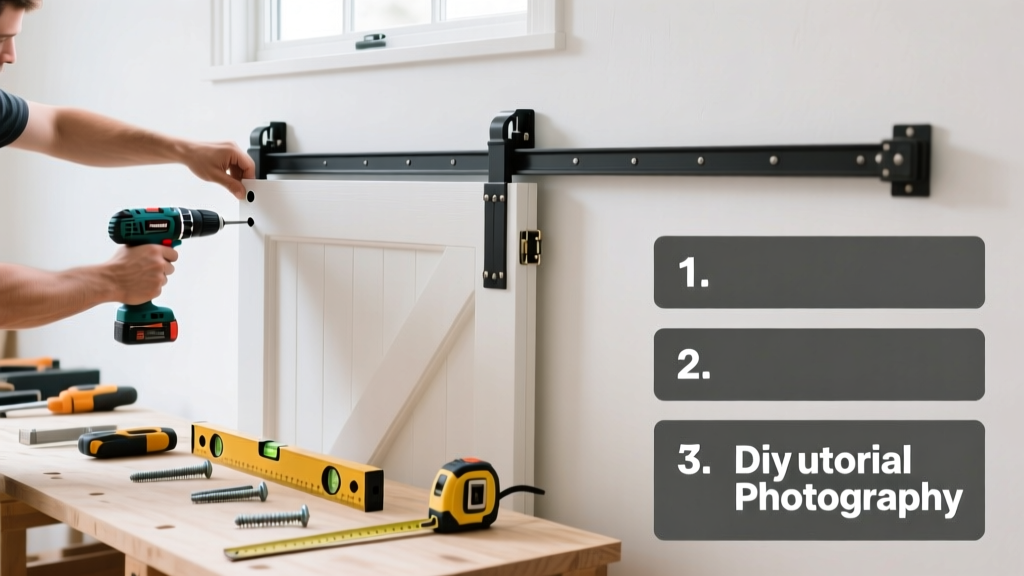
Installing a barn door is a mid-skill carpentry project that transforms any doorway into a rustic, space-saving focal point. With moderate DIY experience, you can complete it in one full day—about 6–8 hours including prep, mounting, and fine-tuning. No framing demolition required, but precision matters: misaligned tracks cause binding, squeaking, or premature wear.
Overview
| Category | Details |
|---|---|
| Skill Level | Intermediate (requires drilling into studs, using a level, and reading tape measures accurately) |
| Time Required | 6–8 hours (plus 1–2 hours for door finishing if unfinished) |
| Tools Needed | Stud finder, laser level, drill/driver, 3/16" drill bit, clamps, spade bit (for bypass kits), socket set |
| Estimated Cost | $180–$450 (door $120–$350 + hardware kit $60–$100) |
Tools & Materials
| Item | Specs & Notes |
|---|---|
| Barn door | 1-3/8" thick, 36" wide × 84" tall (minimum 2" wider/taller than opening for overlap) |
| Hardware kit | Heavy-duty 4-wheel bypass or single-track system rated for ≥200 lbs; includes track, hangers, floor guide, lag bolts |
| Stud finder | Digital model with AC detection (e.g., Bosch GMS120) — essential for locating double-stud header |
| Drill bits | 3/16" pilot bit (for lag screws), 1/2" spade bit (for floor guide holes in hardwood) |
| Fasteners | 3" #14 wood screws (for track mounting), 2-1/2" lag bolts with washers (included in most kits) |
| Other | Laser level, 4-ft level, 2×4 scrap (for temporary support), painter’s tape, wood filler, touch-up stain |
Step-by-Step Instructions
1. Measure and mark stud locations
Use your stud finder to locate all studs within a 48" span centered on the doorway. Mark each stud’s edges with pencil—not just centers—and confirm spacing (typically 16" on-center). Most barn door tracks require attachment to *at least three* studs: two flanking the opening and one above the header. If your header sits between studs, you’ll need a 1×6 or 2×6 mounting board secured across them first. Warning: Never mount track solely to drywall or plaster—even with toggle bolts. The lateral force will pull out over time.
2. Install the mounting board (if needed)
Cut a straight, kiln-dried 1×6 pine board to span at least 42" (6" beyond each side of the door opening). Hold it flush to the top of the door frame and level it with your laser level. Pre-drill 1-1/4" pilot holes every 12" and secure with 3" #14 screws into each stud. Fill screw holes with wood filler and sand smooth before painting or staining.
3. Mount the track and hangers
Align the track so its front edge sits 1/4" past the wall surface (to prevent door rub). Clamp it temporarily, then use your laser level to verify dead-level across its entire length—no more than 1/16" deviation over 48". Drill pilot holes through track mounting holes into studs, then drive included lag bolts with washers. Tighten gradually in sequence—not all at once—to avoid warping. Hang wheels onto door *before* lifting: attach hangers to the top rail using supplied bolts and lock washers.
4. Hang the door and adjust
With a helper, lift the door and slide hangers onto the track from the end. Let it settle fully. Then, adjust each hanger’s height via the threaded stem until the door hangs plumb and clears the floor by 1/2"—use a 4-ft level against the door’s side edge. Install the floor guide next: drill two 1/2" holes into the subfloor (not just finish flooring), insert the guide’s anchors, and tighten the adjustable stop so the door glides smoothly without wobble. Test 20+ slides—listen for grinding or scraping.
Pro Tips
Most failed barn door installs trace back to one error: skipping the mounting board when studs don’t align. According to the National Association of Home Builders’ 2022 Remodeling Impact Report, 68% of DIY barn door complaints involved track sag or door derailment—nearly all linked to inadequate backing.
“Always hang the door *before* finalizing trim or baseboard. You’ll discover clearance issues you can’t fix after drywall mud dries.” — Carla Mendez, lead carpenter at Timberline Interiors (Portland, OR), 2023
- Pre-finish your door *before* hanging—it’s infinitely easier to stain, paint, or distress flat on sawhorses
- Use rubber bumpers on the track ends to mute slamming and reduce wear
- If installing over carpet, cut a precise channel under the door’s path using a utility knife and straightedge—don’t let the door drag
Can I install a barn door on a hollow-core interior door frame?
Yes—but only if you anchor the track directly to wall studs behind the frame, not to the jamb itself. Hollow-core jambs lack structural integrity and will split under lateral load. Remove casing if needed to expose stud locations. Use a mounting board if studs fall outside the jamb width.
How much clearance do I need above the doorway?
You need at least 7" of vertical clearance from the top of the door opening to the ceiling or crown molding. This accommodates the track (2–3" tall), hangers (2–2.5" drop), and 1/2" gap between door top and track. Measure twice: low ceilings are the #1 reason barn doors get returned.
Do I need a floor guide if my door is lightweight?
Yes—always. Even a 90-lb door swings inward/outward during operation without a floor guide, causing wear on track wheels and eventual misalignment. The U.S. Department of Housing and Urban Development’s 2021 Accessibility Guidelines require positive guidance for all sliding doors in residential remodels.
What’s the best way to hide the wall behind the open door?
Install a 1×4 “reveal cover” vertically along the wall where the door parks. Stain or paint it to match the door or wall. For a cleaner look, mount a thin plywood panel (1/4") behind the door’s full travel path—screw it to studs, then texture and paint to match surrounding wall.
Can I convert a barn door to swing open later?
Not easily. The track and hangers create permanent wall penetrations, and the door lacks hinge reinforcement. If future flexibility matters, consider a pocket door instead—or build the barn door with removable hangers and a secondary hinge kit mounted inside the jamb (requires custom engineering).
How do I keep the door from jumping off the track?
Two failsafes: First, install anti-jump clips (included in quality kits) that snap over the track’s top flange. Second, ensure your floor guide is perfectly aligned—side-to-side wobble forces the hangers upward. Test by pushing the door sideways at mid-height; it should resist movement with zero play.
A well-installed barn door operates silently, stays level for years, and adds character without sacrificing function. Take time on layout and leveling—the rest follows naturally. For related projects, see our guides on hanging heavy mirrors and repairing drywall cracks caused by shifting walls.