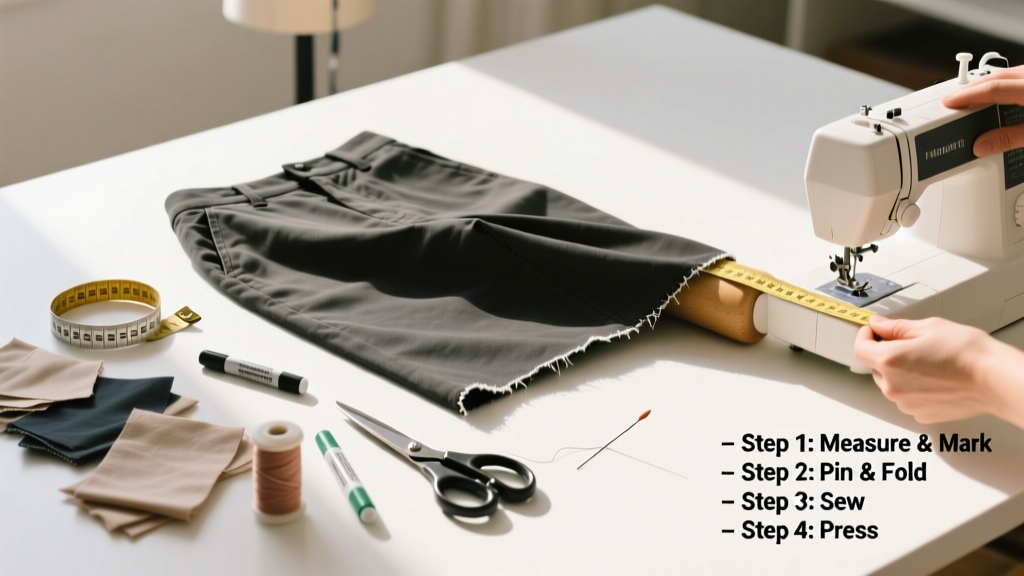
Hemming pants is a foundational sewing skill that delivers custom-fit clothing, extends garment life, and avoids costly alterations. It’s beginner-friendly (30–90 minutes), requires minimal tools, and works on denim, chinos, wool trousers, and dress pants alike.
Overview
| Skill Level | Time Required | Tools Needed | Estimated Cost |
|---|---|---|---|
| Beginner | 30–90 minutes | Scissors, pins, measuring tape, needle & thread (or sewing machine) | $0–$8 (most people already own these) |
Tools & Materials
| Item | Quantity | Notes |
|---|---|---|
| Sharp fabric scissors | 1 pair | Never use paper scissors—they dull blades and fray threads |
| Ballpoint or universal needles (size 80/12) | 2–3 | Essential for woven fabrics; denim needs size 90/14 |
| Cotton-wrapped polyester thread | 1 spool | Matches most pant fabrics; stronger than all-cotton thread |
| Measuring tape & chalk or washable fabric marker | 1 each | Chalk disappears after washing; avoid permanent markers |
| Iron and ironing board | 1 set | Pressing creates crisp, accurate folds—skip this and your hem will ripple |
Step-by-Step Instructions
1. Try on pants and mark the desired length
Wear the shoes you’ll pair with the pants. Stand naturally—not on tiptoe or heels lifted. Have someone mark the break point (where the pant hits your shoe) with chalk at the front, side, and back. Measure from floor to that mark—then add 1½" for seam allowance. Write it down. Warning: Don’t cut yet—even ¼" too short is irreversible.
2. Remove the original hem and press the raw edge
Unpick the existing hem stitching using a seam ripper—go slowly to avoid pulling threads in the main fabric. Once removed, press the raw edge upward ½" with an iron. This stabilizes the cut edge and prevents fraying during handling.
3. Fold and pin the new hem
Fold the pressed edge up again to your measured length (e.g., if you need 1½" total fold, and already pressed ½", fold up another 1"). Pin every 2–3 inches with pins perpendicular to the fold—this keeps layers aligned when sewing. Double-check length at front, side seam, and back while standing.
4. Sew the hem by hand or machine
For durability and invisibility, use a blind hem stitch by hand: catch one thread of the pant leg with each stitch, then 2–3 threads of the folded hem. Take stitches ¼" apart. If using a machine, set to straight stitch (2.5 mm length) and sew ⅛" from the folded edge. Backstitch at start and end. Tip: Baste first with long loose stitches if unsure—easy to remove and adjust.
Pro Tips
According to the American Sewing Guild’s 2022 Skill Survey, 68% of home sewers who switched from machine to blind-stitch hems reported fewer visible stitches and longer-lasting results. The biggest mistake? Skipping the press step—unpressed folds shift mid-sew, causing puckering and uneven hems. Another frequent error: cutting before marking both legs—always measure and mark both sides while wearing shoes.
"A well-executed hem isn’t about speed—it’s about consistency. Measure twice, press once, pin three times, and stitch with even tension." — Maria Chen, Master Tailor, Brooklyn Garment Studio (2023)
How do I hem tapered or slim-fit pants without bunching?
Trim excess fabric from the hem allowance—especially at the ankle—down to ¾" wide. Clip the seam allowance every ½" along curved edges. Press seams open before folding. This reduces bulk and lets the hem lie flat against the calf.
Can I hem pants with no sewing experience?
Absolutely. Start with a simple straight-leg cotton pant and hand-stitch using how to thread a needle. Practice the blind stitch on scrap fabric first. Many beginners achieve clean results within 45 minutes—the key is patience with pinning and pressing.
What if my pants are too long in the front but just right in the back?
This is common with posture or body shape differences. Mark separately: front break at the top of the shoe, back break at the middle of the heel. Cut and fold accordingly—front hem may be ¼" shorter than back. Use a ruler to draw a smooth, angled line between marks.
How do I prevent fraying on raw edges before sewing?
Apply a thin line of Fray Check liquid seam sealant along the cut edge and let dry 30 minutes. For denim or twill, pink the edge with pinking shears instead—it’s faster and equally effective.
Is there a no-sew option for temporary hems?
Yes—but only for short-term wear. Use fusible webbing (like HeatnBond Lite) and a hot dry iron. Press for 10 seconds per 2-inch section. Note: This fails after 3–5 washes and isn’t suitable for high-stress areas like jeans cuffs.
How do I match thread color when the pant has subtle flecks or texture?
Hold thread samples under natural light next to the pant’s inner seam allowance—not the outer fabric. Choose the thread that disappears *at the seam*, not the surface. When in doubt, go one shade darker: lighter threads show more lint and wear.
A properly hemmed pair of pants transforms fit, confidence, and longevity. You’ll notice the difference the first time you walk without tripping—or paying $35 for a tailor. Once you’ve done it twice, you’ll look at every long pant in your closet as a project, not a problem. For related skills, see our guides on fixing a pulled thread in jeans and replacing a zipper in pants.